Improving Storyboard Segues With IBSegueAction
In this iOS tutorial, you’ll learn how to use IBSegueAction for storyboard segues. You’ll understand the advantages and disadvantages of this new technique. By Chuck Krutsinger .
Sign up/Sign in
With a free Kodeco account you can download source code, track your progress, bookmark, personalise your learner profile and more!
Create accountAlready a member of Kodeco? Sign in
Sign up/Sign in
With a free Kodeco account you can download source code, track your progress, bookmark, personalise your learner profile and more!
Create accountAlready a member of Kodeco? Sign in
Sign up/Sign in
With a free Kodeco account you can download source code, track your progress, bookmark, personalise your learner profile and more!
Create accountAlready a member of Kodeco? Sign in
Contents
Improving Storyboard Segues With IBSegueAction
15 mins
Introducing IBSegueAction
Starting with iOS 13, Apple introduced a new way to handle a segue, the @IBSegueAction attribute. The new approach completely reverses the responsibility for creating the endpoint view controller.
With prepare(for:sender:), UIKit creates the view controller and passes the instance to the starting point view controller’s prepare(for:sender:) for configuration. With an IBSegueAction, you create the view controller fully configured and pass it to UIKit for display. After you finish refactoring RazeNotes to use IBSegueActions, you’ll be able to see the advantages.
There are some requirements you must meet for an IBSegueAction:
- As you’ve already seen, you must always prefix the
IBSegueActionwith the@IBSegueActionattribute. - The
IBSegueActionmust accept anNSCoderargument. It can also accept a sender argument of typeAny?and a segue identifierStringargument. The segue identifier is seldom needed when usingIBSegueAction, because the segue is directly linked to theIBSegueActionin the storyboard. As you’ll see, Xcode’s Interface Builder will generate the method for you. - The endpoint view controller must have an
initthat takes thecoderargument passed to theIBSegueAction. You can pass in as many other arguments as you need, but you must pass in at least the coder. This will become clear as you refactor. - To create your own
init, you’ll need to override therequired init?(coder:).
All this will make more sense when you do the refactoring. Speaking of which, time to refactor!
Adding @IBSegueAction to RazeNotes
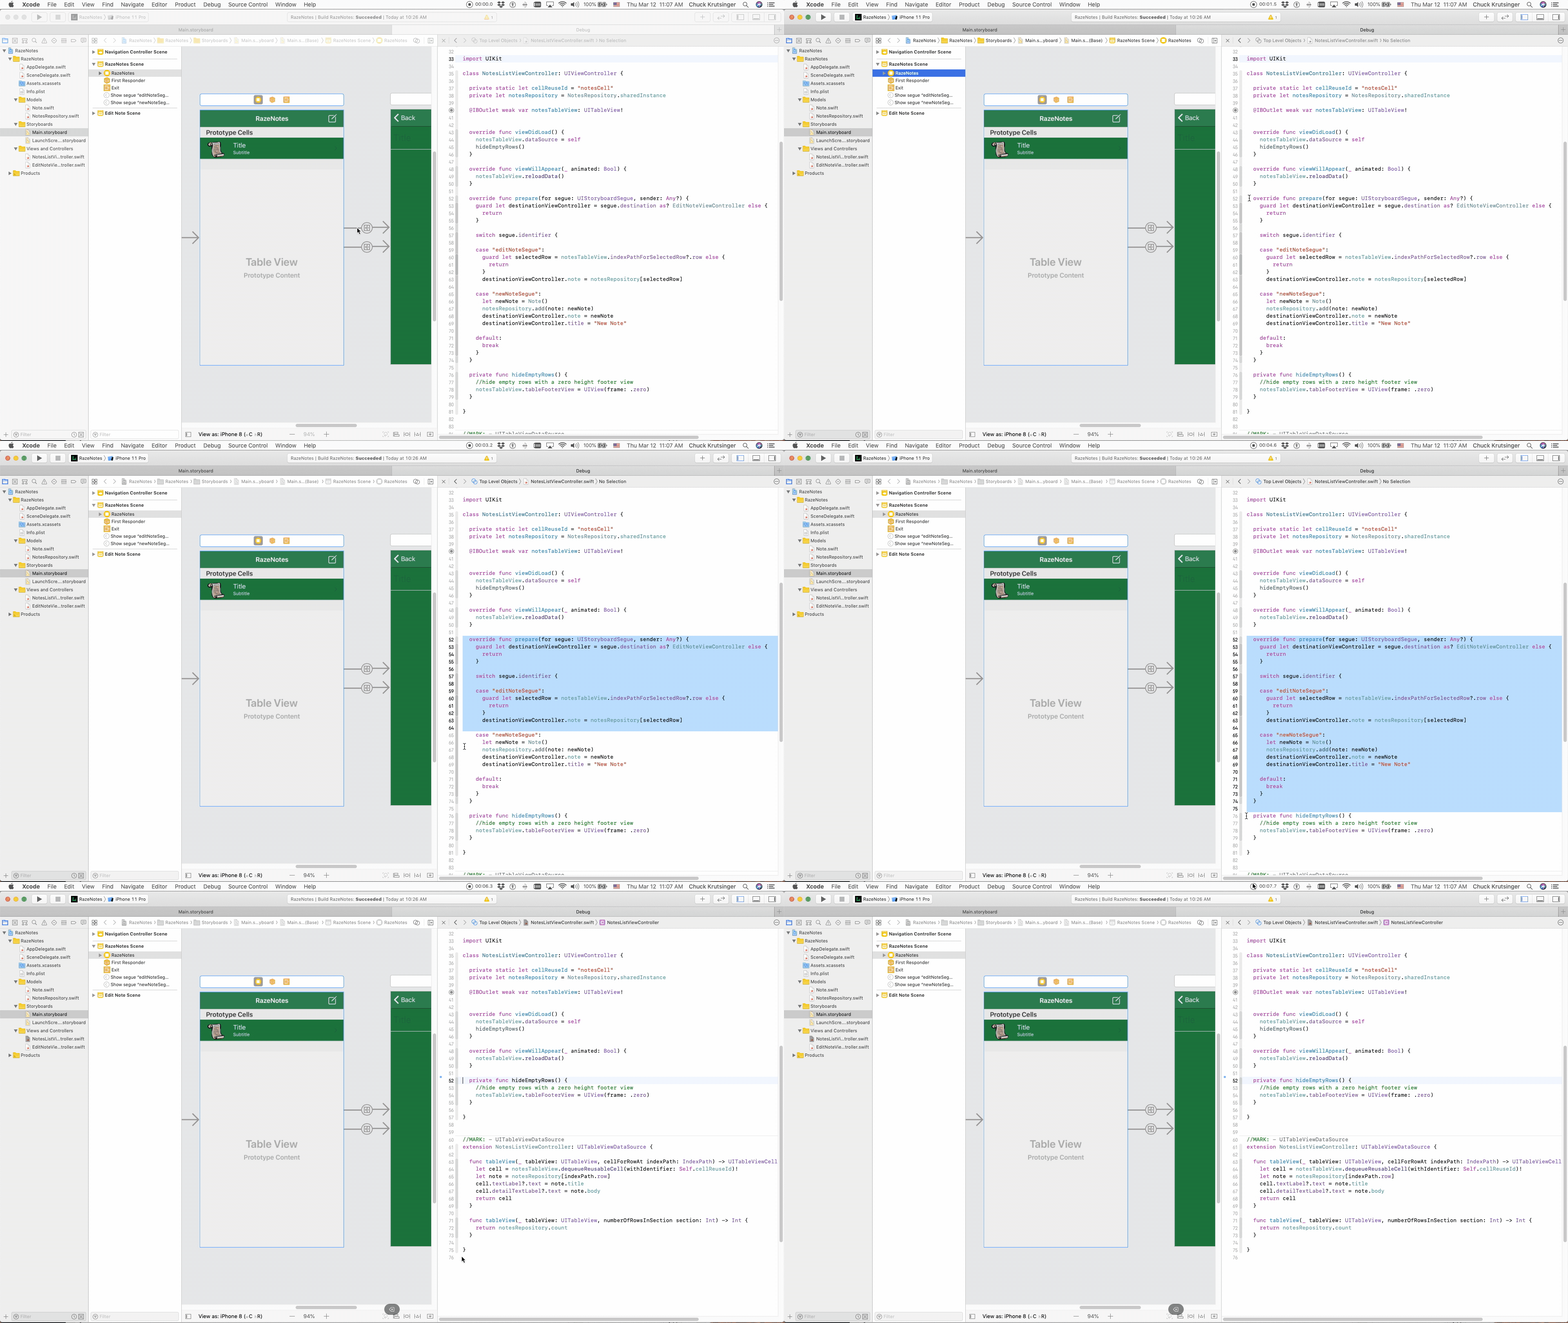
The first thing to do is delete prepare(for:sender:). UIKit will no longer call prepare(for:sender:), and it will produce some compiler errors if you leave it in.
In Xcode, open NotesListViewController.swift. Find prepare(for:sender:) and delete it.
Open EditNoteViewController.swift. At this point, the view controller is only using the inherited initializer. You’ll need an initializer that accepts a note and an optional title. So, the signature you need is init(note:title:coder:).
Before you can declare that new initializer, Swift will require you to override required init?(coder:) even though it won’t be used by the IBSegueAction. Copy and paste the code below into EditNoteViewController to override that required initializer:
required init?(coder: NSCoder) {
  fatalError("init(coder:) is not implemented")
}
Since you aren’t going to use this initializer in your segues, it deliberately causes a fatal error. This error can warn you during development if you miss a step in handling the IBSegueAction.
Time to add the initializer you will use. Copy and paste this initializer above the previous one:
init?(note: Note, title: String = "Edit Note", coder: NSCoder) {
  //1
  self.note = note
  //2
  super.init(coder: coder)
  //3
  self.title = title
}
Here, the new initializer is:
- Setting the value of the
note. This is first since non-optional properties of this class must have a value before calling the superclass initializer. - Calling the UIViewController superclass initializer and passing it the
coderso it can layout the view from the storyboard contents. - Setting the
titledeclared in the UIViewController. Note that thetitlehas a default value if the argument is not used. Thetitleis set to last because it’s part of the superclass and can’t be set until after calling the superclass initializer. Xcode will give you an error if you try to set thetitlebefore you call the superclass initializer.
Now, you can make some changes that you couldn’t do when using prepare(for:sender:). Replace var note: Note! by copying and pasting the code below.
private let note: Note
The note never changes during the life of EditNoteViewController, so it should be a let. The note should be private since no other class should be setting its value. Finally, you don’t have to force unwrap the note with an !. You can let Swift enforce the initialization of the property.
Declaring properties private and constant is one of the advantages of IBSegueAction. With prepare(for:sender:), you had to set the note of EditNoteViewController after UIKit initialized the view controller. This made compromises necessary.
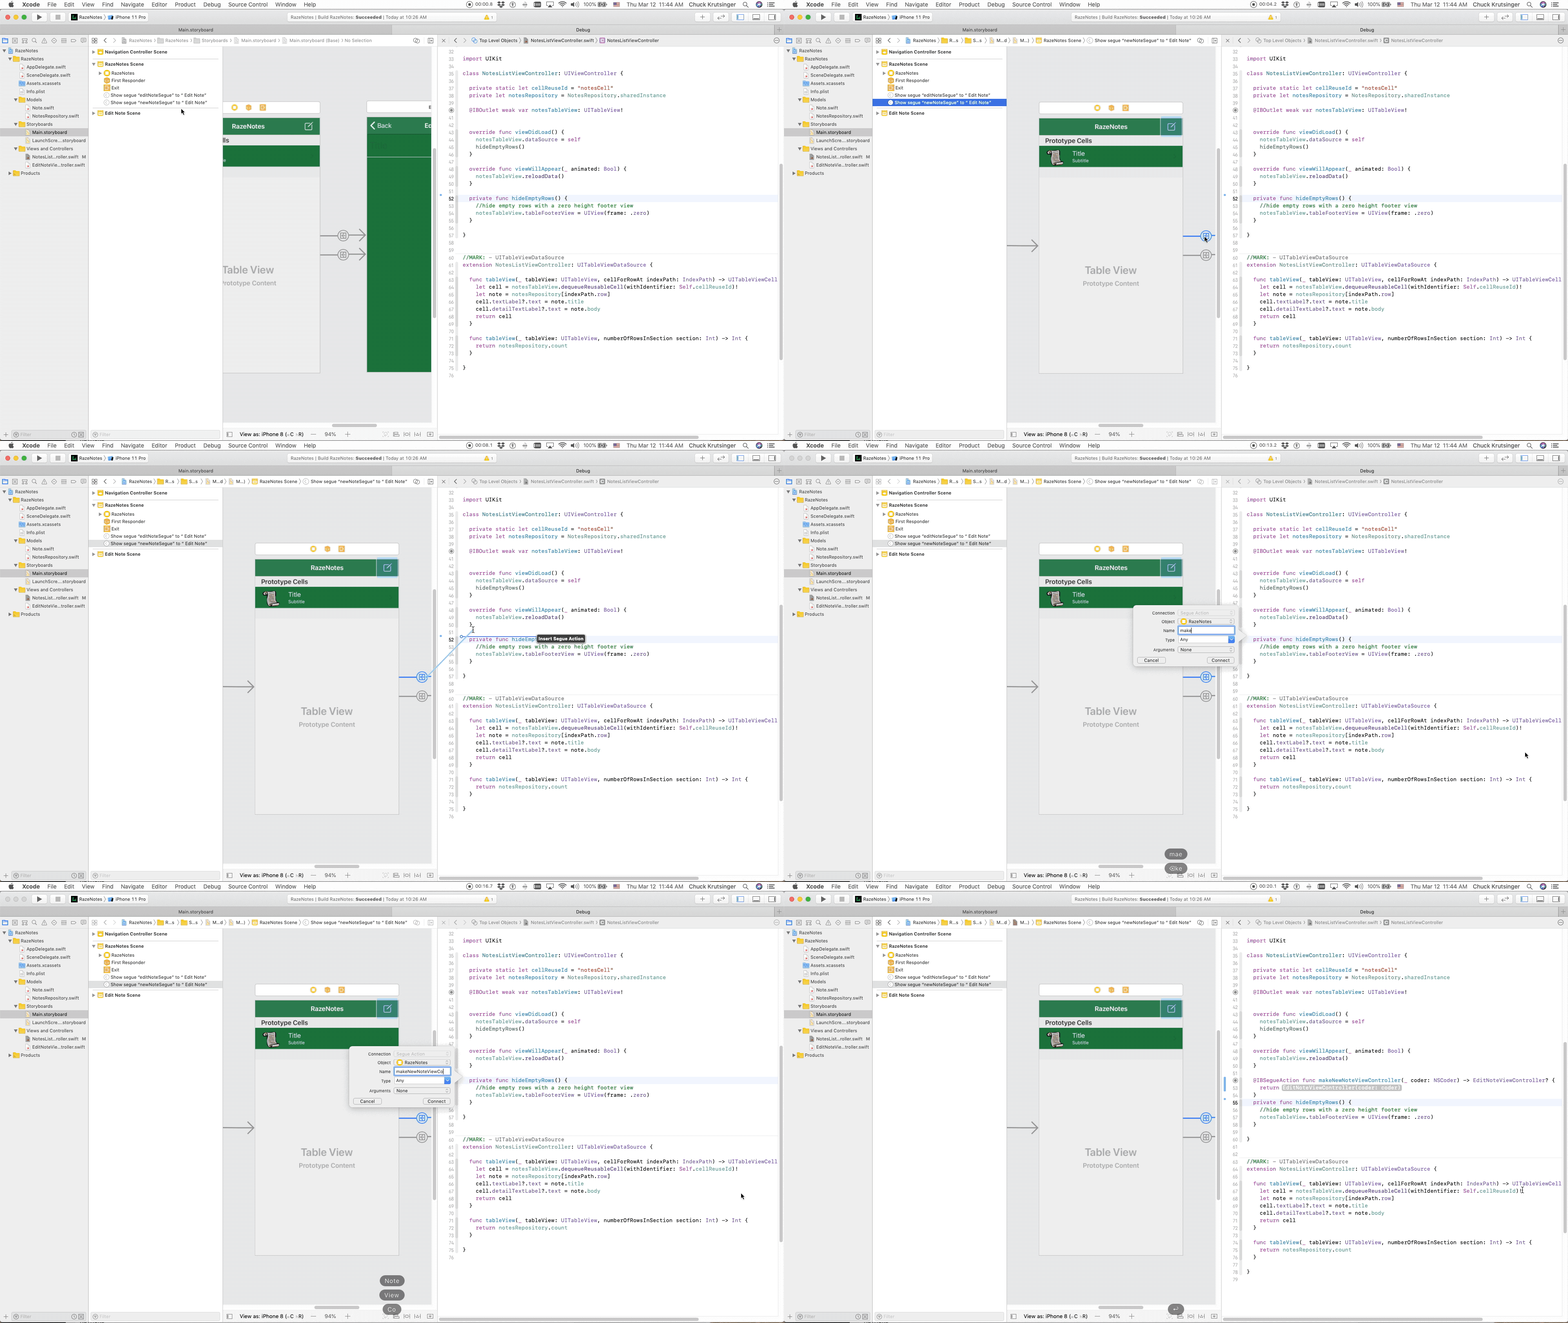
Open Main.storyboard, and then open NotesListViewController.swift in the assistant editor. Click the newNoteSegue, which will highlight that segue in blue in the canvas. Control-drag from the highlighted segue to right after the viewWillAppear(). Name the method makeNewNoteViewController. Accept the default of None for arguments since you won’t be using the optional sender or identifier arguments.
Replace the method that Xcode inserted with the following code:
@IBSegueAction func makeNewNoteViewController(_ coder: NSCoder)
    -> EditNoteViewController? {
  //1
  let newNote = Note()
  //2
  notesRepository.add(note: newNote)
  //3
  return EditNoteViewController(note: newNote, title: "New Note", coder: coder)
}
makeNewNoteViewController(_:) replaces the “newNoteSegue” case in prepare(for:sender)‘s switch. However, makeNewNoteViewController(_:) doesn’t have to use a String literal to determine what to execute.
Here is what the method does:
- Create a new empty note.
- Save the note in the notes repository.
- Create and return an instance of
EditNoteViewControllerwith the newnoteand atitlepassed in. Thecoderis also passed in, as required byIBSegueAction.
Do the same for the edit note segue. Control-drag from the bottom segue to right below the method you just created. Name the new makeEditNoteViewController. Replace the method that Xcode inserted with the following code.
@IBSegueAction func makeEditNoteViewController(_ coder: NSCoder)
    -> EditNoteViewController? {
  //1
  guard let selectedRow = notesTableView.indexPathForSelectedRow?.row else {
    return nil
  }

  //2
  let note = notesRepository[selectedRow]
  //3
  return EditNoteViewController(note: note, coder: coder)
}
Here is what this method does:
- Determine the selected row. Return
nilif there is none. - Use the row number to fetch the correct note from the note’s repository.
- Create and return an instance of
EditNoteViewControllerwith the fetched note. As before, the coder is also passed in.
Build and run. The app should work just like before. Tap the New Note button to create a new note. When you tap Back, you’ll see the new note in the list. You can tap any note and edit its contents. Tap Back and then reopen the note to see that your edits are still there.
Time to compare the two approaches.
Comparing IBSegueAction vs prepare(for:sender:)
Here are the advantages of using IBSegueAction:
-
Cleaner code: Each segue can have its own
IBSegueAction, resulting in code that is easier to design and maintain. -
No switching on string constants:
prepare(for:sender:)requires you to switch onsegue.identifiervalues that can get out of sync with the identifier properties in the storyboard file. -
Better encapsulation: The properties can now be private since the value can be set by the initializer and not after initialization in
prepare(for:sender:). -
Immutability: The required properties can be
letconstants when appropriate since the value is set by the initializer. -
Less casting: There’s no need to cast the
sender.destinationto anEditNoteViewControllerto configure its properties. You create an instance of the view controller type you need. - Easier to test: Since you are not relying on UIKit to create your view controller instances, it will be much easier to create tests for your view controllers.
There is one disadvantage to using IBSegueAction: It is only available for iOS 13 or later. So, if your app must run on earlier versions of iOS, you’ll have to wait to start using this new approach.


