Couchbase Tutorial for Android: Getting Started
In this couchbase tutorial, you will learn how to use prebuilt Couchbase Lite databases, model, query, upload and sync data including attachments. By James Nocentini.
The Question Screen
Your first task is to load the full question document from the database and use it to populate the Question activity.
Loading the Question Data
Open QuestionActivity.java and paste the following at the end of onCreate:
// 1
Intent intent = getIntent();
String questionId = intent.getStringExtra(HomeActivity.EXTRA_INTENT_ID);

// 2
DataManager manager = DataManager.getSharedInstance(getApplicationContext());
Document document = manager.database.getDocument(questionId);

// 3
mQuestion = ModelHelper.modelForDocument(document, Question.class);
mTextView.setText(mQuestion.getText());
Here’s what this code does:
- Retrieves the
questionIdof the selected question from the intent extra. - Uses the
managersingleton database to load the document with thequestionId. - Deserializes the document into
questionand sets the text property on thetextView
Build and run your app, and click on a question to display each question detail:

Multiple Choice in a GridView
The data modeling diagram lists the options property as an array of strings. Those are the possible choices shown to the user.
Add the following method to QuestionActivity.java:
To display the choices, add the following to the end of onCreate in QuestionActivity.java:
mQuestionOptions = (GridView) findViewById(R.id.question_options);
mQuestionOptions.setChoiceMode(AbsListView.CHOICE_MODE_SINGLE);
mQuestionOptions.setNumColumns(2);
mQuestionOptions.setSelector(R.drawable.selector_button);

mQuestionOptions.setAdapter(new QuestionOptionsAdapter(mQuestion.getOptions(), null));

mQuestionOptions.setOnItemClickListener(new AdapterView.OnItemClickListener() {
  @Override
  public void onItemClick(AdapterView<?> parent, View view, int position, long id) {
    mSelectedOption = position;
  }
});
Here’s what’s happening in this code segment:
In the above code segment, you create a GridView, assign it an adapter populated with mQuestionOptions and then set up a click listener to store the user’s choice in mSelectedOption.
Build and run. Open any question and click on the possible options:

In the next section you’ll add a Submit button to save your answer to a new document.
Writing Data
User answers will be stored in the database as Answer documents. First, you’ll create an Answer model class.
Create a new file model/Answer.java and add to it the following instance variables:
private String _id;
private String _rev;
private String question_id;
private String type;
private String user_answer;
These property names match the ones on the data modeling diagram. Next, add a getter and setter for each instance variable using the CTRL+Enter shortcut in Android Studio.
To create Answer instances, add the following constructor in mode/Answer.java:
public Answer(String question_id, String type, String user_answer) {
  this.question_id = question_id;
  this.type = type;
  this.user_answer = user_answer;
}
To save an answer, you’ll add a button with a click handler. Open activity_question.xml and add the following Button element below the GridView:
<Button
    android:id="@+id/submit_button"
    android:layout_width="match_parent"
    android:layout_height="wrap_content"
    android:onClick="onButtonClicked"
    android:text="Submit" />
Within activity_question.xml, create a click handler with the Alt+Enter shortcut:
Add the following to the body of onButtonClicked.
  Answer answer = new Answer(mQuestion.get_id(), "answer",
      mQuestion.getOptions().get(mSelectedOption));
  ModelHelper.save(DataManager.getSharedInstance(getApplicationContext()).database, answer);
This instantiates a new answer object and saves it using ModelHelper.save.
Build and run, select an answer and tap Submit.

Well done! You can now save answers to the database.
doc_count value increase at http://localhost:5984/quizzdroid
One more feature to add before you dive into synchronization is to display the image. The generic term in Couchbase is Attachment.
Using Attachments
Add the following code to the end of onCreate in QuestionActivity.java:
Revision revision = document.getCurrentRevision();
Attachment attachment = revision.getAttachment("image");
if (attachment != null) {
  InputStream is = null;
  try {
    is = attachment.getContent();
  } catch (CouchbaseLiteException e) {
    e.printStackTrace();
  }
  Drawable drawable = Drawable.createFromStream(is, "image");
  mImageQuestion.setImageDrawable(drawable);
}
This uses the current document revision to load the attachment named image as an InputStream. It then converts the stream into a Drawable and assigns it to the mImageQuestion ImageView shown above the question.
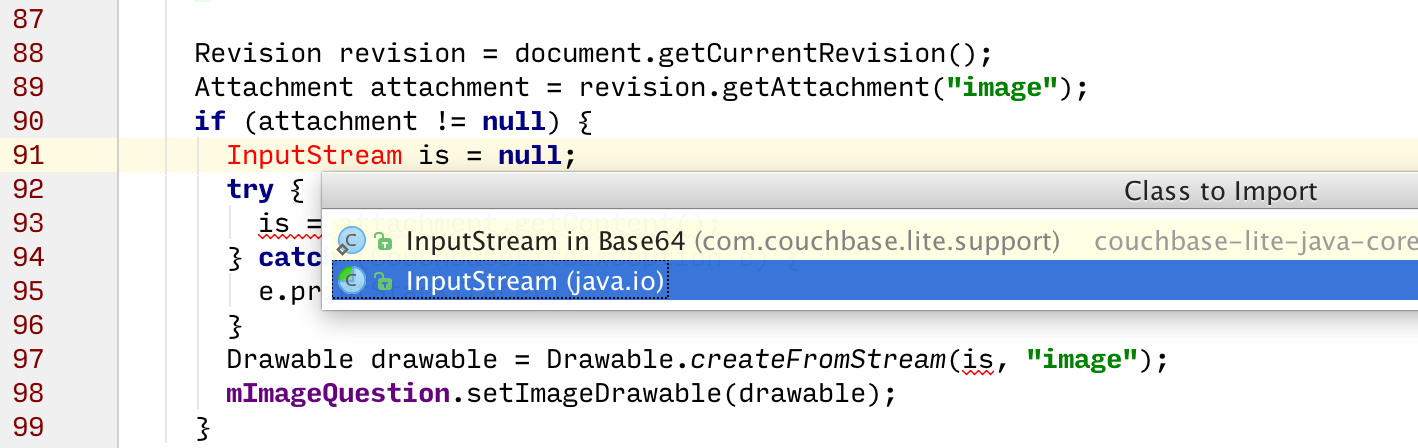
java.io.InputStream for the InputStream class, not the com.couchbase version.
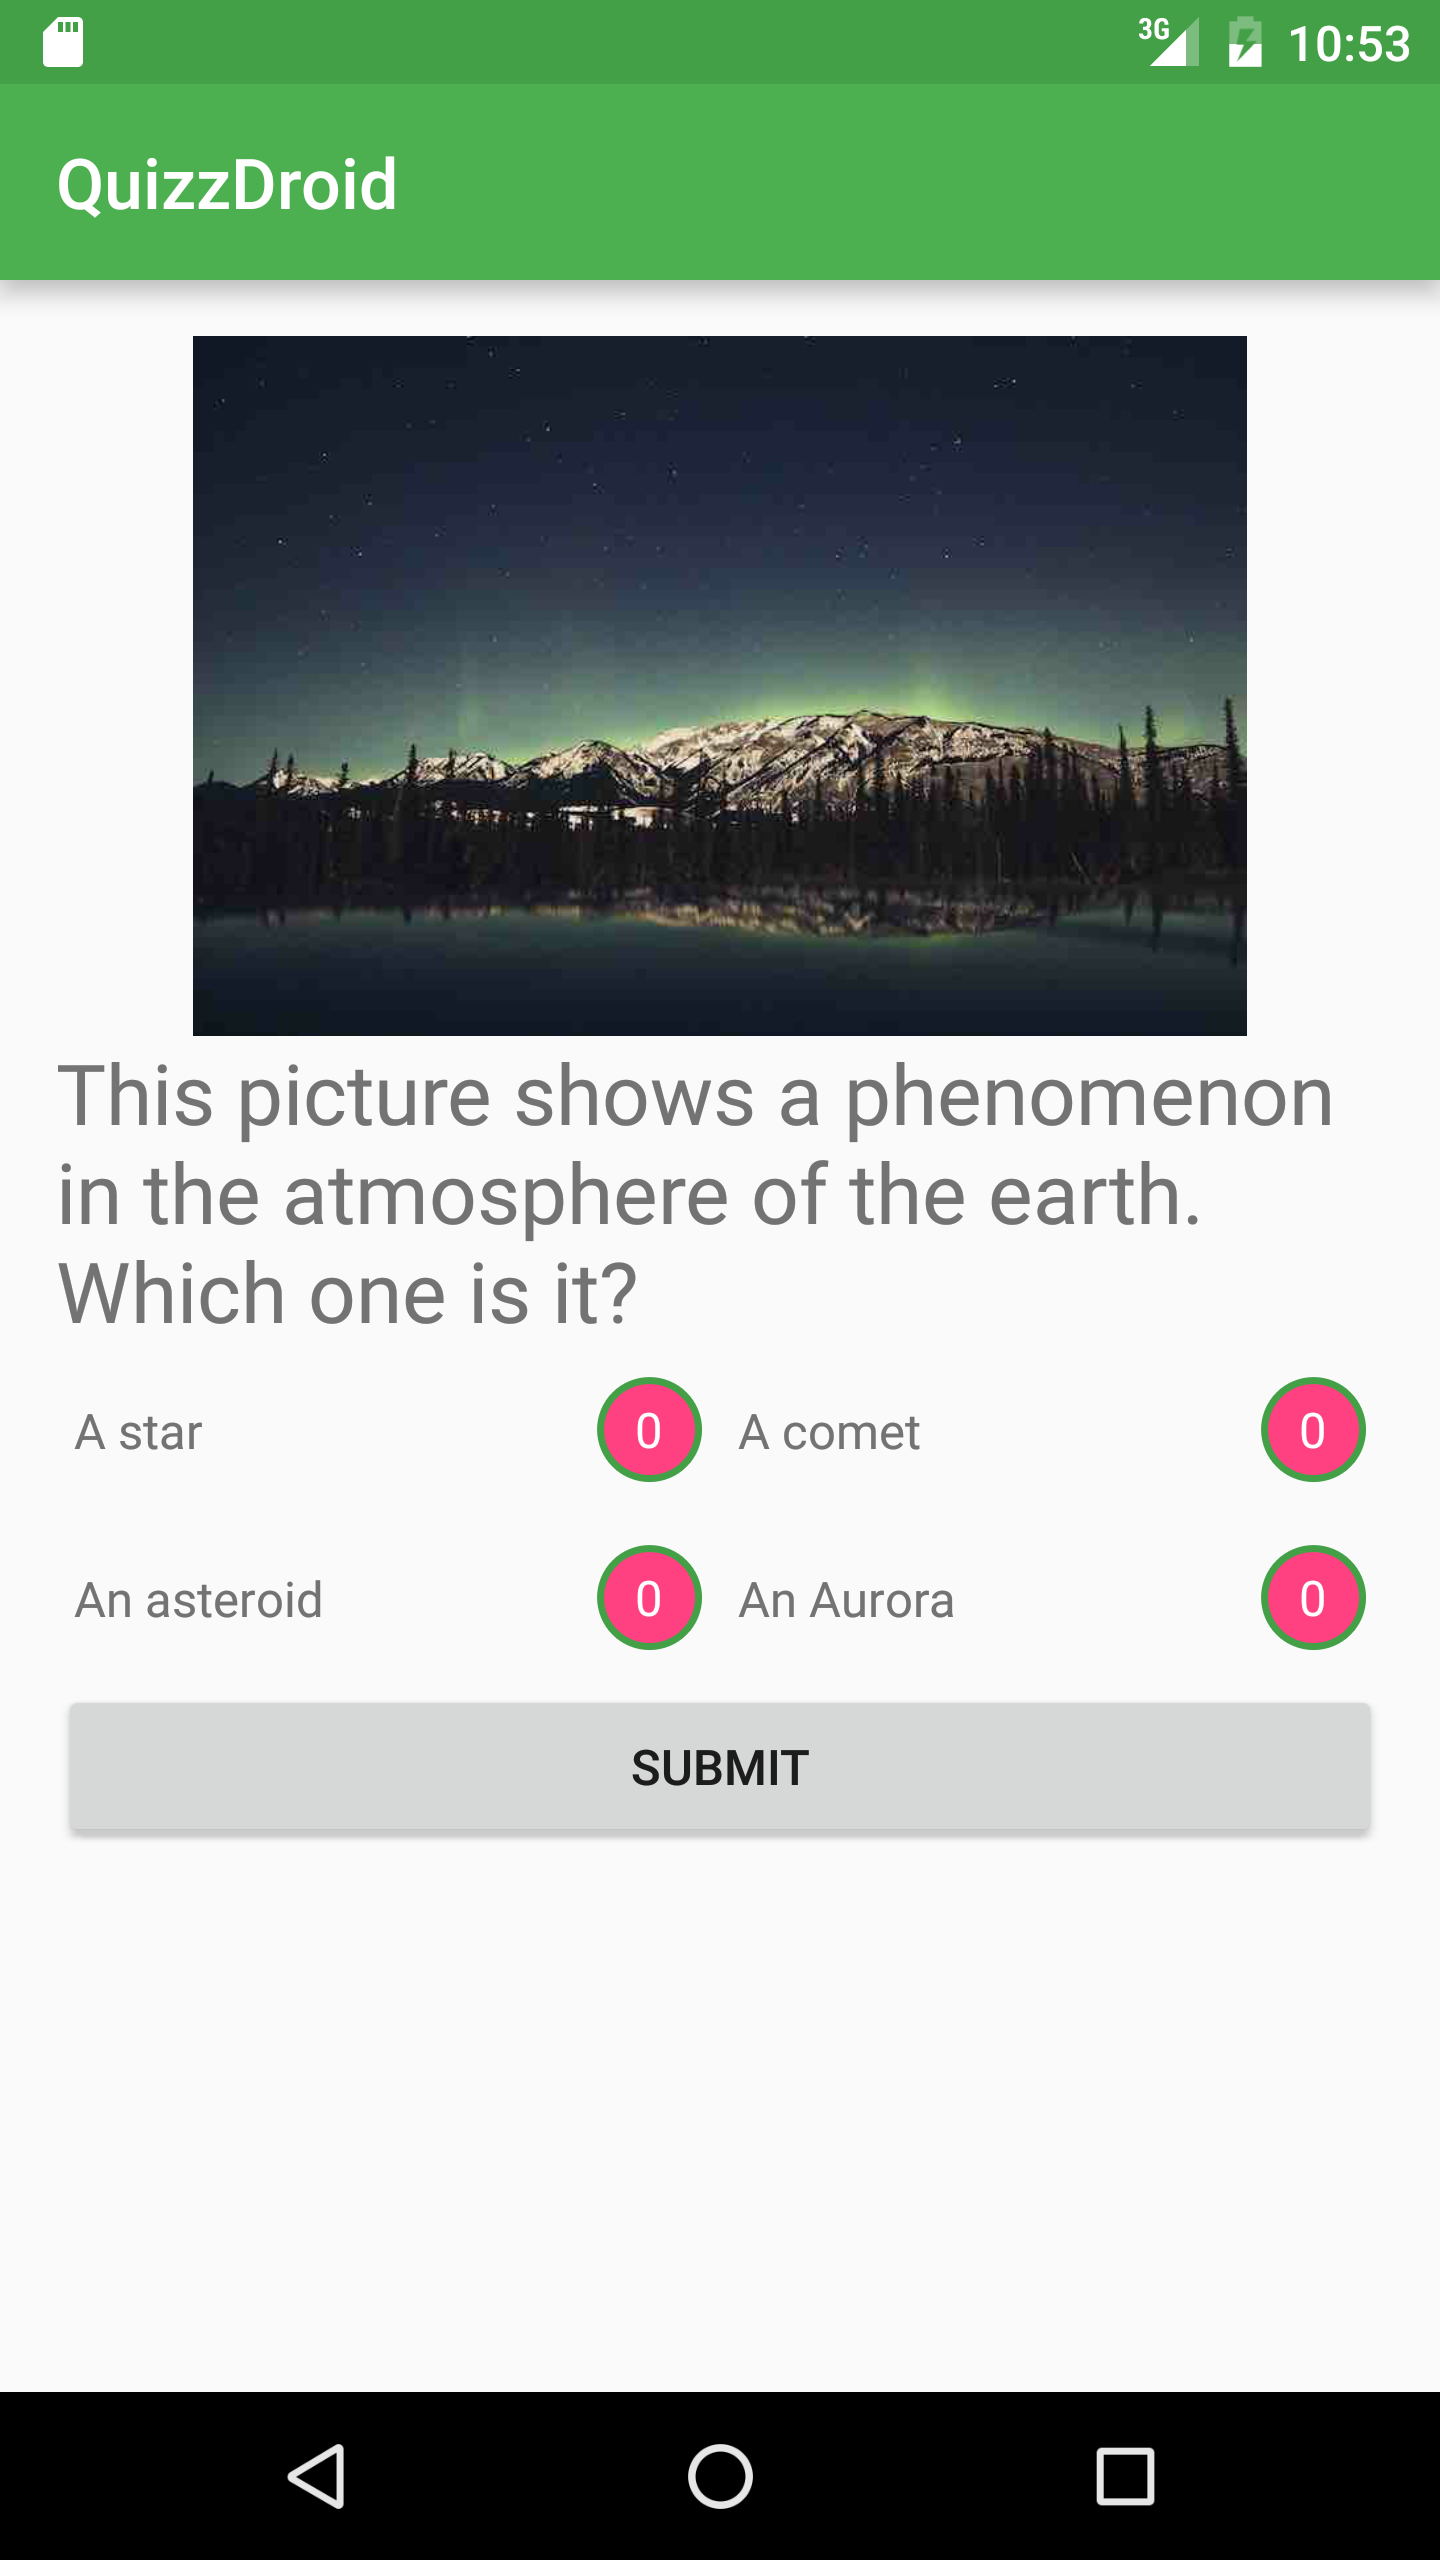
Build and run your app; select a question and the image will appear:
Adding Synchronization
You will use Sync Gateway in what’s known as walrus mode, which is an in-memory, development-only mode. In production, you would install both Couchbase Server and Sync Gateway.
Installing Sync Gateway
Download Sync Gateway community edition and unzip the file. The executable is located in the bin folder. If you unzipped the file to the Downloads folder, start it with this command:
$ ~/Downloads/couchbase-sync-gateway/bin/sync_gateway -dbname="quizzdroid"
You should see Starting server on localhost:4984 ... in your terminal window.
You can now head to http://localhost:4984 to check that it’s up and running:

Now that the Sync Gateway is running, you’ll add some code to replicate the database to the server.
Synchronization
Set up the push and pull replications by adding the following code to the end of the constructor in DataManager.java.
// 1
URL syncGatewayURL = null;
try {
  String SYNC_GATEWAY_URL = "http://localhost:4984/quizzdroid";
  syncGatewayURL = new URL(SYNC_GATEWAY_URL);
} catch (MalformedURLException e) {
  e.printStackTrace();
}

// 2
mPush = database.createPushReplication(syncGatewayURL);
mPush.setContinuous(true);
mPush.start();

// 3
mPull = database.createPullReplication(syncGatewayURL);
mPull.setContinuous(true);
mPull.start();
This code segment does the following:
- Instantiates a URL pointing to http://localhost:4984/quizzdroid, which is your local Sync Gateway instance.
- Starts a push replication in continuous mode, which is the operation that will send data from the local database to the server.
- Starts a pull replication in continuous mode, which is the operation that will retrieve data from the server and save it to the local database.
Before you can build and run, you’ll need to use an ADB command to ensure that QuizzDroid, running on a plugged-in device or emulator, can reach the server over localhost.
With the emulator running, run the following from the command line:
$ adb reverse tcp:4984 tcp:4984
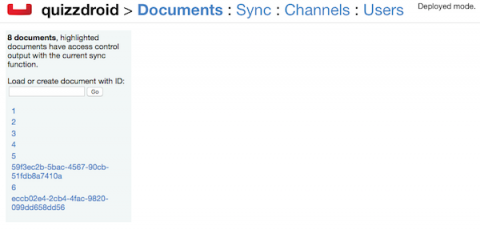
Build and run your app; you should see a new document appear on the Sync Gateway admin UI (http://localhost:4985/_admin/db/quizzdroid, note the different port number) every time you answer a question.
So far so good, but what about displaying answers from other users? You’ll do exactly that in the next section.