Auto Layout Tutorial in iOS: Getting Started
In this Auto Layout tutorial, you’ll learn how to use constraints and apply them to making iOS apps. By Naeem Shaikh.
Adding Other Heads
Drag the green view into the main view’s top-left corner. Recall that the green view had horizontal and vertical space constraints that determined its position in the parent view. It still has those, and they cause the frame of the view to be misaligned.

To fix this, use the Resolve Auto Layout Issues button and choose Update Constraints Constants. This will update the constraints to match the frame:

The leading constraint now has size of zero, represented by a thick blue line at the left edge of the window. Although the view sits in the corner, it needs constraints to anchor it there:

Now you are going to start adding more views to show more people. Select the green view and press Command-C followed by Command-V to duplicate it. Move the duplicate into the top-right corner:
Notice that the T-bars are red. When you made the duplicate, it lost its constraints for the X and Y position. To fix that, pin the view to the top and the right edges of the window. Make sure to uncheck Constrain to margins.

Duplicate two more times and put these copies in the bottom-left and bottom-right corners, respectively. The bottom-left view should have its leading and bottom pinned, while the bottom-right should have its trailing and bottom edges pinned to the superview.
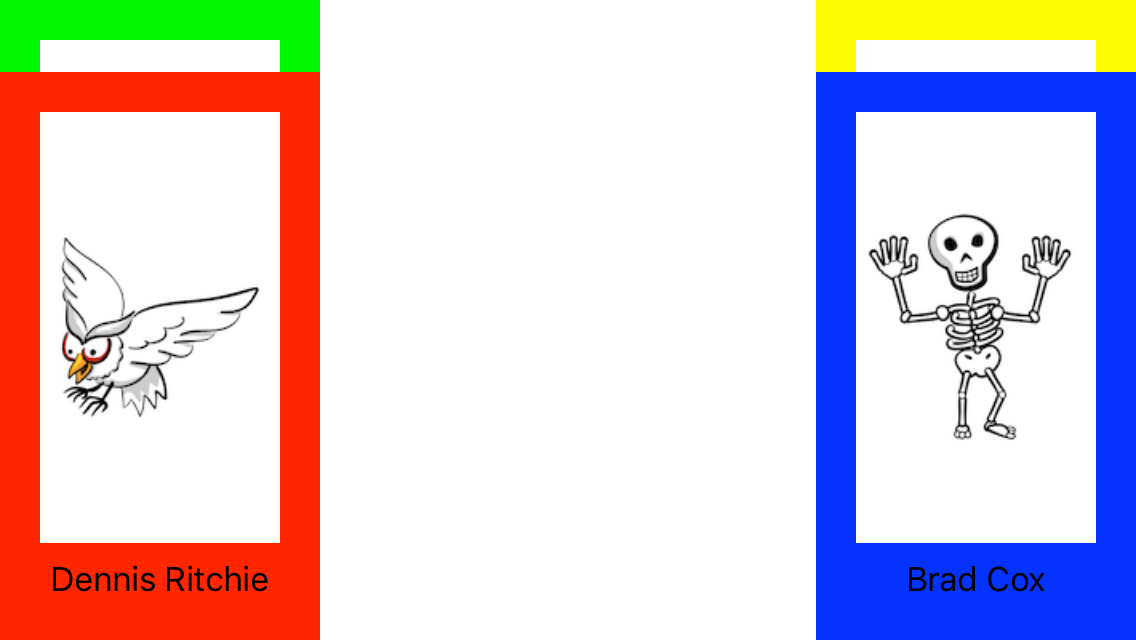
Now it’s time to make the screen more colorful. Select each of the green views and change their backgrounds to a different color. Also change the label titles and the images view images to represent the programmers. In the end, your screen should look something like this:

Those are some good-looking programmers! :]
Run the app on the iPhone SE simulator. It looks good in portrait, but not in landscape:
It should be pretty obvious what went wrong: Because you set a fixed width and height on the four colored container views, they will always have those sizes, regardless of the size of their superview.
Select the fixed width and fixed height constraints from all four views and delete them. This is easiest in the Document Outline. If you run the app now, you’ll get something like this:

50:50 Split
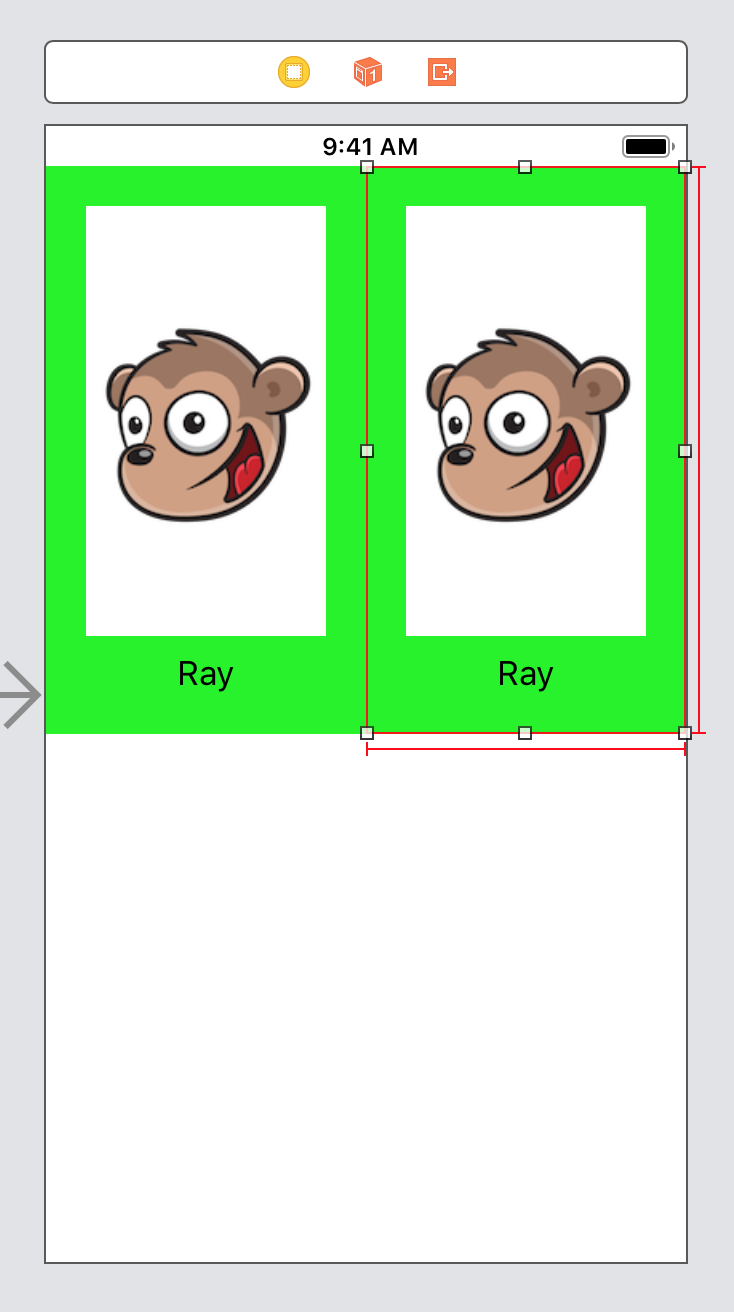
To achieve your desired layout, you’re going to set each view’s width and height to be 50% of the ViewController’s view. In Document Outline, Control-drag from the green Ray view to the Safe Area view:

While pressing Shift, click Equal Widths and Equal Heights, and then press Enter. This allows you to select multiple items. Once those constraints are active, Ray will fill the screen, which is not the intention. :]
In the Size inspector, click Edit on the Equal Width to Safe Area row in the Sibling & Ancestor Constraints section:

In the multiplier field, enter 0.5 and press Enter. This will set the width of Ray’s view to be 50% of Ray’s container view. Repeat this for the Equal Height to Safe Area row. You should see that Ray is now the correct size:

Now repeat this for the remaining views. Build and run. Everything looks great!

Where to Go From Here?
Download the completed version of the project using the Download Materials button at the top or bottom of this tutorial.
Congratulations! Now you know what Auto Layout is all about, and you have some experience with the basics! There’s much more to learn. To keep learning, check out our Auto Layout tutorial video series.
If you have any questions or comments as you continue on your Auto Layout journey, join the forum discussion below.