Auto Layout Tutorial in iOS: Getting Started
In this Auto Layout tutorial, you’ll learn how to use constraints and apply them to making iOS apps. By Naeem Shaikh.
Fixed Sizes
You may not always want your view to resize when the device rotates, so you can use constraints to give the view a fixed width and/or height. Do that now.
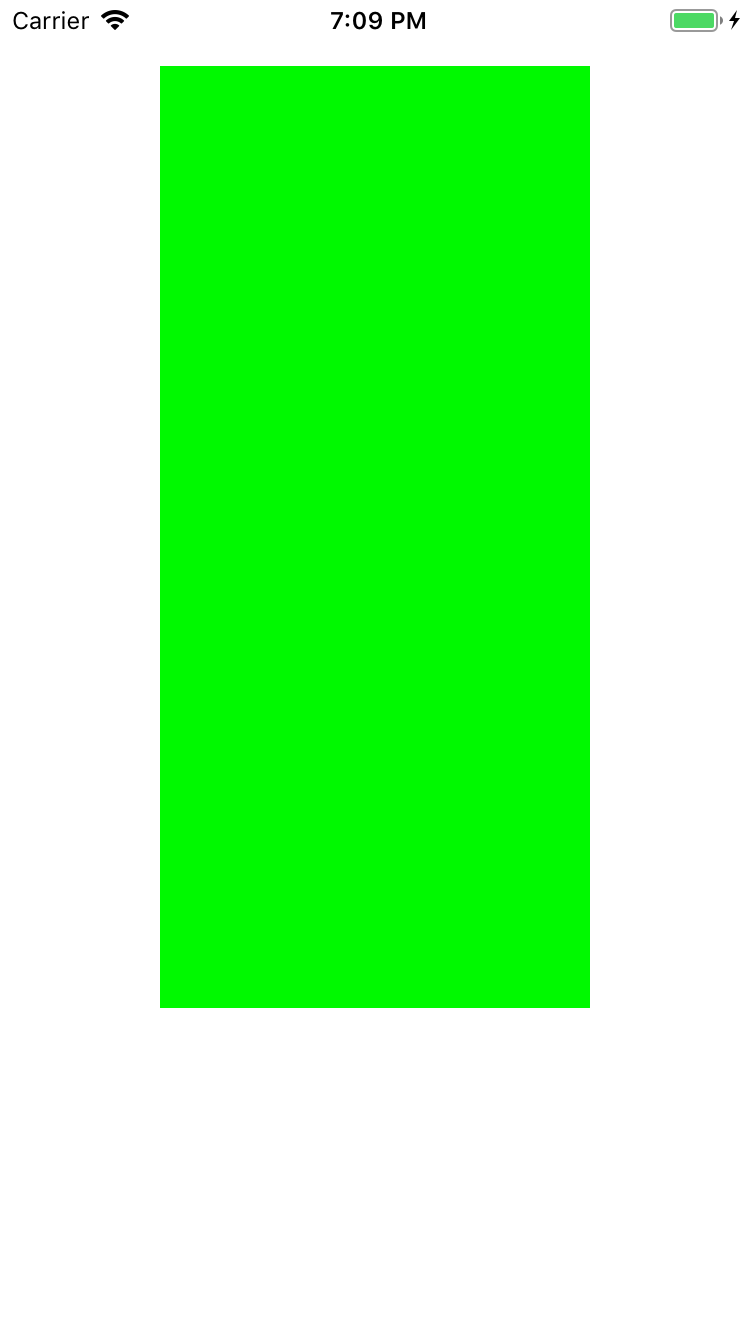
Select the green view and click Add New Constraints. In the pop-up, select Width and give it a value of 160; then select Height and specify its value to be 372:

Click Add 2 Constraints to finish. You’ve added two new constraints to the view, a 160-point width constraint and a 372-point height constraint.
Also change the values in the existing constraints by selecting each one from the Document Outline and modifying their values in the Size inspector. Use these values: top: 13, leading: 80, trailing: 80, bottom: 163.

Run the app. Yep, it looks good in portrait.
Now rotate to see it in landscape. Whoops! Not only does it not look like you wanted, but the Xcode debug pane has dumped a nasty error message that looks like this at the top:
Unable to simultaneously satisfy constraints.
Probably at least one of the constraints in the following list is one you don't want.
Try this: (1) look at each constraint and try to figure out which you don't expect;
(2) find the code that added the unwanted constraint or constraints and fix it.
(...)
Will attempt to recover by breaking constraint....
Remember when I said there must be enough constraints so that Auto Layout can calculate the positions and sizes of all the views? Well, this is an example where there are too many constraints. When you get the error “Unable to simultaneously satisfy constraints,” it means your constraints are in conflict.
To solve this, remove the Safe Area.trailing = View.trailing at the right and the Safe Area.bottom = View.bottom at the bottom by selecting them in the Document Outline and hitting delete.
The storyboard should look like this:

Now the view has the right number of constraints to determine its size and position. Run the app and verify that the error message is gone and that the view stays the same size after rotating.


Next, select the green view’s height constraint and, in the Size inspector, change its Constant to 284. This will make sure it’s half as large as the screen.

Painting the Portraits
From the Library, drag a Label onto the green view. Notice that now the guides appear within that green view because it’s the superview for the label.

Position the label against the bottom margin, spaced equally from the guides.
You now need to add a space constraint to anchor the label against the bottom, left and right of the green view, at 20 points distance. Ensuring that the label is selected, click the Add New Constraints button. Enter 20 for each of the bottom, left and right constraints, making sure the I-bar is solid, then select Add 3 Constraints:

Now, in the Attributes inspector, select Center Alignment.

It’s important to have a right and left constraint on UILabels. Otherwise, they will show outside their superview when the text is too long.
Notice that these new constraints are listed under the green view’s own Constraints section, not in the main view.
Adding Images
From the Library, drag a new Image view object onto the storyboard and make the layout look like this:

The image view’s top, left, and right edges are pinned to its superview, but its bottom is connected to the top of the label with a standard spacing of 8 points. If you’re unsure of how to do this, then follow these steps.
1. Drag an Image view from the Library into the green view. Don’t worry about its size or position:

2. With the Image view selected, click Add New Constraints and choose the following options:

The top, left, and right I-bars are set to 20 points, but the bottom one is set to 8 points.
The constraints you chose result in a different frame than the image view’s current position and size. Interface Builder will automatically adjust the frame as it adds the constraints.
Now you’re ready to add images and names to your view. You’ll use the bundled images included in Assets.xcassets.
Still in Main.storyboard, select the Image view and, in the Attributes inspector, set Ray as the Image. Also set the Content Mode to Aspect Fit. Then, set the Background to White Color.

Double click the Label, and set its title to Ray.
Your layout should look like this:

Priorities
Notice that the constraints inside the green view turned red. This happened the moment you set the image on the image view. Why is your layout invalid? Take the guesswork out of it. Xcode will tell you what’s wrong.
Click the small red arrow next to View Controller Scene in the Document Outline to view the issues:

You have a Content Priority Ambiguity error. That’s a mouthful! Here’s what it means: If neither the image view nor the label has a fixed height, then Auto Layout doesn’t know by how much to scale each if the height of the green view should change.
Say at some point, the green view becomes 100 points taller. How should Auto Layout distribute these new 100 points among the label and the image view? Does the image view become 100 points taller while the label stays the same size? Or does the label become taller while the image view stays the same? Do they both get 50 points extra, or is it split 25/75, 40/60, or some other combination?
If you don’t solve this problem, Auto Layout has to guess, and the results may be unpredictable.
The solution is to change the Content Hugging Priority of the label. You can imagine hugging here to mean size-to-fit. In other words, the bounds of the view will hug the intrinsic content size. A higher value here means the view will be less likely to grow and more likely to stay the same.
Go into the Size inspector for the label and set the Vertical Content Hugging Priority to 252. That makes it one higher than the priority of the image view. As a result, when the superview changes size, the image view will be the one to resize, and the label will stay the same size.

The T-bars should turn blue again and the Auto Layout warnings should have disappeared.