Carthage Tutorial: Getting Started
In this Carthage tutorial, you’ll learn what Carthage is, how to install it and how to use it to declare, install and integrate your dependencies. By Felipe Laso-Marsetti.
Duck, Duck… GO!
Now that you’ve integrated Alamofire and AlamofireImage into the project, you can put them to use by performing some web searches.
In Xcode, open DuckDuckGo.swift. At the top of the file, add the import below:
import Alamofire
Next, replace the contents of the existing performSearch(for:completion:) with this:
// 1
let parameters: Parameters = [
  "q": term,
  "format": "json",
  "pretty": 1,
  "no_html": 1,
  "skip_disambig": 1
]

// 2
Alamofire.request(
  "https://api.duckduckgo.com",
  method: .get,
  parameters: parameters)
  .responseData { response in
    // 3
    guard
      response.result.isSuccess,
      let jsonData = response.result.value
      else {
        completion(nil)
        return
    }

    // 4
    let decoder = JSONDecoder()

    guard
      let definition = try? decoder.decode(Definition.self, from: jsonData),
      definition.resultType == .article
      else {
        completion(nil)
        return
    }

    completion(definition)
}
Here’s what this does:
- First, you build the parameters to send to DuckDuckGo. The most important two here are
q, the search term itself, andformat, which tells the web service to respond with JSON. - Then you perform the request using Alamofire. This call makes a GET request to
https://api.duckduckgo.com, using the parameter dictionary created above. - Once the response comes back, check if the request failed and optionally bind the JSON response object to ensure it has a value. If something is wrong, exit early.
- Next, use
JSONDecoderto deserialize theDefinition, which conforms toCodable. The DuckDuckGo API can return a range of different result types, but the one covered here is Article, which provides a simple definition of the search term. You filter forarticlethen pass the retrieved definition to the completion handler.
Disambiguation results are like this Christopher Evans page on Wikipedia that clarifies whether you meant Chris Evans the movie actor, Chris Evans the British TV personality or Chris Evans the train robber.
skip_disambig means the API will pick the most likely result and return it.
skip_disambig parameter exists, it’s to tell DuckDuckGo not to return ‘disambiguation’ results.
Build and run. Once the app starts, enter “Duck” in the search bar. You’ll now see a definition on the next screen.

There’s something missing, however: a picture! It’s one thing to read what a duck is, but who reads anymore? Pictures are worth — okay, I’ll spare you the cliché, you know what I mean.
Anyway, who doesn’t like looking at pictures of ducks? Kittens are so last season, right?
Open DefinitionViewController.swift and add a new import below the existing UIKit import at the top:
import AlamofireImage
Then, add the following code below viewDidLoad:
override func viewDidAppear(_ animated: Bool) {
  super.viewDidAppear(animated)

  if let imageURL = definition.imageURL {
    imageView.af_setImage(withURL: imageURL) { _ in
      self.activityIndicatorView.stopAnimating()
    }
  }
}
af_setImage is an extension of UIImageView that AlamofireImage provides. You call it to retrieve the image found in the definition imageURL. Once retrieved, the activity indicator’s animation stops.
Build and run, then perform your search again.
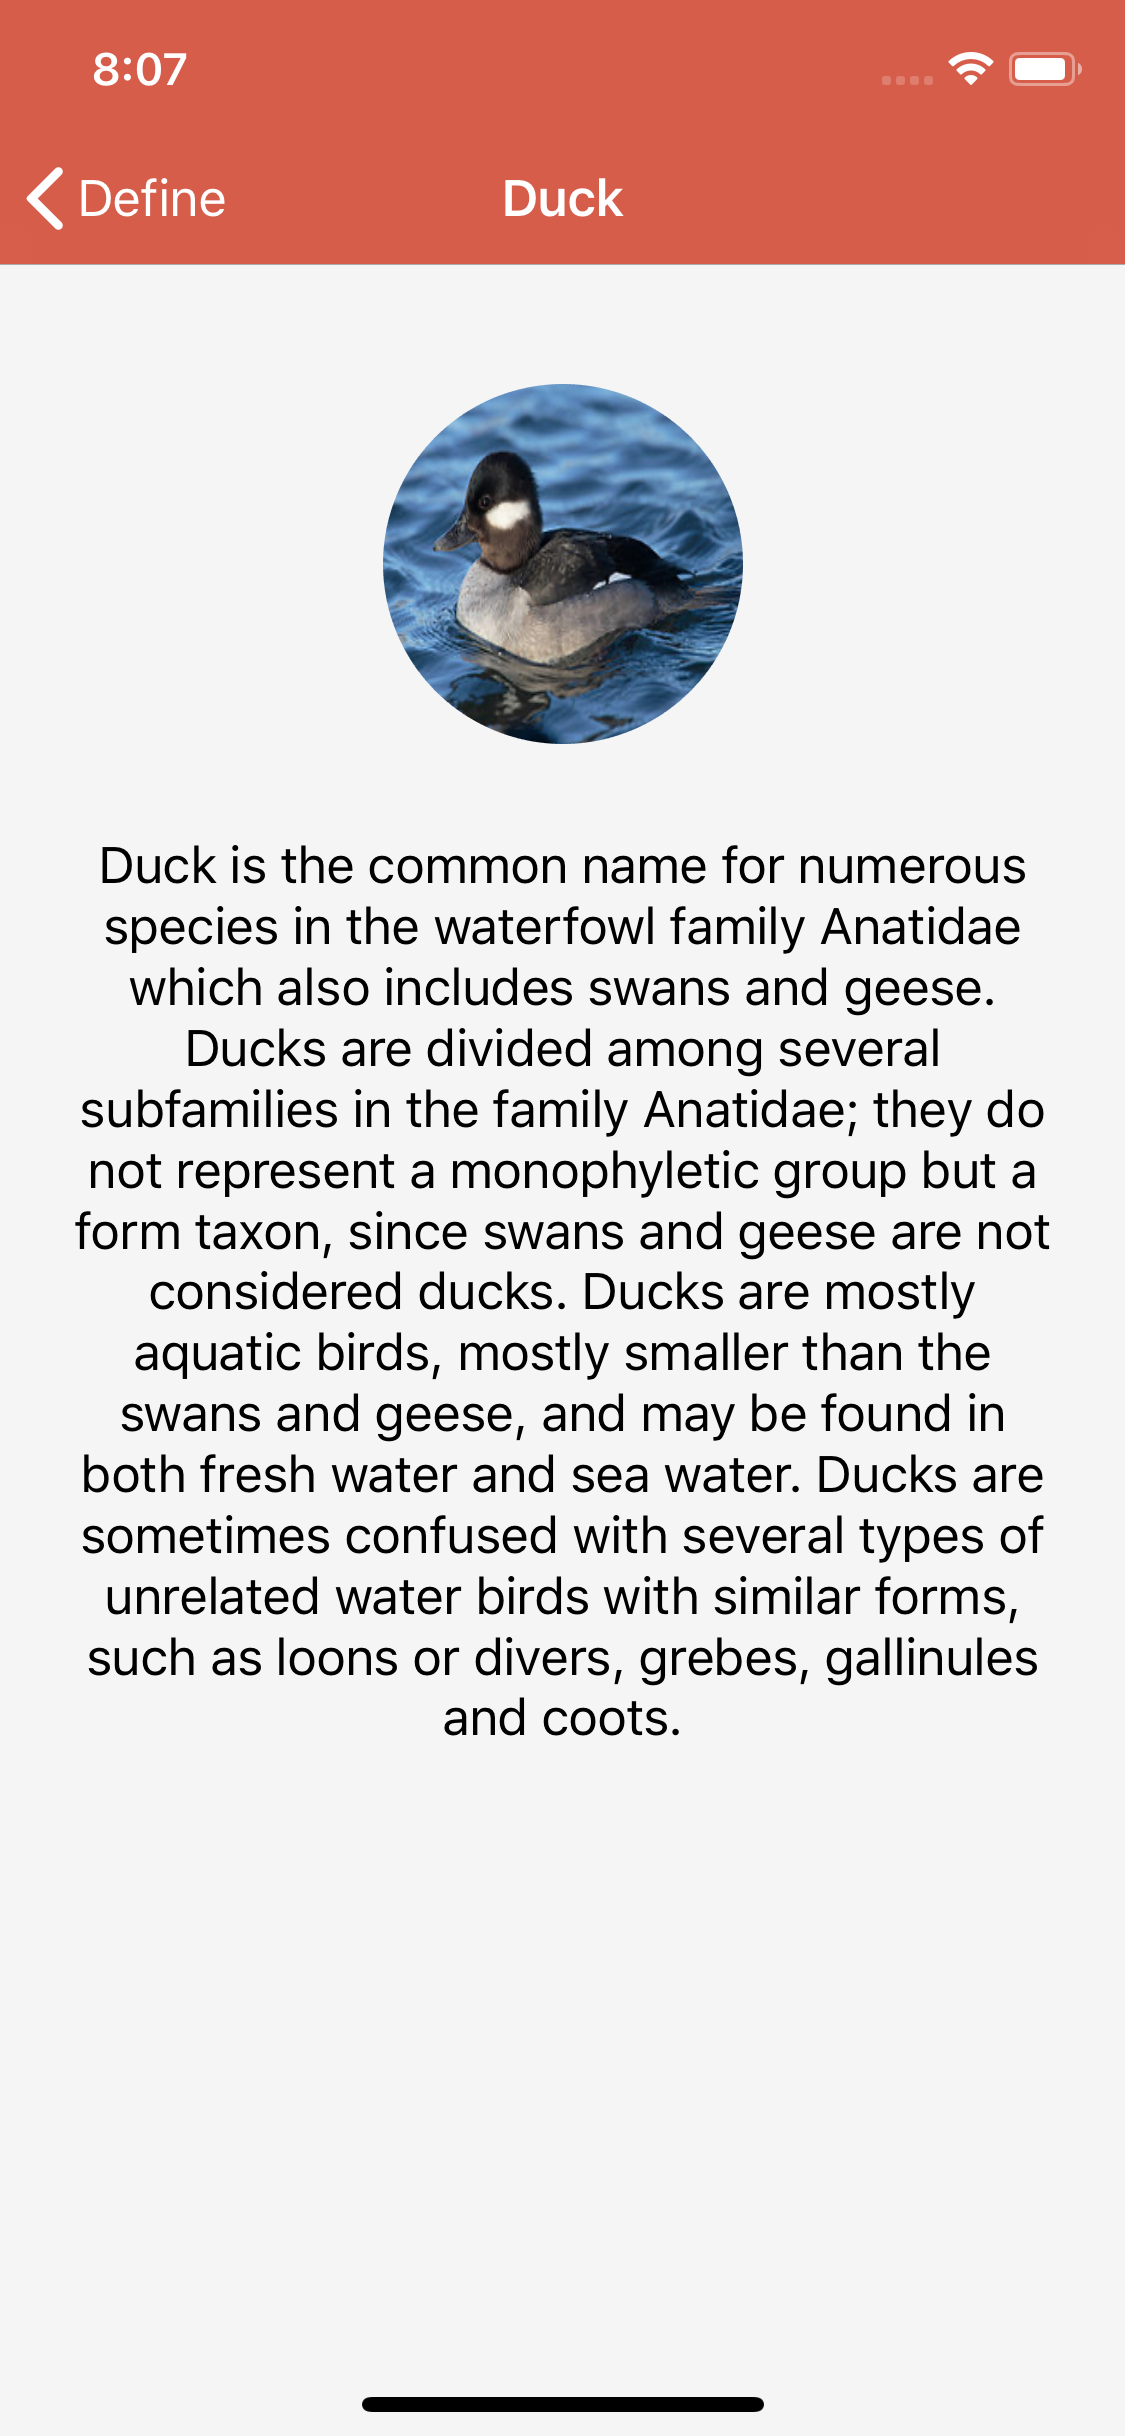
Quack quack!
Where to Go From Here?
You can download the completed version of the project using the Download Materials button at the top or bottom of this tutorial.
Congratulations, you’ve learned about the philosophy behind dependency management and Carthage itself. You gained experience using Carthage to add dependencies to a project and used those dependencies to make a useful app!
You also know how to update your dependencies for future releases.
If you want to learn more about Carthage, your first stop should be the Carthage README and the documentation on Build Artifacts.
Finally, if you’d like to learn more about Swift Package Manager, be sure to check out our tutorial Swift Package Manager for iOS or our video course Moving from CocoaPods to Swift Package Manager. About CocoaPods, you can check out our tutorial on How to Use CocoaPods With Swift. It also contains a great section on Semantic Versioning, which you saw in use in Cartfiles.
I hope you got a lot out of this Carthage tutorial. If you have any questions or comments, please join the forum discussion below!