Create ML Tutorial: Getting Started
In this Create ML tutorial, you’ll learn how to transfer your learning to Turi Create, and gain familiarity with machine learning toolsets and terminology. No math needed! By Audrey Tam.
Create ML is proof that Apple is committed to making it easier for you to use machine learning models in your apps. In this Create ML tutorial, you’ll learn how Create ML speeds up the workflow for improving your model by improving your data while also flattening the learning curve by doing it all in the comfort of Xcode and Swift.
At the same time, you’ll gain familiarity with ML toolsets and terminology. No math needed! You don’t need to know how to write a compiler to use Swift, and you don’t need to be able to write a new ML algorithm to use a classifier. With Create ML, you have no excuse not to get started!
A brief history of Apple ML:
- Core ML: Announced at WWDC 2017, and already supported by every major ML platform to convert existing models. But the existing models tend to be too big and/or too general.
- Turi Create: Acquired by Apple sometime after WWDC 2017, it lets you customize existing models with your own data. But … Python :[.
- IBM Watson Services: Announced in March 2018. You can customize IBM Watson’s visual recognition model to recognize your own data. Drag-and-drop your data, no coding required, but you have to navigate the IBM Cloud maze, and the Core ML model is wrapped in the Watson API.
- Create ML: Announced at WWDC 2018. ML in Xcode & Swift! Currently includes only two of Turi Create’s seven task-focused toolkits, plus a generic classifier and regressor, and data tables. I see it as a trail of breadcrumbs leading you to the Turi Create gingerbread house, inhabited by a “good dog” instead of a witch! (Turi Create’s logo is a dog silhouette.)
You’ll start this Create ML tutorial with the spectacular Create ML party trick: You’ll build an image classifier in a GUI, using images from the Kaggle Cats and Dogs Dataset. Then you’ll compare this with the Turi Create example that uses the same dataset. As you’ll see, Turi Create is more manual, but it’s also more flexible and not at all mysterious! For a more code-based example, you’ll compare the text classifier code for Create ML and Turi Create.
Then I’ll show you how to quickly set up an environment to work with Turi Create. Apple has even modified Xcode playgrounds to behave more like Jupyter notebooks, so the coding environment will feel familiar! To try it out, you’ll use Turi Create in a Jupyter notebook to build an image similarity model for the same cats and dogs dataset.
You could wait and hope for Apple to move the rest of Turi Create to Create ML, but you’ll see it’s not hard to use Create ML as a stepping stone to working directly with Turi Create. If you need more than Turi Create, we have tutorials on “rolling your own” with Keras, scikit-learn and Caffe (coming soon). And the ML universe has a wealth of starting points, all available to you, once you’re comfortable with the development environment.
Getting Started
To work through this Create ML tutorial, you need:
- a Mac running macOS 10.14 Mojave beta
- Xcode 10.x beta
Click the Download Materials button at the top or bottom of this tutorial. The starter folder contains:
- Pets-100, Pets-1000 and Pets-Testing: These contain images of cats and dogs; you’ll use these to train and evaluate a cat-dog classifier.
- ClassifyingImagesWithVisionAndCoreML: Apple’s sample project for CoreML; you’ll replace the MobileNet model with the model you train in Create ML.
- good-dog.png: An additional dog picture.
- turienv.yaml: You’ll use this file to create an environment where you can run Turi Create code.
Create ML Image Classifier
First, prepare your data — you’re going to train an image classifier model to recognize images of cats and dogs. When you show it an image, it will return the label “Cat” or “Dog”. To train the model, you need a Cat folder with images of cats and a Dog folder with images of dogs. Ideally, there should be about the same number of images in each class folder — if you have 30 cat images and 200 dog images, the model will be biased towards classifying images as Dog. And don’t include any images that contain both kinds of animal.
How many images of each class? At least 10, but more images will train the model to be more accurate. The Kaggle Cats and Dogs Dataset has 12,500 images of each class, but you don’t need to use all of them! Training time increases when you use more images — doubling the number of images roughly doubles the training time.
To train a Create ML image classifier, you give it a training dataset — a folder containing the class folders. Actually, the starter folder contains two datasets I prepared earlier ;]. Pets-100 contains the first 50 images of the Kaggle dataset’s Cat and Dog class folders; Pets-1000 has the first 500 images of each.

After training the model, you’ll need a testing dataset to evaluate the model: a folder containing Cat and Dog folders. The images in the testing dataset should be different from the images in the training dataset, because you want to evaluate how well the model works on images it hasn’t seen before. If you’re collecting your own data, you would put 20% of your images in the testing dataset, and the rest in the training dataset. But we have 12,500 images of each class to play with, so Pets-Testing contains images 900 to 999 from each Kaggle dataset class folder.
You’ll start by training the model with Pets-100, and test it with Pets-Testing. Then you’ll train it with Pets-1000, and test it with Pets-Testing.
Apple’s Spectacular Party Trick
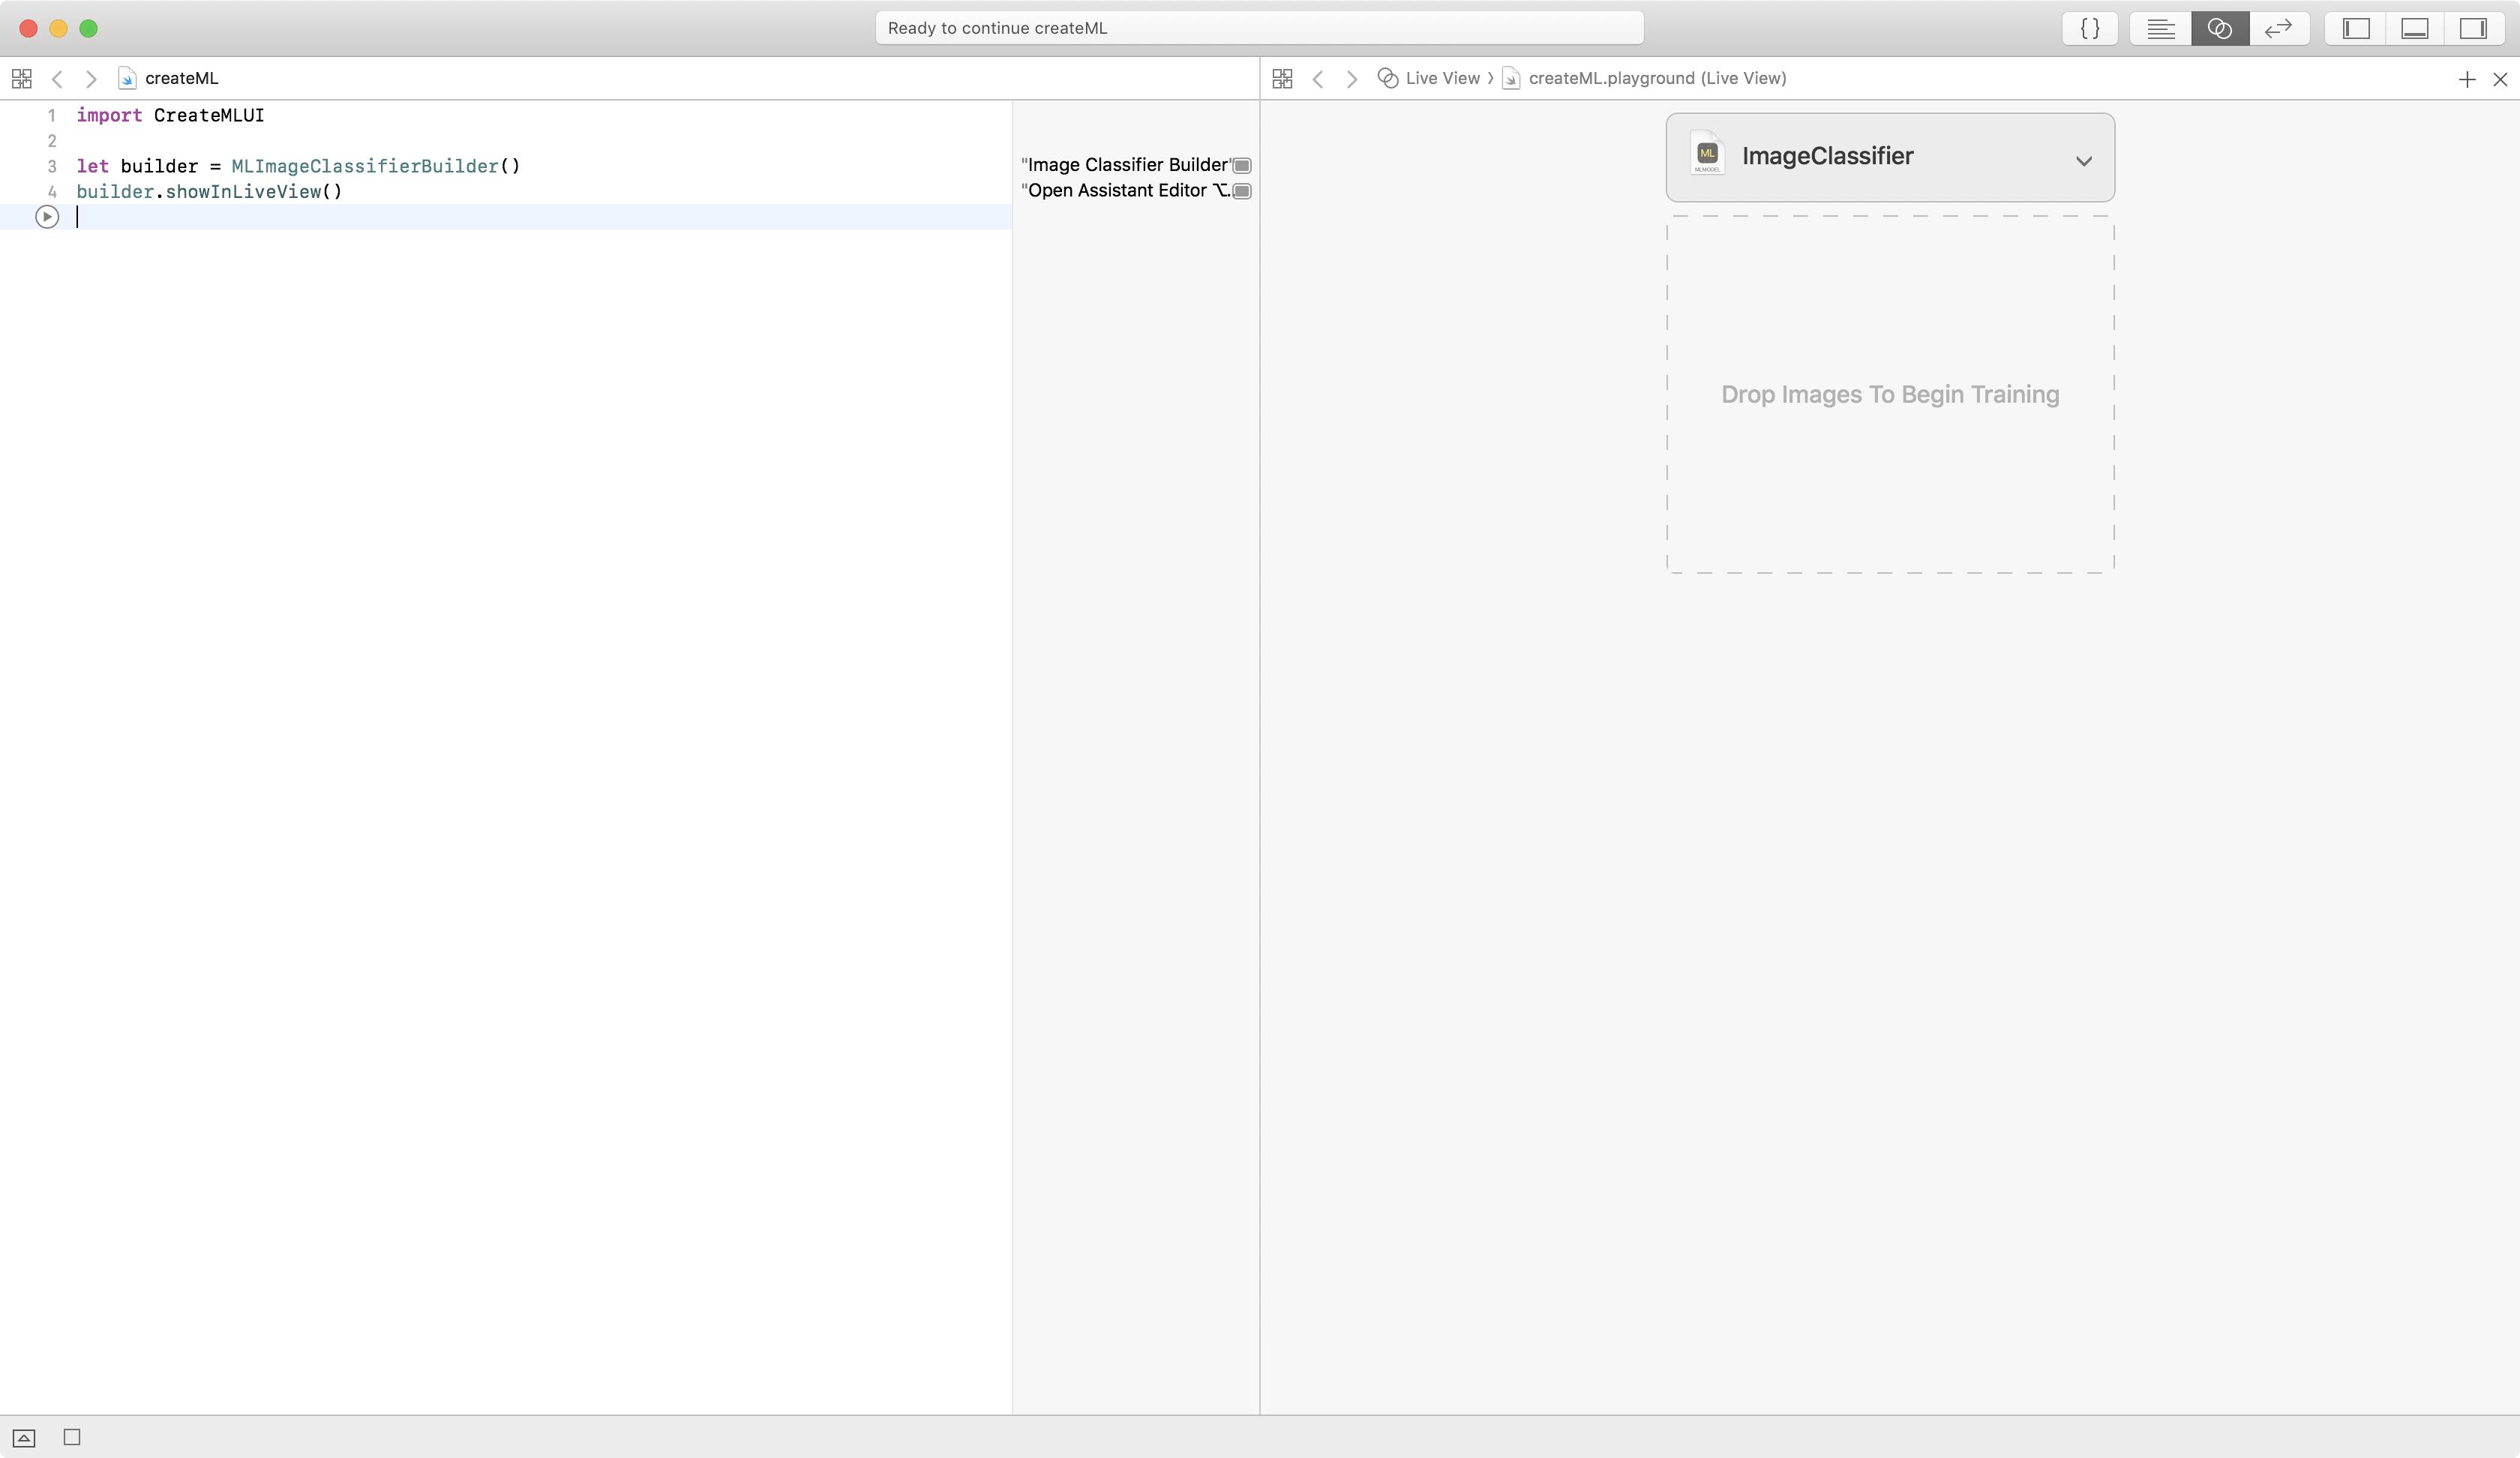
In Xcode 10, create a new macOS playground, and enter this code:
import CreateMLUI

let builder = MLImageClassifierBuilder()
builder.showInLiveView()
Show the assistant editor, and click the run button:
You’re creating and showing an interactive view for training and evaluating an image classifier. It’s brilliant! It magically makes it easy for you experiment with different datasets — because what matters is not who has the best algorithms, but who has the best data ;]. The algorithms are already very good, and you can let the data science researchers carry on with making them better. But garbage in, garbage out; most of the time, effort, expense of machine learning goes into curating the datasets. And this GUI image classifier helps you hone your data curating skills! Feel free to download the Kaggle Cats and Dogs Dataset and create your own datasets. After you see what my datasets produce, you might want to be more careful selecting from this grab bag of good, bad and awful images.
Drag the Pets-100 folder onto the view. The training process starts immediately. Images load, with a progress bar below. After a short time, a table appears in the debug area, displaying Images Processed, Elapsed Time and Percent Complete:

What’s happening here? It’s called transfer learning, if you want to look it up. The underlying model — VisionFeaturePrint_Screen, which backs the Vision framework — was pre-trained on a ginormous dataset to recognize an enormous number of classes. It did this by learning what features to look for in an image, and how to combine these features to classify the image. Almost all of the training time for your dataset is the model extracting 2048 features from your images. These could include low-level shapes and textures and higher-level shape of ears, distance between eyes, shape of snout. Then it spends a relatively tiny amount of time training a logistic regression model to separate your images into two classes. It’s similar to fitting a straight line to scattered points, but in 2048 dimensions instead of 2. But it’s still very quick to do: my run took 1m 15s for feature extraction and 0.177886 seconds to train and apply the logistic regression.
Transfer learning only works successfully when features of your dataset are reasonably similar to features of the dataset that was used to train the model. A model pre-trained on ImageNet — a large collection of photos — might not transfer well to pencil drawings or microscopy images.
You might like to browse two fascinating articles about features from (mostly) Google Brain/Research:
On a 2017 MacBook Pro with a 2.9GHz i7 CPU, the feature extraction time drops to 11.27s and training takes 0.154341 seconds.