Building Dart APIs with Google Cloud Run
Learn how to build backend applications using Dart and Google Cloud Run. By Alhassan Kamil.
Setting up Billing
Navigate to https://console.cloud.google.com/billing/linkedaccount?project=mnote-c7379 after replacing mnote-c7379 with project_id from the service account JSON file. Then, click LINK A BILLING ACCOUNT,

Then select your billing account and click SET ACCOUNT (in case you haven’t created your billing already. You can do so by following Create a new Cloud Billing account):

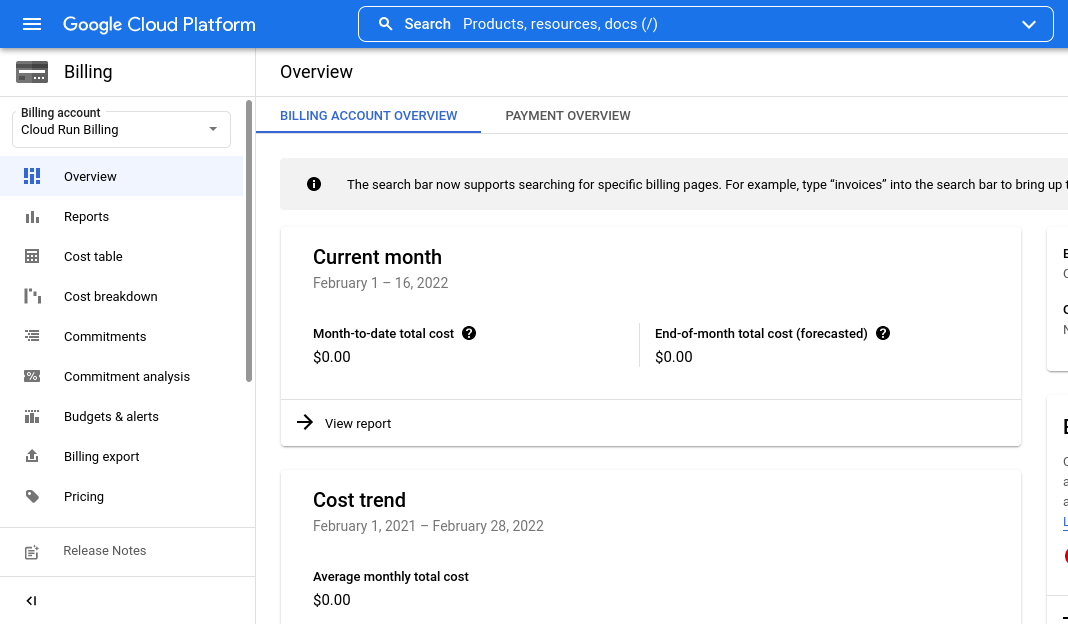
Finally, you’ll be redirected to the billing account overview page:
The setup is done; now it’s time to grasp REST APIs before we dive into coding.
An Overview of REST APIs
REST APIs follow the constraints originally defined by Roy Fielding in his dissertation Architectural Styles and the Design of Network-based Software Architectures . The diagram below illustrates a REST API in it’s simple form:

In the REST API architecture, a client (browser, phone, etc.) sends an HTTP request to an API server requesting data in the server using HTTP methods. The server responds with either the requested data or failure as an HTTP response.
This request-response cycle happens through standard endpoints known as uniform resource locators (URLs) that provide access points for various resources on the server and how to retrieve them.
The following section defines these endpoints that you’ll use in this tutorial.
Developing the API Endpoints
All of your API endpoints reside in the lib/routes folder.
Designing Endpoints
You’ll implement eight endpoints, which include:
- GET /v1: For getting the app information.
- POST /v1/users/login: For logging in users.
- POST /v1/users/register: For registering users.
- GET /v1/notes: Retrieves all notes.
-
GET /v1/notes/
: Retrieves the note with ID equal to . - POST /v1/notes: Saves a note into the system.
-
DELETE /v1/notes/
: Deletes the note with ID . - * /v1: Processes any request that doesn’t match any of the above endpoints.
Next, you’ll write code to implement the API endpoints above in the proceeding sections.
Implementing the UserRoutes Endpoints
The first endpoints you want to implement are the user authentication endpoints. These routes to the user controller authenticate and verify that a user exists in the system before giving them access to manage notes.
Open lib/routes/user_routes.dart and import the following:
import 'package:shelf/shelf.dart';
import '../controllers/user_controller.dart';
Then, find router() and replace it’s contents with the following code:
// 1
final router = Router();
// 2
router.post(
    '/register', (Request request) => UserController(api).register(request));
// 3
router.post('/login', (Request request) => UserController(api).login(request));
// 4
return router;
Here is an explanation for each line above:
- Creates a new shelf_router
Routerobject. - Routes HTTP POST requests on the
/registerendpoint toregister()in lib/controllers/user_controller.dart, passing the requiredFirestoreApi apiand therequestobject to the constructor andregister()respectively. - Similar to point #2, but using the
/loginendpoint andlogin()instead. - Returns the router object from getter.
router object is self-explanatory and is not explained in subsequent code.
Adding the NoteRoutes Endpoints
Now, you need to create the note management routes. Open lib/routes/note_routes.dart and import the necessary files:
import 'package:shelf/shelf.dart';
import '../controllers/note_controller.dart';
Between the router variable definition and return statement enter the code below:
// 1
router.get('/', (Request request) => NoteController(api).index());
// 2
router.post('/', (Request request) => NoteController(api).store(request));
// 3
router.get(
    '/<id>', (Request request, String id) => NoteController(api).show(id));
// 4
router.delete(
    '/<id>;', (Request request, String id) => NoteController(api).destroy(id));
The only new things here are lines #3 and #4. To sum up:
- Defines the route for querying all notes.
- Defines the route for storing a given note into the database.
- Is the route for retrieving the note with ID
. - Specifies an HTTP DELETE route for deleting a note with ID
.
Creating the AppRoutes Endpoints
You’re left with the last set of routes; app-level routes. To add them, open lib/routes/app_routes.dart and import the following:
import 'dart:convert';
import 'package:shelf/shelf.dart';
import 'note_routes.dart';
import 'user_routes.dart';
Then replace router() body with the code below:
final router = Router();
// 1
router.get('/', (Request request) {
  final aboutApp = {
        'name': 'MNote',
        'version': 'v1.0.0',
        'description': 'A minimal note management API to take and save notes'
  };
  return Response.ok(jsonEncode(aboutApp));
});
// 2
router.mount('/users', UserRoutes(api: api).router);
router.mount('/notes', NoteRoutes(api: api).router);
// 3
router.all(
    '/<ignore|.*>',
    (Request r) =>
         Response.notFound(jsonEncode({'message': 'Route not defined'})));
return router;
All you did was:
- Define the home route. You already came across this.
- Mount the users and notes routes you created earlier. Using
mountallows you to prefix all routes within a particular router. Meaning, all the routes you defined in therouter()getters in lib/routes/user_routes.dart and lib/routes/note_routes.dart will have the prefix /users and /notes respectively. - Any other route that doesn’t match the previous routes will return the given JSON message.
The endpoints have been implemented. But, you’ll get an error if you restart the server. As you still need to modify bin/mnote.dart, so import the following at the top:
import 'package:googleapis/firestore/v1.dart';
import 'package:mnote/routes/app_routes.dart';
import 'package:mnote/helpers/helper.dart';
Then change main() to contain:
// 1
final credentials = getCredentials();
final client =
    await clientViaServiceAccount(credentials, [FirestoreApi.datastoreScope]);
try {
  // 2
  final firestoreApi = FirestoreApi(client);
  final app = Router();
  // 3
  app.mount('/v1', AppRoutes(firestoreApi).router);

  final handler = const Pipeline().addMiddleware(logRequests()).addHandler(app);

  final mServer = await server.serve(handler, InternetAddress.anyIPv4, 8080);
  print('Server started at http://${mServer.address.host}:${mServer.port}');
} on Exception {
  // 4
  Helper.error();
}
This is what the above code does:
- Calls
getCredentials()to get the service account credentials. Then creates a new HTTP client usingclientViaServiceAccount()from the googleapis package. - Passes the client when creating the
firestoreApiobject, allowing you to execute Cloud Firestore operations using your project’s service account details. - Mounts the
router()you created inAppRouteson a/v1prefix, allowing you to version your routes. - Returns a
503 Internal Server Errorif an exception was thrown with the help ofHelper.error().
Testing the Routes
Restart the server by pressing Control + C and running dart run. Now enter curl http://localhost:8080/v1 to confirm that your server now uses the new routes:

You can play around with all the routes. For example, the user login endpoint:
curl -X POST http://localhost:8080/v1/users/login
And the note deletion endpoint:
curl -X DELETE http://localhost:8080/v1/notes/asddhVIhwpoee
So far, everything works well, except that the APIs process no data. You’ll use controllers to solve this and allow users to log in and manage notes.