How to Create a Framework for iOS
Learn how to create a framework for iOS, allowing you to elegantly and efficiently package up and redistribute your code across different apps and teams By Sam Davies.
Add the Ribbon to the Example App
Open RWViewController.m in the UIControlDevApp project, and add the following instance variable between the curly braces in the @interface section:
RWRibbonView *_ribbonView;
To create a ribbon view, add the following at the end of viewDidLoad:
// Creates a sample ribbon view
_ribbonView = [[RWRibbonView alloc] initWithFrame:self.ribbonViewContainer.bounds];
[self.ribbonViewContainer addSubview:_ribbonView];
// Need to check that it actually works :)
UIView *sampleView = [[UIView alloc] initWithFrame:_ribbonView.bounds];
sampleView.backgroundColor = [UIColor lightGrayColor];
[_ribbonView addSubview:sampleView];
Build and run the UIControlDevApp scheme and you’ll see the new ribbon control at the bottom of the app:

Using the Bundle in ImageViewer
The last thing to share with you is how to use this new bundle inside another app, the ImageViewer app you created earlier.
To start, make sure your framework and bundle are up to date. Select the Framework scheme and then press cmd+B to build it.
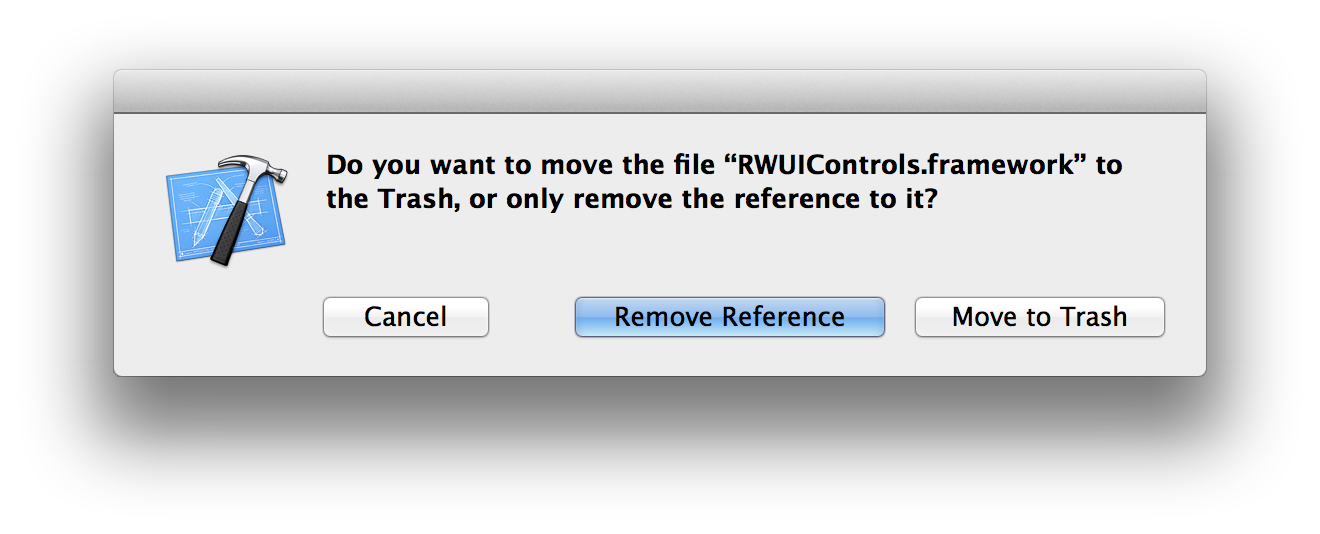
Open up the ImageViewer project, find the RWUIControls.framework item inside the Frameworks group and delete it, choosing Move to Trash if you’re prompted. Then drag the RWUIControls.framework from your desktop to the Frameworks group. This is necessary because the framework is much different than it was when you first imported it.
Note: If Xcode refuses to let you add the framework, then it might not have properly moved it to the trash. If this is the case then delete the framework from the ImageViewer directory in Finder and retry.
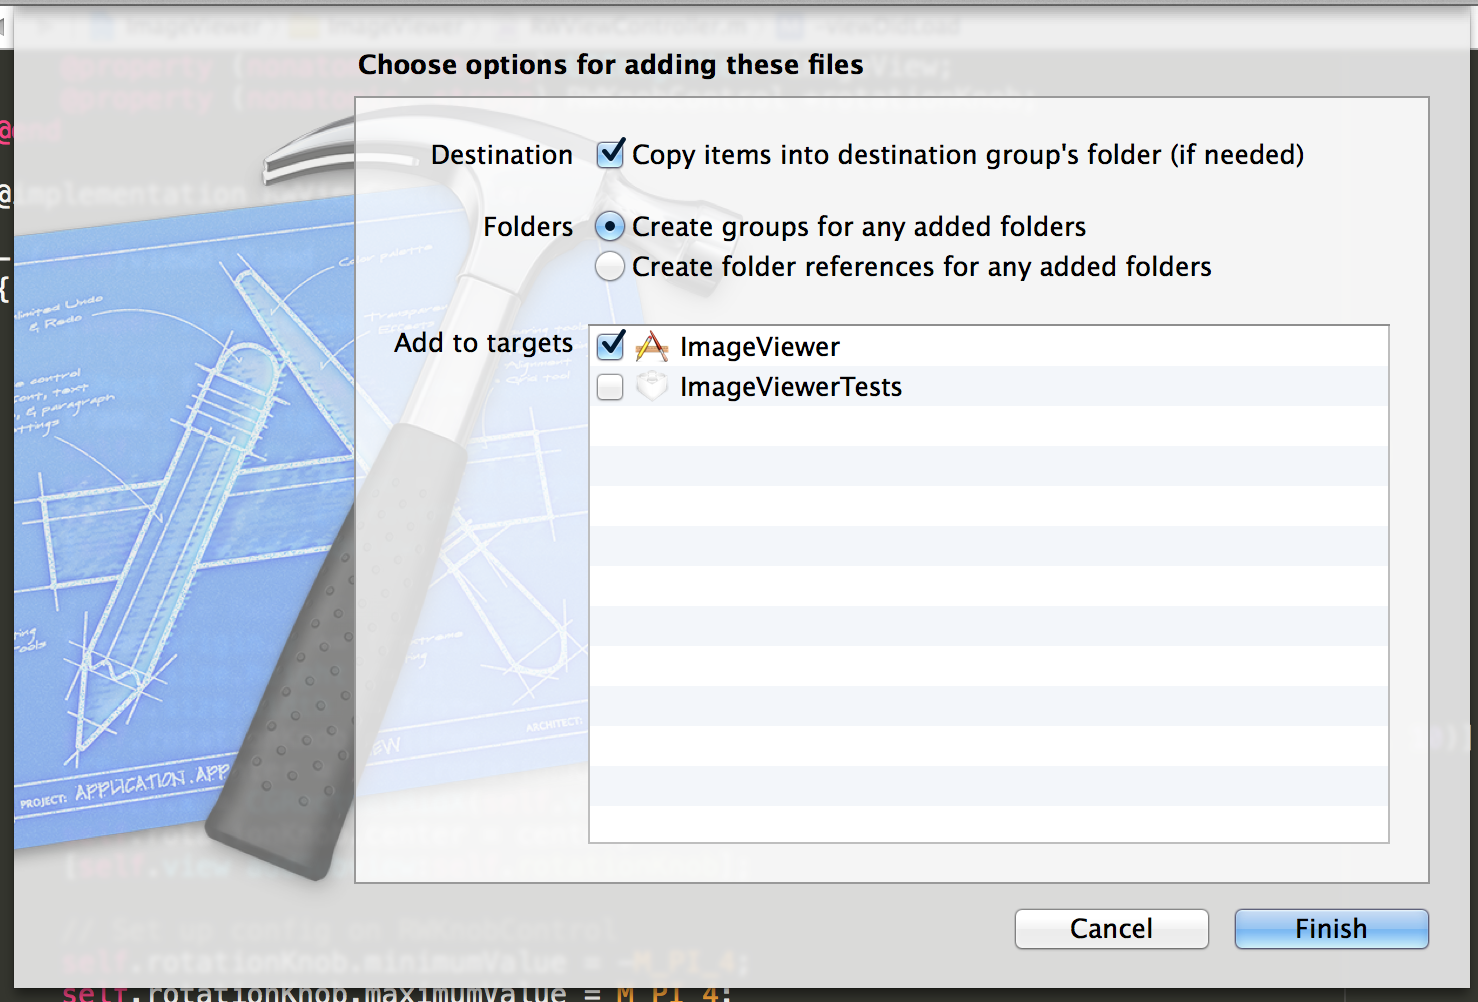
To import the bundle, simply drag it from the desktop to the ImageViewer group. Choose to Copy items into destination group’s folder and ensure that it’s added to the ImageViewer target by ticking the necessary box.
You’re going to add the ribbon to the image, which rotates, so there are a few simple changes to make to the code inRWViewController.m.
Open it up and change the type of the imageView property from UIImageView to RWRibbonView:
@property (nonatomic, strong) RWRibbonView *imageView;
Replace the first part of the viewDidLoad method which was responsible for creating and configuring the UIImageView, with the following:
[super viewDidLoad];
// Create UIImageView
CGRect frame = self.view.bounds;
frame.size.height *= 2/3.0;
self.imageView = [[RWRibbonView alloc] initWithFrame:CGRectInset(frame, 0, 20)];
UIImageView *iv = [[UIImageView alloc] initWithFrame:self.imageView.bounds];
iv.image = [UIImage imageNamed:@"sampleImage.jpg"];
iv.contentMode = UIViewContentModeScaleAspectFit;
[self.imageView addSubview:iv];
[self.view addSubview:self.imageView];
Build and run the app. You’ll see you’re now using both the RWKnobControl and the RWRibbonView from theRWUIControls framework.

Where To Go From Here?
In this tutorial, you’ve learned everything you need to know about building a framework for use in your iOS projects, including the best way to develop frameworks and how to use bundles to share assets.
Do you have a favored functionality that you use in lots of different apps? The concepts you’ve learned can make your life easier by creating a library you can access over and over again. A framework offers an elegant way to procure a library of code, and gives you the flexibility to access whatever you need for your next series of awesome apps.
The source code for the completed project is available on Github, with a commit for each build step, or as a downloadable zip file.