Introduction to Unity 2D
This introductory Unity tutorial will get you up and running with Unity 2D by creating a lunar landing game. By Ben MacKinnon.
Assigning Sprites to the Lander
Right now, you can’t actually see the lander in your game. That’s because it doesn’t have any Sprite Renderer components attached. There won’t be any spectacular landings – or crashes! – if the lander isn’t visible on the screen.
To fix this, click the Lander GameObject in the Hierarchy. In the Inspector, click Add Component, and then type Sprite Renderer in the search text field. Finally, choose the Sprite Renderer component.
Now, click the small circle icon next to the Sprite field in the component properties and select the playership sprite:

Set the Order in Layer to 1. More on this later!
Your next job is to assign the landing gear sprite.
Click the LanderFeet GameObject located under the Lander GameObject. Then, click the small circle icon next to the Sprite field in the Sprite Renderer component properties. Finally, choose the lander-feet sprite in the Select Sprite window, like so:

Click Play; you’ll be able to see your Lander in the Game view. Use the WASD or arrow keys to fly around the screen:
Houston, we have liftoff!
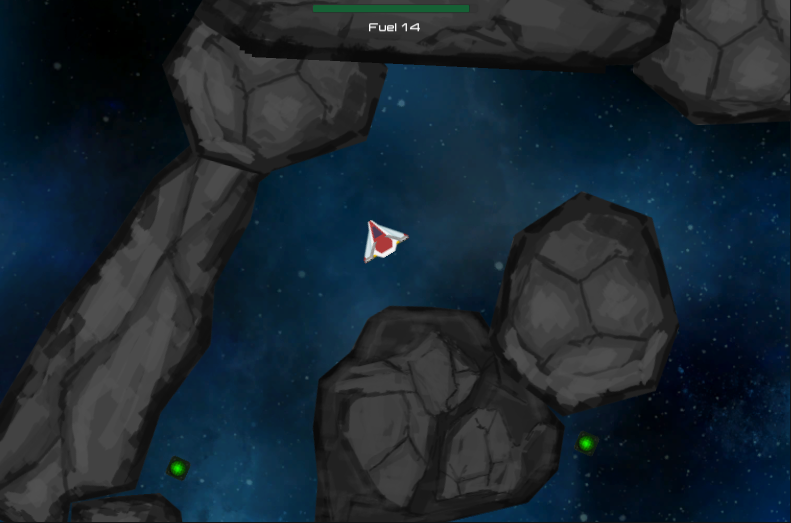
If your lander is stopped by an invisible force, you could be trying to fly through an asteroid you can’t see because of the aforementioned sprite sorting issue. For now, just keep exploring the parts of the universe you can reach (and see). :]
The 2D Camera and Pixels Per Unit
Unity 2D projects have an orthographic camera view by default. Generally, you’ll want to stick with this in your 2D games instead of using the perspective camera view. You can learn more about the differences between these in the second part of our Introduction to Unity tutorial.
The image below shows the default camera configuration of the scene’s Main Camera:

As noted above, the Projection property is set to Orthographic.
Select the playership sprite in the Project window and look at its Import Settings in the Inspector. The Pixels Per Unit property is currently set to the default value of 100:

So… what does 100 mean in this case?
A Word on Pixels Per Unit
Units in Unity don’t necessarily correspond to actual pixels on the screen. Instead, you’ll commonly size your objects relative to each other on some arbitrary scale such as 1 unit = 1 meter. For sprites, Unity uses Pixels Per Unit to determine their unscaled size in units.
Consider a sprite imported from an image that’s 500 pixels wide. The table below shows how the width of GameObject on the x-axis would change as you render the sprite using different values for pixels per units at different scales:

Still not quite clear? The following scenario will help you think through what’s going on with the unit conversion.
Think about a game that uses a static camera and displays the the backdrop sprite fullscreen, similar to the wallpaper on your computer desktop.
Assets/Sprites/backdrop.png is 2048 pixels tall, and it has a default pixel per unit ratio of 100. If you do the math, you’ll find the the Backdrop GameObject in the Hierarchy will be 20.48 units tall.
However, the orthographic camera’s size property measures only half the height of the screen, so to fit the exact height of the Backdrop GameObject to the screen in full view, you’d use an orthographic size of 10.24:
![]()
You don’t need to change the camera in your project, however, as the current size of 5 works fine for the moving camera in your game.
A Galaxy To Be Proud Of
The Max Size property of the sprite’s Import Settings lets you define a maximum size for your sprite, measured in pixels. You can override this setting for each platform you’re planning to target.
Zoom in to your scene view backdrop on the light blue galaxy. Note that it’s slightly blurry; when you import a sprite, the Max Size property defaults to 2048. Unity had to scale down your image to fit the default texture size, with a resulting loss of image quality.
To clear up your image issues, select the backdrop sprite in the Project window. Then, in the Inspector window, select the Override for PC, Mac & Linux Standalone Settings (the tab that looks like a computer monitor).
Next, check Override for PC, Mac & Linux Standalone, and change Max Size to 4096. Click Apply, and wait for a few moments as Unity imports the backdrop of your Scene View once again. You’ll see the background suddenly become crisp and clear:

Setting Max Size to 4096 lets Unity use the full 4096 x 4096 texture so you can see the detail in the original image.
An Increase in Size
However, this fidelity comes at a cost. Check the Inspector’s preview area shown below; the size of the background texture is now 4.0 MB, up from the previous 1.0 MB:

Increasing the size of the texture increased its memory footprint by a factor of 4.
It’s also worth mentioning that there are override settings for the other platforms that Unity supports building against. You can use these override settings if you plan to build your games for other platforms and wish to set different size and format settings for them.
Textures
You can also change the Format of a texture, as shown below:

You might want to adjust the format of some textures to improve their quality or reduce their size, but this either increases the memory footprint of the image, or it lowers the texture fidelity. The best way to tweak these settings is to research how each one works, testing them out and comparing quality and size of the resulting texture.
Using a Crunched format allows you to set a crunch quality slider value. A crunch value of 50% takes a long time to compress, but it gives you the smallest possible file size, and you can tune this even further.
Set the backdrop Import Settings back to what they were before playing with the Format and crunch Compressor Quality settings. Then, click Apply.

When developing your own games, you’ll need to play with the compression settings to find the combination that results in the smallest texture size that still gives you the quality you’re looking for.