Supporting Dark Mode: Adapting Your App to Support Dark Mode
In this tutorial, you’ll learn how to add support for Dark Mode in your app, making it look great in low-light environments. By Saeed Taheri.
SFSymbols
One of the coolest additions Apple introduced for iOS 13 was SFSympols, a huge set of consistent and highly configurable images. These symbols scale well based on appearance, size and weight. And best of all, you can also use them in your apps for free.
They’re also Dark Mode ready. You can tint them to any dynamic color, and they adapt beautifully. Unless your app needs specific images and assets, SFSymbols can be your go-to for your illustrations needs.
Time to add some flare to the details screen by adding a house icon beside the house name using SFSymbols.
Open TeacherDetailViewController.swift. In the last line of viewDidLoad(), add:
houseImageView.image = UIImage(systemName: "house.fill")
This line of code uses the new initializer for UIImage which takes the name of a symbol in SFSymbols’ catalog.
Build and run. See the beautiful tiny house icon. It’s not as fancy as Hogwarts’ common rooms but, it does the job.
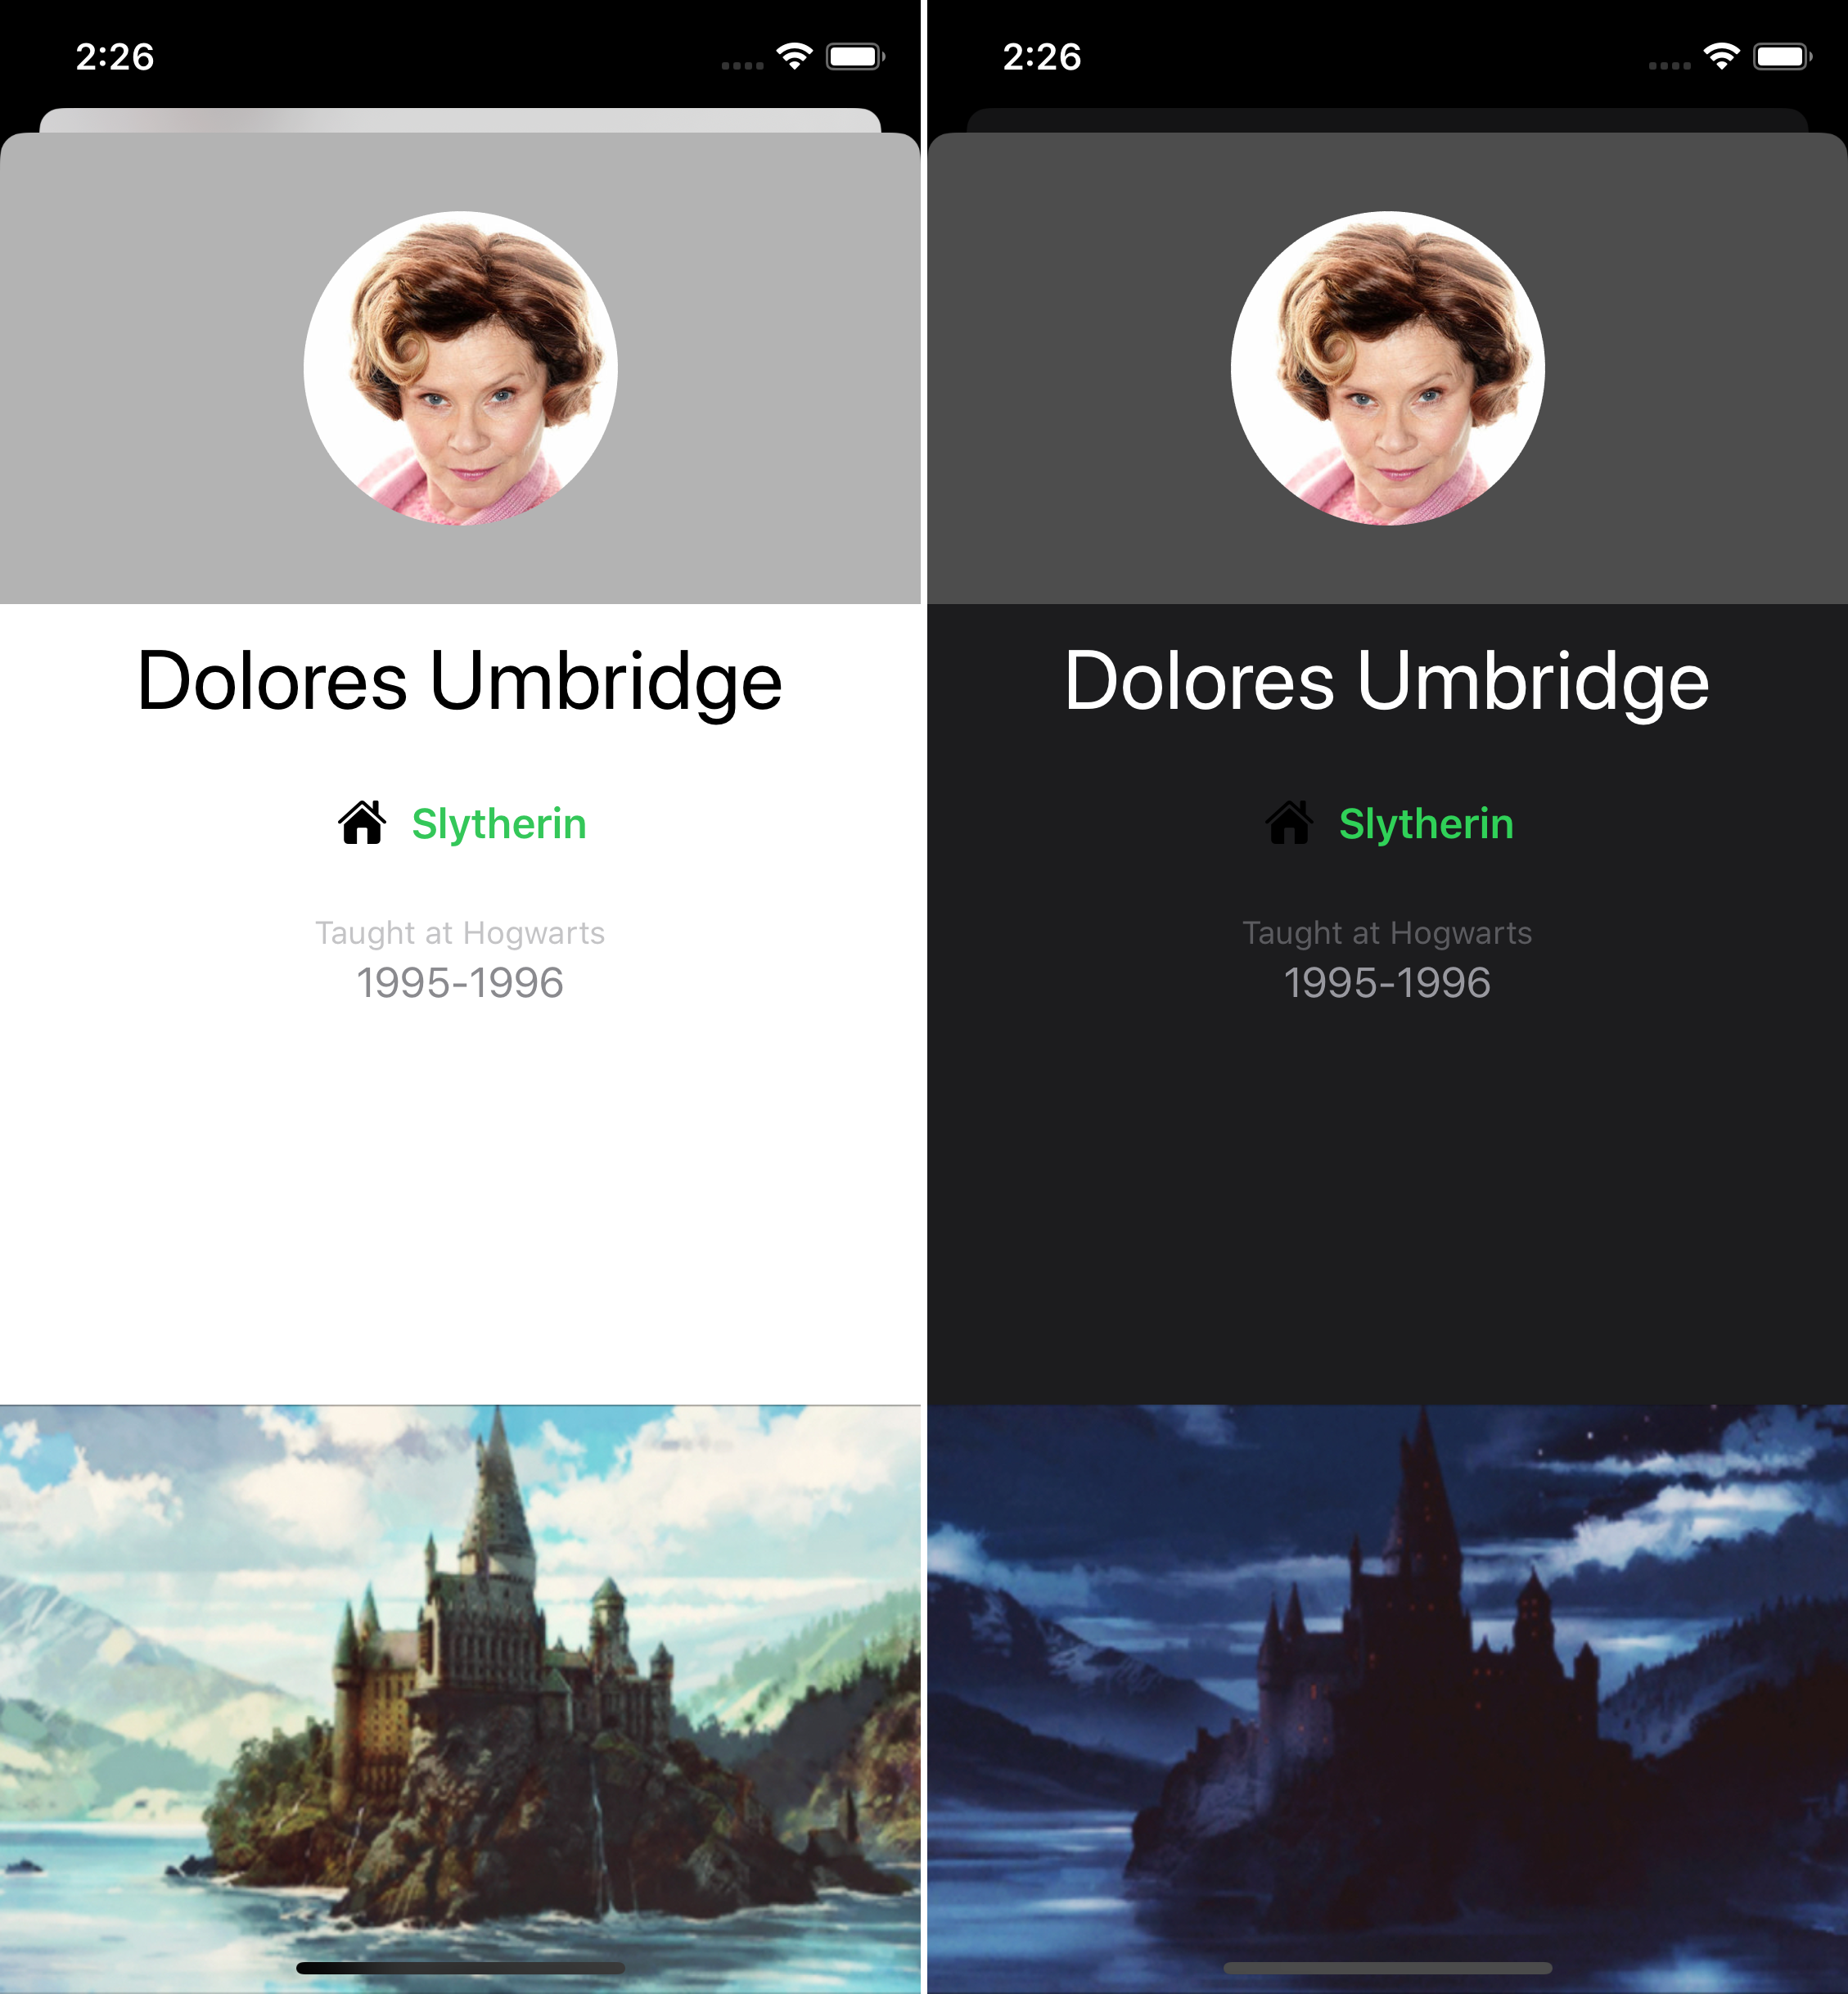
While the house is beautiful in light mode, it’s black and hard to see in Dark Mode. You know how to fix that problem!
Above the line you just inserted, there’s this piece of code which sets the tintColor of houseImageView.
houseImageView.tintColor = .black
Replace it with:
houseImageView.tintColor = houseLabel.textColor
This line sets the houseImageView‘s tintColor to the textColor of houseLabel. Remember, you used system colors for that label so it dynamically adapts to the device appearance.
Build and run. See the home icon now switches color as you switch appearance modes.

Wondering how this happened? It’s the magic of SFSymbols. Remember, they scale well and adapt to your needs. You can use them at any size or color you desire.

Opting Out of Dark Mode
Dark Mode is more popular than ever. You can set a device to Dark Mode system-wide, and all Apple and many third-party apps now include it. While you can opt-out of Dark Mode, you might cause eye strain for users who prefer everything in dark. We really encourage you to reconsider before opting out of supporting Dark Mode.
However, if you’re certain you want to opt-out of Dark Mode, you have a few options:
- Turn Dark Mode off for the whole app by using the
UIUserInterfaceStylekey in Info.plist. - Set the interface style on the app’s
UIWindow, which usually means the whole app. - Set the interface style for a specific
UIVieworUIViewController.
You’ll set these for the app one by one.
Opting Out with Info.plist
Open Info.plist. Then add a key named UIUserInterfaceStyle and set it to Light.
Build and run the app. Everything shines as if you’d done nothing for Dark Mode.

Remember to remove the above key before continuing to the next step.
Opting Out in UIWindow
Open SceneDelegate.swift. Replace this:
var window: UIWindow?
with:
var window: UIWindow? {
  didSet {
    window?.overrideUserInterfaceStyle = .light
  }
}
Since this app uses storyboards, the system sets the window.
This block of code sets a Swift property observer on window. As soon as this property is set, you override the interface style to .light. Since this app only uses a single window, overriding the style on the window causes the app to behave as if you set that key in Info.plist.
Build and run to confirm.

Remember to remove the above code before continuing to the next step.
Opting Out in UIViewController
Open TeacherDetailViewController.swift. You’ll make this view controller a rebel that doesn’t respect Dark Mode.
In viewDidLoad(), right after the call to super.viewDidLoad(), insert:
overrideUserInterfaceStyle = .light
This line overrides the style for this specific view controller.
Build and run. Check out the Dark Mode! The list page is dark while the detail page is light.

Where to Go From Here?
You’ve taken a long journey into darkness. Now those Defense Against the Dark Arts teachers have something to battle!
You can download the final project by using the Download Materials button at the top or bottom of this tutorial.
Dark Mode is a simple concept with many smaller parts. To learn more, check out these resources:
- iOS Apprentice by the Ray Wenderlich Tutorial Team
- Dark Mode: Basics Screencast by Rony Rozen
- Dark Mode: Deep Dive Screencast by Rony Rozen
- Ray Wenderlich Forums where you can ask for help from our awesome community.
I hope you enjoyed this tutorial. If you have any questions or comments, please join the discussion below!