How to Make a Game Like Monster Island Tutorial
Learn how to make a game like Monster Island. By Brian Broom.
Throwing With the Correct Impulse
The last thing to do is use the computed power and angle, instead of the hard coded values, to throw the beaker.
In the section of handlePan(recognizer:) where you check for UIGestureRecognizerState.ended, update the if statement to look like:
if recognizer.state == UIGestureRecognizerState.ended {
  // finish up
  let maxPowerImpulse = 2500.0
  let currentImpulse = maxPowerImpulse * currentPower/100.0

  let strength = CGVector( dx: currentImpulse * cos(currentAngle),
                           dy: currentImpulse * sin(currentAngle) )
  tossBeaker(strength: strength)
}
Here you put together the strength vector by calculating its x and y values.
If you’re not familiar with turning a vector into a x and y components, you make use of some functions from trigonometry.
X and Y Components of a Vector

You scale a maximum value down to currentImpulse, which is r in the diagram. θ is the angle from the vector to the x-axis, which you have as currentAngle.
Add these lines to tossBeaker(strength:) at the end of section 1:
previousThrowPower = currentPower
previousThrowAngle = currentAngle
Build and run; the beaker will now use your custom values. See if you can get the last remaining cat!
Get that cat right meow!

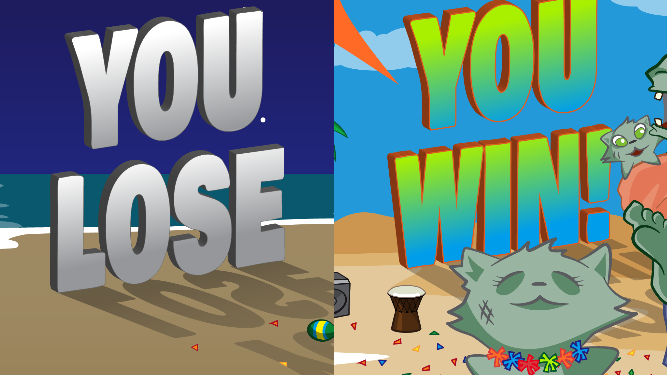
Win or Lose
You’re almost done! All that’s left is to track whether you convert all the cats to zombies before running out of beakers.
Your GameScene.sks file already has labels for the number of beakers and cats remaining, so you just need to add the code. Add the following to the property section of GameScene.swift:
var beakersLeft = 3
var catsRemaining = 2
Now add the following method:
func updateLabels() {
  if let beakerLabel = childNode(withName: "beakersLeftLabel") as? SKLabelNode {
    beakerLabel.text = "\(beakersLeft)"
  }

  if let catsLabel = childNode(withName: "catsRemainingLabel") as? SKLabelNode {
    catsLabel.text = "\(catsRemaining)"
  }
}
This method simply updates the labels onscreen to match the current values.
Add this method:
func checkEndGame() {
  if catsRemaining == 0 {
    print("you win")
    if let gameOverScene = GameOverScene(fileNamed: "GameOverScene") {
      gameOverScene.scaleMode = scaleMode
      gameOverScene.won = true
      view?.presentScene(gameOverScene)
    }
    return
  }

  if beakersLeft == 0 {
    print("you lose")
    if let gameOverScene = GameOverScene(fileNamed: "GameOverScene") {
      gameOverScene.scaleMode = scaleMode
      view?.presentScene(gameOverScene)
    }
  }
}
The game is over when you run out of beakers or if you convert all the cats to zombies. The files for GameOverScene.sks and GameOver.swift are included in the starter project.
Find the zombifyContactedCat action inside the tossBeaker(strength:) method and change it to:
let zombifyContactedCat = SKAction.run() {
  if let physicsBody = explosionRadius.physicsBody {
    for contactedBody in physicsBody.allContactedBodies() {
      if (physicsBody.contactTestBitMask & contactedBody.categoryBitMask) != 0  ||
        (contactedBody.contactTestBitMask & physicsBody.categoryBitMask) != 0  {
        if let catNode = contactedBody.node as? SKSpriteNode {
          catNode.texture = self.sleepyTexture
        }
        contactedBody.node?.run(turnGreen)
        self.catsRemaining -= 1
        contactedBody.categoryBitMask = PhysicsType.zombieCat
      }
    }
  }
}
The main change you made was subtracting 1 from the catsRemaining property. You do this immediately after turning the cat green to keep track of the number of cats remaining.
Finally, update the completion block in section 4 of tossBeaker(strength:) to:
cloud.run(boom) {
  self.beakersLeft -= 1
  self.run(reload)
  self.updateLabels()
  self.checkEndGame()
}
This subtracts the thrown beaker from the internal count and updates the labels to the current values, then checks to see if you won or lost the game.
Build and run. As you play, you should see the labels displaying the number of cats and beakers remaining. The game also displays whether you won.
When you zombie-fy all the cats, you win!
Finishing Touches
For one last bit of flair, add a particle emitter to the beaker. The starter project includes BeakerSmoke.sks, which looks like a toxic green cloud coming from the beaker, and BeakerSparkTrail.sks, which looks like a burning fuse to ignite the goo. You can add these to the beaker by adding the following lines to tossBeaker(strength:), between sections 1 and 2.
if let sparkNode = SKEmitterNode(fileNamed: "BeakerSparkTrail") {
  beaker.addChild(sparkNode)
}

if let smokeNode = SKEmitterNode(fileNamed: "BeakerSmoke") {
  smokeNode.targetNode = self
  beaker.addChild(smokeNode)
}
The targetNode property changes which node the particles themselves are added to, in this case the scene node itself. If the smoke particles are added to the beaker node, the smoke spins around as the beaker spins, which doesn’t look right.
Build and run, then admire your handiwork.
Danger! Danger!

Voila! Those cats don’t stand a chance. ;]
Note: No cats were harmed in the implementation of this tutorial!
Where to Go From Here?
Download the completed project here.
In this tutorial, you used SpriteKit’s physics system to create a game similar to Monster Island, only better since it zombie-fies cats! You learned how to create and throw a projectile, animate a contact explosion and make sprites react to their surroundings. You also learned to incorporate a power meter to measure the user’s touch in order to throw the projectile.
There are tons of levels you can create using the tools learned in this tutorial. You can also explore ideas like obstacles that move and walls that can be destroyed. The options are endless!
For more about creating games with SpriteKit, check out 2D iOS & tvOS Games by Tutorials.
I hope you enjoyed this tutorial. If you have comments or questions, please join the forum discussion below.
Artwork by Vicki Wenderlich and kenney.nl.