macOS Controls Tutorial: Part 1/2
Learn how to use common macOS UI controls like NSTextField, NSComboBox, NSButton, and more in this two-part series — updated for Xcode 11.3 and Swift 5! By Roberto Machorro.
Field of Dreams – NSTextField
One of the most common controls in any UI is a field that can be used to display or edit text. The control responsible for this functionality in macOS is NSTextField.
NSTextField is used for both displaying and editing text. You’ll notice this differs from iOS, where UILabel is used to display fixed text, and UITextField for editable text. In macOS these controls are combined into one, and its behavior changes according to the value of its isEditable property.
If you want a text field to be a label, you simply set its isEditable property to false. To make it behave like a text field – yup, you simply set isEditable to true! You can change this property programmatically or from Interface Builder.
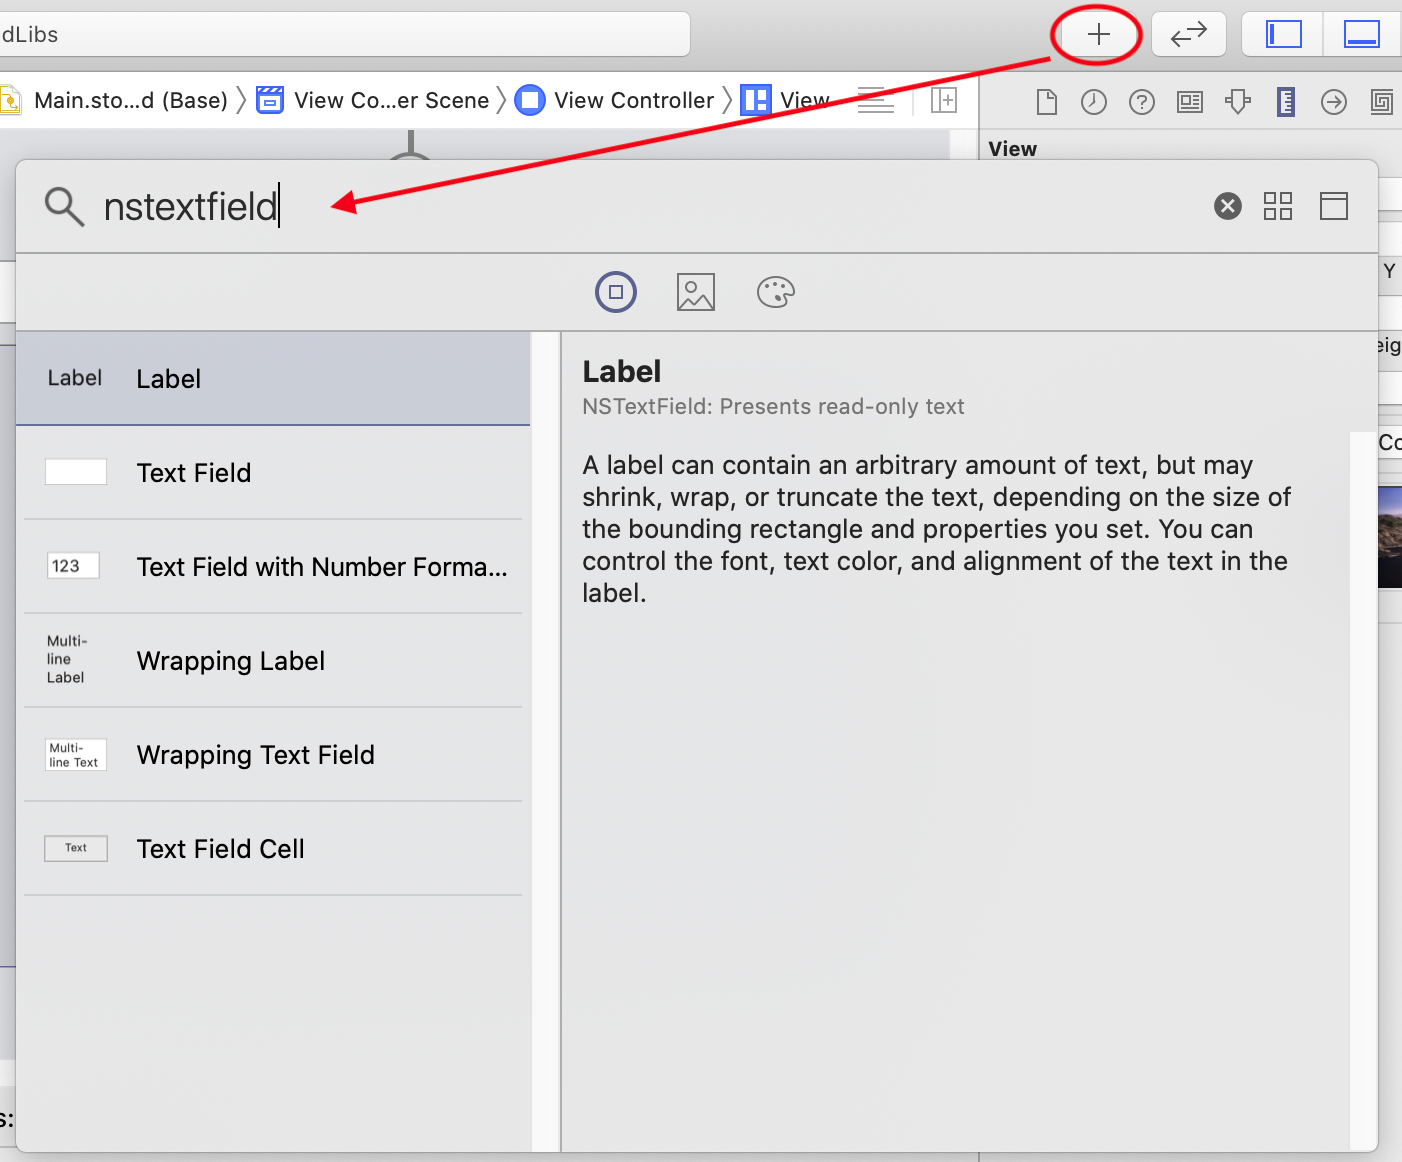
To make your coding life just a little easier, Interface Builder actually provides several pre-configured macOS controls to display and edit text which are all based on NSTextField. These pre-configured macOS controls can be found in the Object Library:
So now that you’ve learned the basics about NSTextField, you can add it to your Mad Libs application! :]
Living in the Past – A Past Tense Verb
You will add various macOS controls to the MadLibs app, which will allow you to blindly construct a funny sentence. Once you’ve finished, you will combine all the different parts and display the result, hopefully with some comedic value. The more creative the you are, the more fun they’ll be!
The first control you’ll add is a text field where you can enter a verb to add it to the sentence, as well as a label that informs what the text field is for.
Open Main.storyboard. Locate the Label control in the Object Library and drag it onto the view in the View Controller Scene. Double-click the label to edit the default text, and change it to Past Tense Verb:.
Next, locate the Text Field control and drag it onto the view, placing it to the right of the label, like this:

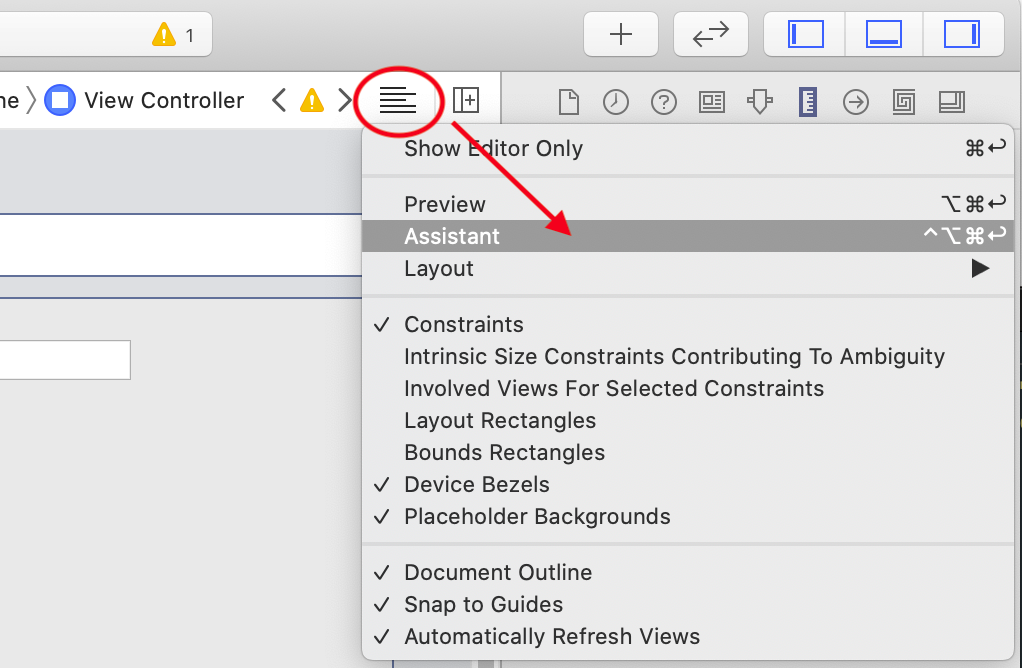
Now, you’ll create an outlet to the text field in the view controller. While the Main.storyboard is open, go to the Assistant editor via the Jump Bar.
Make sure that ViewController.swift is selected and Ctrl-Drag from the text field in the storyboard into the pane containing ViewController.swift, and release the mouse just below the class definition to create a new property:

In the popup window that appears, name the Outlet pastTenseVerbTextField, and click Connect.

And that’s it! You now have an NSTextField property in your view controller that is connected to the text field in the main window.
You know, it would be great to display some default text when the app launches to give an idea of what to put in the field. Since everyone loves to eat, and food related Mad Libs are always the most entertaining, the word ate would be a tasty choice here.
A good place to put this is inside viewDidLoad(). Now, simply set the stringValue property you learned about earlier.
Open ViewController.swift and add the following code to the end of viewDidLoad():
// Sets the default text for the pastTenseVerbTextField property
pastTenseVerbTextField.stringValue = "ate"
Build and run.

Okay, that takes care of a single input with a default value. But what if you want to provide a list of values to select from?
Combo Boxes to the rescue!
The Value Combo – NSComboBox
A combo box is interesting – and quite handy – as it allows the user to choose one value from an array of options, as well as enter their own text.
It looks similar to a text field in which the user can type freely, but it also contains a button that allows the user to display a list of selectable items. You can find a solid example of this in macOS’s Date & Time preferences panel:

Here, the user can select from a predefined list, or enter their own server name, if they wish.
The macOS control responsible for this is NSComboBox.
NSComboBox has two distinct components: the text field where you can type, and the list of options which appear when the embedded button is clicked. You can control the data in both parts separately.
To get or set the value in the text field, simply use the stringValue property covered earlier. Hooray for keeping things simple and consistent! :]
Providing options for the list is a little more involved, but still relatively straightforward. You can call methods directly on the control to add elements in a manner similar to mutable Array, or you can use a data source – anyone with experience on iOS programming and UITableViewDataSource will feel right at home!
Note: If you are not familiar with the concept of Data Sources, you can learn about it in Apple’s Delegates and Data Sources documentation.
Method 1 – Calling Methods Directly On The Control
NSComboBox contains an internal list of items, and exposes several methods that allow you to manipulate this list, as follows:
// Add an object to the list
myComboBox.addItem(withObjectValue: anObject)

// Add an array of objects to the list
myComboBox.addItems(withObjectValues: [objectOne, objectTwo, objectThree])

// Remove all objects from the list
myComboBox.removeAllItems()

// Remove an object from the list at a specific index
myComboBox.removeItem(at: 2)

// Get the index of the currently selected object
let selectedIndex = myComboBox.indexOfSelectedItem

// Select an object at a specific index
myComboBox.selectItem(at: 1)
That’s relatively straightforward, but what if you don’t want your options hardcoded in the app – such as a dynamic list that is stored outside of the app? That’s when using a datasource comes in really handy! :]
Method 2 – Using A Data Source
When using a data source the combo box will query the data source for the items it needs to display as well, as any necessary metadata, such as the number of items in the list. To obtain this information, you’ll need to implement the NSComboBoxDataSource protocol in one of your classes, normally the View Controller hosting the control. From there, it’s a two-step process to configure the combo box to use the data source.
First, set the control’s usesDataSource property to true. Then set the control’s dataSource property, passing an instance of the class implementing the protocol; when the class implementing the data source is the hosting View Controller a good place for this setup is viewDidLoad(), and then you set the dataSource property to self as shown below:
class ViewController: NSViewController, NSComboBoxDataSource {
.....
  override func viewDidLoad() {
    super.viewDidLoad()
    myComboBox.usesDataSource = true
    myComboBox.dataSource = self
  }
.....
}
Note: The order of the instructions in the code above is important. An attempt to set the dataSource property when useDataSource is false (which is the default) will fail and your data source will not be used.
In order to conform to the protocol, you’ll need to implement the following two methods from the data source protocol:
// Returns the number of items that the data source manages for the combo box
func numberOfItems(in comboBox: NSComboBox) -> Int {
  // anArray is an Array variable containing the objects
  return anArray.count
}

// Returns the object that corresponds to the item at the specified index in the combo box
func comboBox(_ comboBox: NSComboBox, objectValueForItemAt index: Int) -> Any? {
  return anArray[index]
}
Finally, whenever your data source changes, to update the control, just call reloadData() on the combo box.