macOS Development for Beginners: Part 2
Learn how an app starts, how the UI is constructed, and all the way to handling user interaction in this macOS development tutorial for beginners! By Roberto Machorro.
App Icon
The only part left in the UI now is to add an icon for your app. You already downloaded a folder of assets for the app and installed some of the images into Assets.xcassets. Open the folder again and find the egg-icon.png file.
Select Assests.xcassets from the Project Navigator, click on AppIcon and drag egg-icon.png into the Mac 256pt 1x box. As discussed in Part 1, for a production app you would supply all the sizes shown in AppIcon, but for this app, a single size is sufficient.
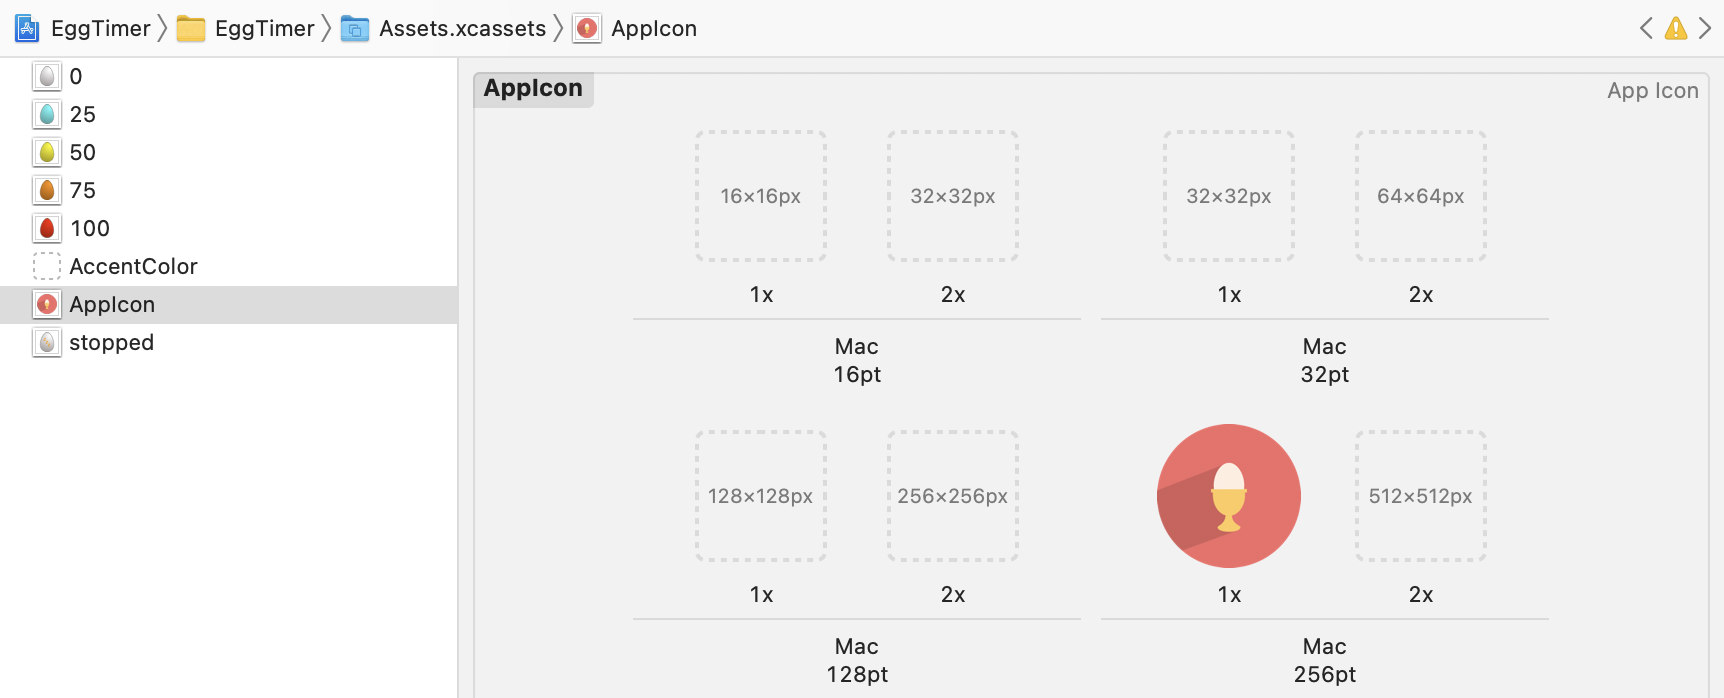
Build and run your app to confirm that the new icon appears in the Dock. If you still see the default icon, chose Clean Build Folder from Xcode’s Product menu and try again.
Where To Go From Here?
You now have the UI fully implemented for your app, but the app doesn’t do anything yet. If you got lost anywhere, you can download the Xcode project which has all the UI implemented ready for the next part.
In Part 3 of this tutorial series, you will add the code that makes the app work.
If you have any questions or comments on this tutorial, please join the discussion below!