macOS View Controllers Tutorial
In this macOS view controllers tutorial you’ll discover the wide range of functionality that is baked into vanilla view controllers, along with learning how you can create your own view controller subclasses to build up your app in an easy-to-understand manner. By Jean-Pierre Distler.
Detail View Controller
Now you will create a view controller class for the Details tab.
Go to File/New/File…, choose macOS/Source/Cocoa Class, and click Next. Name the class DetailViewController, make it a subclass of NSViewController, and make sure Also Create XIB for user interface is not selected. Click Next and save.

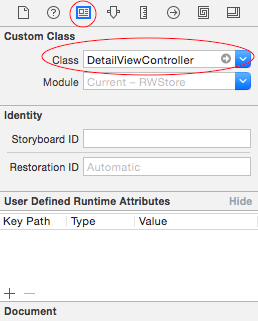
Open Main.storyboard and select Details Scene. In the Identity Inspector change the class to DetailViewController.
Add an image view to the detail view. Select it and click on the Add New Constraints button to create its constraints. Set width and height constraints to a value of 180, and a top constraint to the standard value. As you did with the OverviewController, give it an image to make it easier to see.

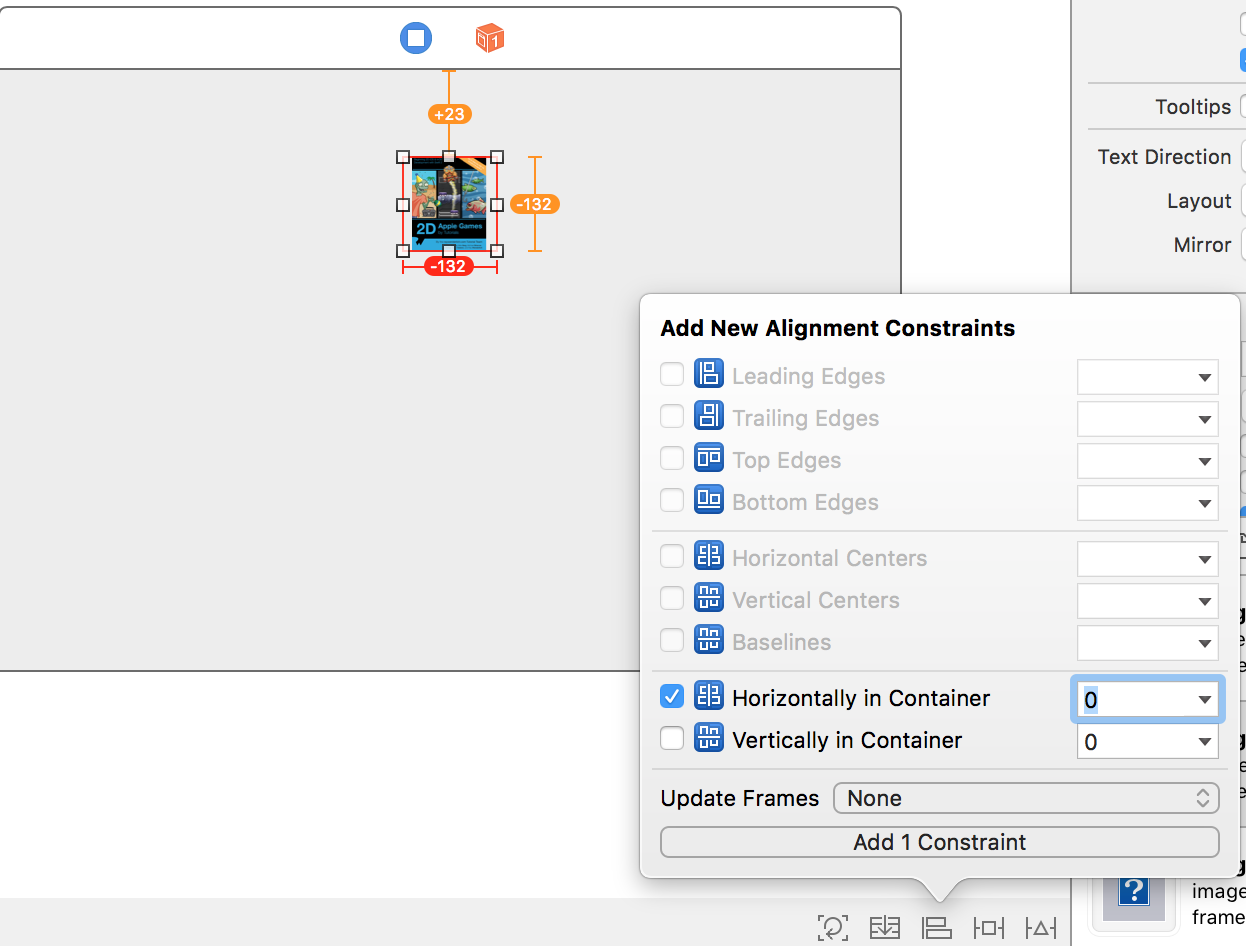
Click on the Align button in the bottom bar and add a constraint to center the view Horizontally in the Container.
Add a label below the image view. Change the font to bold and the size to 19, then click on the Add New Constraints button to add constraints for top, leading, and trailing, using the standard values.

Add another label below the previous one. Select it, and click on the Add New Constraints button first to add constraints for top, leading and trailing, using standard values.

Make the view taller, then drag a Box under the last label. Select it and add constraints for top, leading, trailing and bottom, using standard values.

Open the Attributes Inspector and change the box font to System Bold and the size to 14. Change the title to “Who is this Book For?”.

An NSBox is a nice way to group related UI elements and to them a name you can see in Xcode’s Document Outline.
To complete the UI, drag a label inside the content area of the NSBox. Select the label and click on the Add New Constraints button to add constraints for top, leading, trailing, and bottom, all using the standard value.

After updating the frames, the UI should look like this:

To create the outlets for those controls, open the Assistant Editor and make sure that DetailViewController.swift is open. Add four IBOutlets, giving them the following names:
-
productImageViewfor the NSImageView. -
titleLabelfor the label with the bold font. -
descriptionLabelfor the label below. -
audienceLabelfor the label in the NSBox.
With the outlets in place, add the implementation to show the product detail. Add the following code to DetailViewController class implementation:
// 1
var selectedProduct: Product? {
  didSet {
    updateUI()
  }
}
// 2
override func viewWillAppear() {
  super.viewWillAppear()
  updateUI()
}
// 3
private func updateUI() {
  if isViewLoaded {
    if let product = selectedProduct {
      productImageView.image = product.image
      titleLabel.stringValue = product.title
      descriptionLabel.stringValue = product.descriptionText
      audienceLabel.stringValue = product.audience
    }
  }
}
You’re probably familiar with this code already, because it’s very similar to the Overview view controller implementation. This code:
- Defines a
selectedProductproperty and updates the UI whenever it changes. - Forces a UI update whenever the view appears (when the detail view tab is selected).
- Sets the product information (using
updateUI) in the labels and image view using the appropriate outlets.
When the product selection changes, you need to change the selected product in the detail view controller so that it updates the UI. Open ViewController.swift and add a property to hold a reference to the the detail view controller. Just below the overviewViewController property, add the following:
private var detailViewController: DetailViewController?
Find valueChanged and add the following inside:
detailViewController?.selectedProduct = selectedProduct
This updates the selected product property of the view controller when the pop-up selection changes.
The last change is inside prepare(for:sender:). Find the comment // More later and replace with the following:
else if let controller = controller as? DetailViewController {
  detailViewController = controller
  detailViewController?.selectedProduct = selectedProduct
}
This updates the selectedProduct when the detail view is embedded.
Build and run, and enjoy your finished application!

Where to Go From Here
You can download the final project here.
In this macOS view controller tutorial you’ve learned the following:
- What a view controller is and how it compares to a window controller.
- How to create a custom view controller subclass.
- How to connect elements in your view to a view controller.
- How to manipulate the view from the view controller.
- The lifecycle of a view controller, and how to hook into the different events.
In addition to the functionality you’ve added to your custom view controller subclasses, there are many built-in subclasses provided for you. To see what built-in view controllers are available, take a look at the documentation.
If you’ve not already read it, you should take a look at Gabriel Miro’s excellent tutorial on windows and window controllers.
View controllers are one of the most powerful and useful aspects of architecting an macOS app, and there’s plenty more to learn. However, you’re now equipped with the knowledge to go out there and start playing around building apps — which you should do now!
If you have any questions or comments, please join the forum discussion below.