Unity 4.3 2D Tutorial: Getting Started
Learn how to make a cool 2D zombie game using Unity’s new built-in tools in this Unity 4.3 2D Tutorial! By Chris LaPollo.
If you’ve tried making a 2D game with earlier versions of Unity, you know it was certainly possible, but you also know you had to jump through a few hoops to do it.
Maybe you applied textures to quads, adjusting their offsets with a script to create animations. If you used physics, they were in 3D, so you had to make sure your objects had sufficient depth to interact with each other while ensuring they didn’t accidentally rotate around their x- or y-axes. Or maybe you chose to use one of the various add-ons available on Unity’s Asset Store, for example 2D Toolkit or the Orthello 2D Framework, any one of which includes some great features but also forces you to work within its own set of constraints.
While all of these options are still available, Unity 4.3 introduces native tools that add a new dimension to your workflow options: the 2nd dimension!
This is the first in a planned series of tutorials that explore Unity’s native 2D support. Over the series you’ll create Zombie Conga, a game originally conceived for our Sprite Kit book, iOS Games by Tutorials. You’ll do things differently here, but the end result will be the same – a scrolling 2D game about a happy-go-lucky zombie who just wants to dance, the cats who join him in the afterlife party, and the old ladies who try to put a stop to this adorable abomination.
This Unity 4.3 2D tutorial focuses on Unity’s new asset type – Sprite. You’ll learn everything you need to know about Sprites here, and in future tutorials you’ll learn how to control animations through Unity’s Animators and you’ll get an introduction to Unity’s new 2D physics support.
There’s a lot to cover, so you should get going.
Note: This tutorial assumes you have at least some experience with Unity. You should know the basics of working with Unity’s interface, GameObjects and Components, and you should understand an instruction like, “Add a new cat to your scene by dragging cat from the Project browser into the Hierarchy.”
If you think any of that sounds like crazy talk, or if you’d like a moment to get yourself into the right mindset for dragging cats, you may want to go through a tutorial that gives a more thorough introduction to Unity, such as this one.
Finally, note that the instructions in this tutorial are tailored toward OS X. However, if you’re running on Windows don’t worry – since Unity works the same on Windows most of these instructions will still work just fine. There will be a few minor differences (such as using Windows Explorer instead of Finder) but you’ll get through it. Or just start using OS X – reader’s choice!
Getting Started
Unity introduced native 2D tools in version 4.3 (both free and pro), so be sure you have the latest version installed. You can download it from Unity’s website.
You’ll also need some art to make a 2D game. Fortunately, Mike Berg made some cool images for Zombie Conga. Download Mike’s art here and unzip it to someplace convenient.
Note: You are allowed to use and/or modify all art, music and sound effects from this tutorial in as many games as you want, but must include this attribution line somewhere inside your game: “Artwork/sounds: from iOS Games by Tutorials book, available at http://www.raywenderlich.com”.
Create Your Project
Open Unity and create a new project by choosing File\New Project…. Click Set… in the Create new Project tab of the Project Wizard dialog that appears.
Name the project ZombieConga, choose a folder in which to create it, and click Save.
Finally, choose 2D in the combo box labeled Set up defaults for:, as shown below, and click Create Project:

The above-mentioned combo box is the first 2D-related feature you’ll come across in Unity. It’s supposed to change the default import settings for your project’s art assets, but so far I haven’t seen it work properly. Fortunately, this isn’t a problem because you can change this setting in your project at any time, and doing so works fine.
To ensure it’s set properly, and so you know how to change it if you ever want to, choose Edit\Project Settings\Editor to open the Editor Settings in the Inspector. In the Default Behavior Mode section, choose 2D for the Mode value, as shown below:

The Default Behavior Mode defines the default import settings for your project’s art assets. When set to 3D, Unity assumes you want to create a Texture asset from an imported image file (e.g. a .PNG file); when set to 2D, Unity assumes you want an asset of type Sprite. You’ll read more details about Sprite assets and import settings throughout this tutorial.
The Scene View’s 2D Mode
The next 2D feature you’re faced with is the 2D toggle button in the Scene view’s control bar.
Click the 2D toggle button to enable 2D mode, as shown below:

This button toggles the Scene view’s camera between perspective and orthographic projections. What’s the difference?
When viewed with a perspective projection, objects appear smaller as they move further away from the camera, just like objects in the real world look when you see them with your eyes. However, when viewed with an orthographic projection, an object’s distance from the camera doesn’t affect its size. Therefore, in 2D mode, an object that is further away from the camera will appear behind any closer objects, but its size will remain unchanged regardless of its position.
The following image shows two Scene views, each looking at the same two cubes from the same location. The top view is in 2D mode while the bottom one is not:

The previous screenshot also shows how 2D mode hides the Scene Gizmo that lets you change the orientation of the Scene view’s camera. With 2D mode enabled, the orientation is fixed so the positive y-axis points up and the positive x-axis points to the right.
Important: Toggling this setting has no effect on how your game finally appears when played – that’s determined by the camera(s) you set up in your scene – but it can be helpful when arranging objects. You’ll probably move back and forth between these two modes while creating your own 2D games, and even sometimes while creating 3D games, but this tutorial’s screenshots all show the Scene view in 2D mode.
Question: Are you someone who feels better following along with a tutorial when your interface matches the one you see in the screenshots? Then check out the next spoiler to ease your mind!
[spoiler title=”Copy my Unity layout, if you want to.”]Each of Unity’s panels is helpfully labeled, so you should have no problem following along using your preferred layout. However, if you’d like your screen to more closely match this tutorial’s screenshots, here’s how:
I’m running on OS X with Unity’s Dark skin, which is only available in Unity Pro because professionals have sensitive baby eyes that must never be exposed to bright lights. Ever.
I generally have 8 tabs open, arranged as shown below:
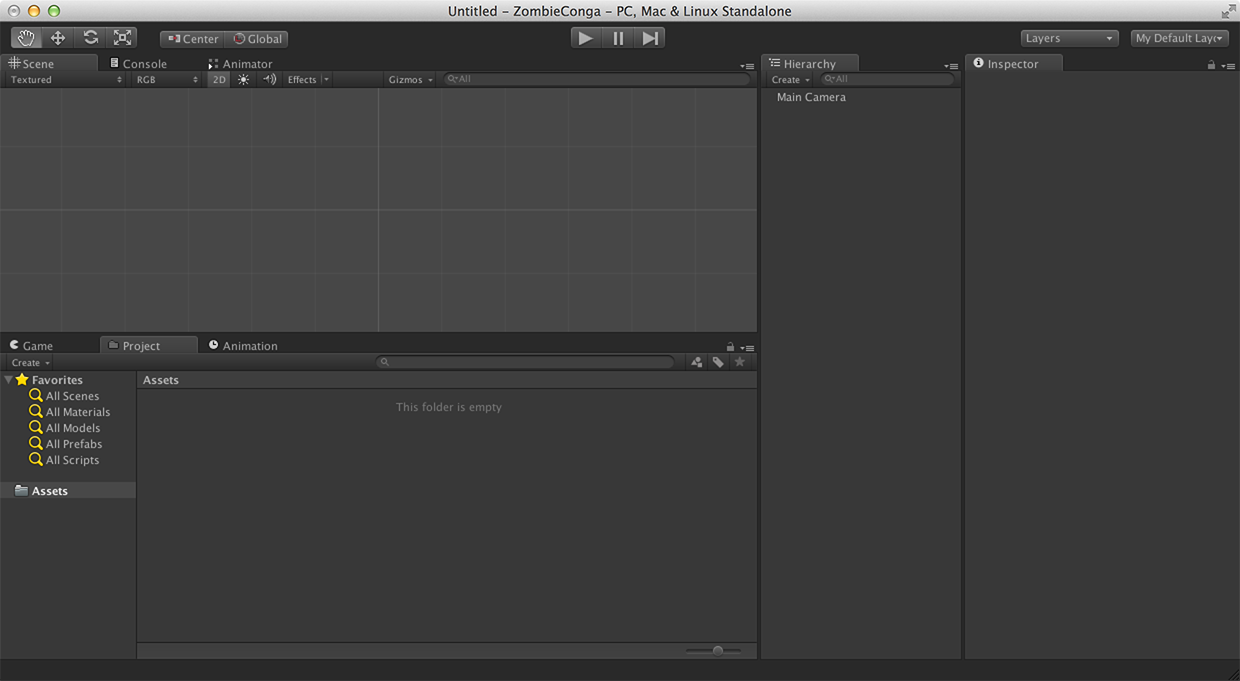
As you can see, in the upper left I have the Scene, Console, and Animator views grouped together as tabs, while I have the Game, Project, and Animation views grouped together as tabs in the lower left. The Project browser is in Two Columns Layout.
To the right of those two groups I keep the Hierarchy, and to the right of that the Inspector.
Of course, sometimes I change that setup. There’s no right way, so feel free to arrange your interface any way that makes you happy!
[/spoiler]