2D Skeletal Animation with Spine Tutorial
Learn how to make an animated elf for your games in this 2D skeletal animation with Spine tutorial. By .
Completing the Animation
Now onto the arms! Select frame 0 and then select the elf’s right arm bone. Then, simply follow the same steps that you used to animate his head.

Select frame 5 and rotate his right arm slightly outward.
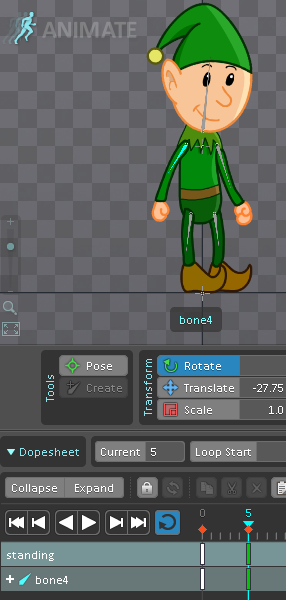
Select frame 10 and move it slightly outward again.

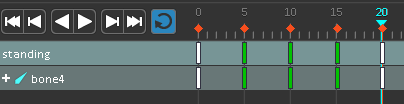
Click the white rectangle on frame 5 in the standing row and then click copy. Paste it on frame 15.

Click the white rectangle on frame 0 in the standing row, click copy and paste it on frame 20.
Repeat the same steps for the left arm and then click play to see the results. It’s a fully animated elf!

A Walking and Tripping Animation
If you’re new to animation, what you just did may have seemed like a lot of work. In actuality, all it took to animate the elf was to select a frame, move a body part, select a frame, move a body part and then copy and paste. In the traditional days of animation, what you just did could have taken at least a day to complete.
Now you’ll create a new animation where the elf will take a couple of steps and fall to the ground. Since you’re well on your way to becoming a professional animator, these steps will seem familiar and go quickly.
In the Tree window, click on Animations, then on New Animation and name it walking.

You’ve created a brand new animation file, so Spine has reset the elf to his default position. Select frame 0 in the timeline and then in the Tree window, Shift+select all of the bones.
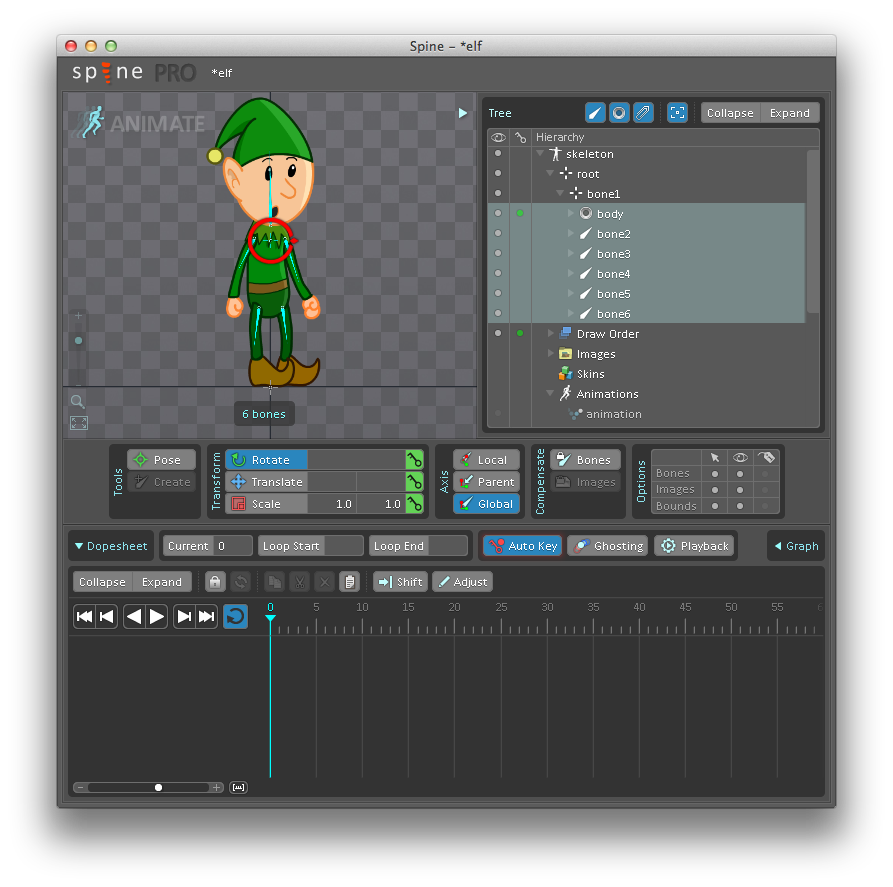
Click the green key icons in the Transform window to turn them red. This sets the initial keyframe.

First He Walks…
Select frame 5, then select the elf’s left leg bone and rotate it forward slightly. Then select his right arm bone and rotate that forward slightly. When humans (and elves) walk, they alternate opposing arm and leg movement, so make sure you alternate opposing arms and legs.

Select frame 10 in the timeline and then rotate both the elf’s left leg and right arm forward a bit more. Rotate the elf’s right leg and left arm backward slightly and his head forward.

Select frame 15 and begin slowly reversing the animation by rotating his left leg backward, right leg forward and so forth.
If you’re having trouble keeping the elf’s feet level with the horizon line, select his body bone and then select the Translate tool to move his entire body. This is why you made the torso the parent for all of the other bones earlier in the tutorial.

…Then He Trips!
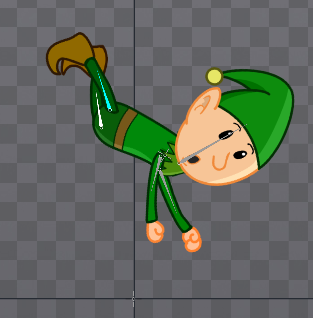
Start the tripping motion on frame 20. When someone trips, their feet get caught up behind them, their arms go forward and their head leans backwards. Begin to simulate that movement with your elf.
Now is also the time to swap out the head image for head2. Remember to bring up head2 in the Tree window, and then click the yellow dot to turn it red next to head.

On frame 25, use the Translate tool to select the body bone to raise the elf off the ground. Switch to the Rotate tool and rotate his entire body to exaggerate the tripping motion. Continue with the rotation of the arms, legs and neck.
If at any point you notice a limb starting to pop out, use the Translate tool to shift it back behind the body.

By frame 30, you can really start to get the elf airborne and flying like Superman.

On frame 35, begin the downward motion of the elf falling back to the ground.
On frame 40, make the elf begin his initial impact with the ground.

Change the elf’s head to head3 via the Tree window on frame 45 to really sell that ground impact.

On frame 50, make your elf lie face-first on the ground. Now you have the chance to add some fine details to enhance the animation’s effect. When someone hits their face on the ground, their head bounces slightly. Animate this by going to frame 51 and rotating the head bone up slightly, and then moving it back down by frame 53.

And there you have it! You’ve created an animation of an elf standing and an animation of an elf doing a face plant. If at anytime you want to switch between the animations, simply click on the circle under the eye icon in the Animations listing in the Tree window.

Optional: Exporting Your Work
If you’ve decided to upgrade your Spine license from the trial version, you have the ability to export your animations. To do this, first click on the Spine logo in the upper-left and choose Export.

Here you probably want the JSON option – this creates a nice file that describes the animation concisely that the Spine runtimes know how to read. Save the file as elf.json, in the same SpineElf_START folder on your desktop.
If you’re unsure how to implement the animations in your app, have a look at the runtimes you can use.

Where to Go From Here?
This tutorial is a very basic example of what you can do with Spine. Please experiment with adding keyframes in other increments to change the timing, adding different artwork, building more complex skeletons, animating logos and anything else you can think of.
I’ve created a slightly more complex version of the elf tripping, which you can download here. If you don’t have an Essential or Professional license, you won’t be able to open the .spine project file, but you will be able to use the JSON file I’ve included to import it into your game.
If you’re interested in animation, it is definitely worth checking out the book The Animator’s Survival Kit by Richard Williams. Every animator I know has a copy of this book in his or her studio, as it’s the go-to guide for animation. If you’re not one for paperback books, they’ve also converted it into an iPad app.
Finally, if you enjoyed this tutorial, stay tuned for an upcoming tutorial by our own Ray Wenderlich on how to integrate your animations into a Sprite Kit game!
If you have any questions, comments or suggestions, feel free to join the discussion below!