Core Graphics Tutorial: Lines, Rectangles, and Gradients
In this tutorial, you’ll learn how to use Core Graphics to draw lines, rectangles, and gradients — starting by beautifying a table view! By Tom Elliott.
This is the first in a series of Core Graphics tutorials that will to take the mystery out of Core Graphics. You’ll learn the APIs step by step with practical exercises, starting by beautifying table views with Core Graphics.
Core Graphics is a really cool API on iOS. As a developer, you can use it to customize your UI with some really neat effects, often without even having to get an artist involved. Anything related to 2D drawing — like drawing shapes, filling them in and giving them gradients — is a good candidate for using Core Graphics.
With a history that dates back to the very early days of OS X, Core Graphics is one of the oldest APIs still in use today. Perhaps this is why, for many iOS developers, Core Graphics can be somewhat intimidating at first: It’s a large API and has plenty of snags to get caught on along the way. However, since Swift 3, the C-style APIs have been updated to look and feel like the modern Swift APIs you know and love!
In this tutorial, you’ll build a Star Wars Top Trumps card app, which is comprised of a master view that contains a list of Starships:

…as well as a detail view for each Starship.

In creating this app, you’ll learn how to get started with Core Graphics, how to fill and stroke rectangles and how to draw lines and gradients to make custom table view cells and backgrounds.
You might want to buckle up; it’s time to have some fun with Core Graphics!
Getting Started
Use the Download Materials button at the top or bottom of this tutorial to download the starter and finished projects. Open the starter project and have a quick look around. The app is based on the Master-Detail App template provided by Xcode. The master view controller contains a list of Star Ships and the detail view controller shows details for each ship.
Open MasterViewController.swift. At the top of the class, notice a starships variable, which contains an array of type Starship and a dataProvider variable of type StarshipDataProvider.
Jump into StarshipDataProvider.swift by Command-clicking StarshipDataProvider and selecting Jump to Definition. This is a simple class that reads a bundled file, Starships.json, and converts the contents into an array of Starship.
You can find the definition for a Starship in Starship.swift. It is just a simple struct with properties for common properties of Starships.
Next, open DetailViewController.swift. Defined at the top of the file before the class definition is an enum, FieldsToDisplay, which defines the human readable titles for the Starship properties you want to display as the cases in the enum. In this file, tableView(_:cellForRowAt:) is just a big switch statement for formatting the data for each Starship property into the right format.
Build and run the app.

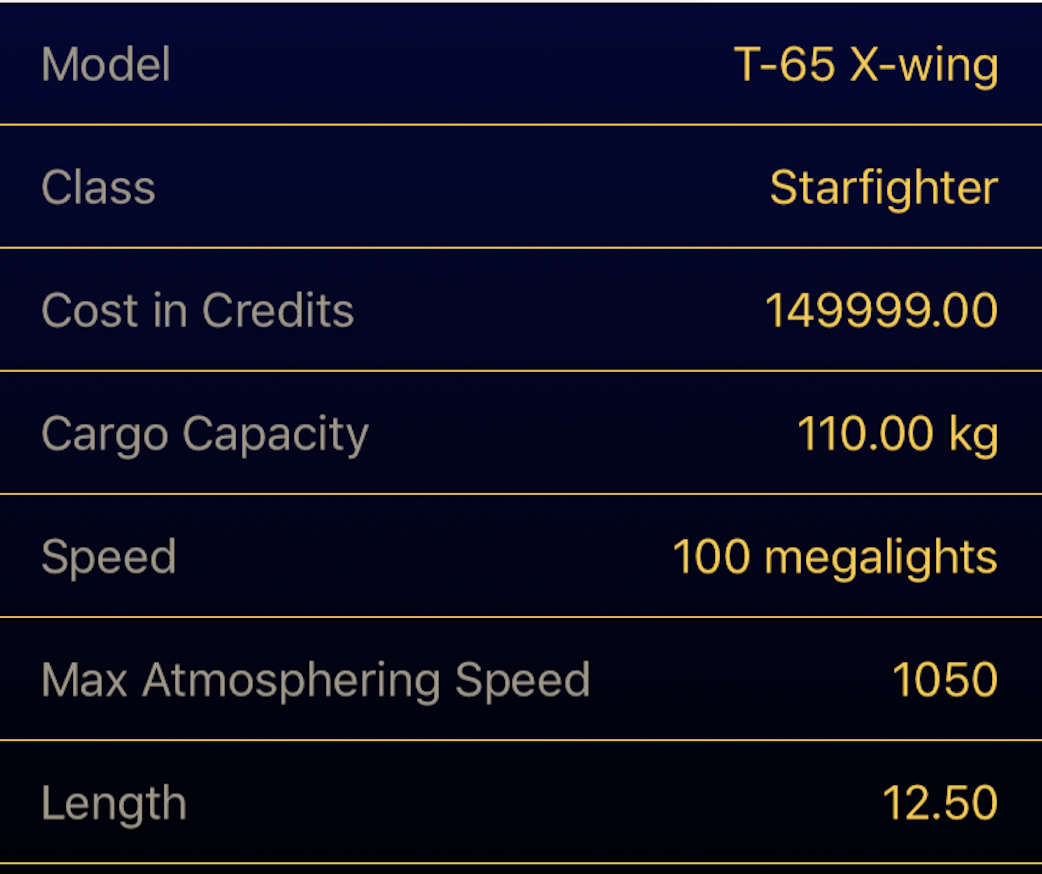
The landing page is the MasterViewController showing a list of Starships from the Star Wars universe. Tap to select the X-wing and the app will navigate to the detail view for that ship, which shows an image of an X-wing followed by various properties like how much it costs and how fast it can fly.

This is a fully functional, if pretty boring, app. Time to add some bling!
Analyzing the Table View Style
In this tutorial, you’ll add a different style to two different table views. Take a closer look at what those changes look like.
In the master view controller, each cell:
- Has a gradient from dark blue to black.
- Is outlined in yellow, drawn inset from the cell bounds.

And in the detail view controller:
- The table itself has a gradient from dark blue to black.
- Each cell has a yellow splitter separating it from adjacent cells.
To draw both of these designs, you just need to know how to draw rectangles, gradients and lines with Core Graphics, which is exactly what you’re about to learn. :]
Hello, Core Graphics!
While this tutorial covers using Core Graphics on iOS, it’s important to know that Core Graphics is available for all major Apple platforms including MacOS via AppKit, iOS and tvOS via UIKit and on the Apple Watch via WatchKit.
You can think of using Core Graphics like painting on a physical canvas; the ordering of drawing operations matters. If you draw overlapping shapes, for example, then the last one you add will be on top and overlap the ones below.
Apple architected Core Graphics in such a way that you, as a developer, provide instructions on the what to draw in a separate moment than the where.
Core Graphics Context, represented by the CGContext class, defines the where. You tell the context what drawing operations to do. There are CGContexts for drawing to bit-mapped images, drawing to PDF files and, most commonly, drawing directly into a UIView.
In this painting analogy, the Core Graphics Context represents the canvas where the painter paints.
Core Graphics Contexts are State Machines. That is, when you set, say, a fill color you set it for the entire canvas and any shapes you draw will have the same fill color until you change it.
Each UIView has its own Core Graphics Context. To draw the contents of a UIView using Core Graphics, you draw(_:) of the view. This is because iOS sets up the correct CGContext for drawing into a view immediately prior to calling draw(_:).
Now that you understand the basics of how you use Core Graphics within UIKit, it’s time for you to update your app!
Drawing Rectangles
To get started, create a new view file by selecting New ▸ File… from the File menu. Select Cocoa Touch Class, press Next and then set the class name to StarshipsListCellBackground. Make it a subclass of UIView, then create the class file. Add the following code to your new class:
override func draw(_ rect: CGRect) {
  // 1
  guard let context = UIGraphicsGetCurrentContext() else {
    return
  }
  // 2
  context.setFillColor(UIColor.red.cgColor)
  // 3
  context.fill(bounds)
}
Breaking this down line by line:
- First, you get the current
CGContextfor thisUIViewinstance usingUIGraphicsGetCurrentContext(). Remember, iOS set this up for you automatically prior to its callingdraw(_:). If you cannot get the context for any reason, you return early from the method. - Then, you set the fill color on the context itself.
- Finally, you tell it to fill the bounds of the view.
As you can see, the Core Graphics API doesn’t contain a method for directly drawing a shape filled with a color. Instead, a bit like adding paint to a particular brush, you set a color as a state of the CGContext and then, you tell the context what to paint with that color separately.
You might have also noticed that when you called setFillColor(_:) on the context you didn’t provide a standard UIColor. Instead, you must use a CGColor, which is the fundamental data type used internally by Core Graphics to represent colors. It’s super easy to convert a UIColor to a CGColor by just accessing the cgColor property of any UIColor.