Vision Framework Tutorial for iOS: Contour Detection
Learn how to detect and modify image contours in your SwiftUI iOS apps in a fun and artistic way using the Vision framework. By Yono Mittlefehldt.
Thinning the Contours
This is a pretty cool effect, but you can do even better!
You might notice that some contours now look thick while others are thin. The "thick" contours are actually multiple contours of the same area but slightly offset from one another due to how the contrast was adjusted.
If you could detect duplicate contours, you'd be able to remove them, which should make the lines look thinner.
An easy way to determine whether two contours are the same is to look at how much overlap they have. It's not exactly 100% accurate, but it's a relatively fast approximation. To determine overlap, you can calculate the intersection-over-union of their bounding boxes.
Intersection over union, or IoU, is the intersection area of two bounding boxes divided by the area of their union.

When the IoU is 1.0, the bounding boxes are exactly the same. If the IoU is 0.0, there's no overlap between the two bounding boxes.
You can use this as a threshold to filter out bounding boxes that seem "close enough" to the same.
Back in asyncUpdateContours in ContentViewModel.swift, add the following code just before the return statement:
// 1
if contours.count < 9000 {
  // 2
  let iouThreshold = UserDefaults.standard.iouThresh

  // 3
  var pos = 0
  while pos < contours.count {
    // 4
    let contour = contours[pos]
    // 5
    contours = contours[0...pos] + contours[(pos+1)...].filter {
      contour.intersectionOverUnion(with: $0) < iouThreshold
    }
    // 6
    pos += 1
  }
}
With this code, you:
- Only run if the number of contours is less than 9,000. This can be the slowest part of the entire function, so try to limit when it can be used.
- Grab the IoU threshold setting, which can be changed in the settings screen.
- Loop through each contour. You use a
whileloop here because you'll be dynamically changing the contours array. You don't want to end up indexing outside of the array's size accidentally! - Index the contour array to get the current contour.
- Keep only the contours after the current contour, whose IoU is less than the threshold. Remember, if the IoU is greater than or equal to the threshold, you've determined it to be similar to the current contour and should be removed.
- Increment the indexing position.
Go ahead and build and run the app.

Notice how many of the thick contours are now significantly thinner!
Simplifying the Contours
You can use another trick to add an artistic flair to your contour art. You can simplify the contours.
VNContour has a member method called polygonApproximation(epsilon:), which does just that. The method's purpose is to return a similar contour with fewer points. It's an approximation of the contour.
The choice of epsilon will determine how simplified the returned contour can be. A larger epsilon will result in a simpler contour with fewer points, whereas a smaller epsilon will return a contour closer to the original.
Open ContourDetector.swift. At the top of ContourDetector, add the following property:
private var epsilon: Float = 0.001
Next, at the bottom of ContourDetector, add the following method:
func set(epsilon: CGFloat) {
  self.epsilon = Float(epsilon)
}
Still within the same class, find postProcess(request:) and replace the return statement at the bottom of the method with the following code:
let simplifiedContours = vnContours.compactMap {
  try? $0.polygonApproximation(epsilon: self.epsilon)
}

return simplifiedContours.map { Contour(vnContour: $0) }
This code simplifies each of the detected contours based on the current value for epsilon before returning them.
Before trying out this new feature, you need to connect the epsilon setting to the ContourDetector. You'll just read it from UserDefaults, which the setting screen writes to.
Open ContentViewModel.swift and find asyncUpdateContours once more. Then, just below the line where you define the detector constant, add the following line:
detector.set(epsilon: UserDefaults.standard.epsilon)
This will ensure that the detector gets the latest value for epsilon each time it needs to update the displayed contours.
For the final time, go ahead and build and run!
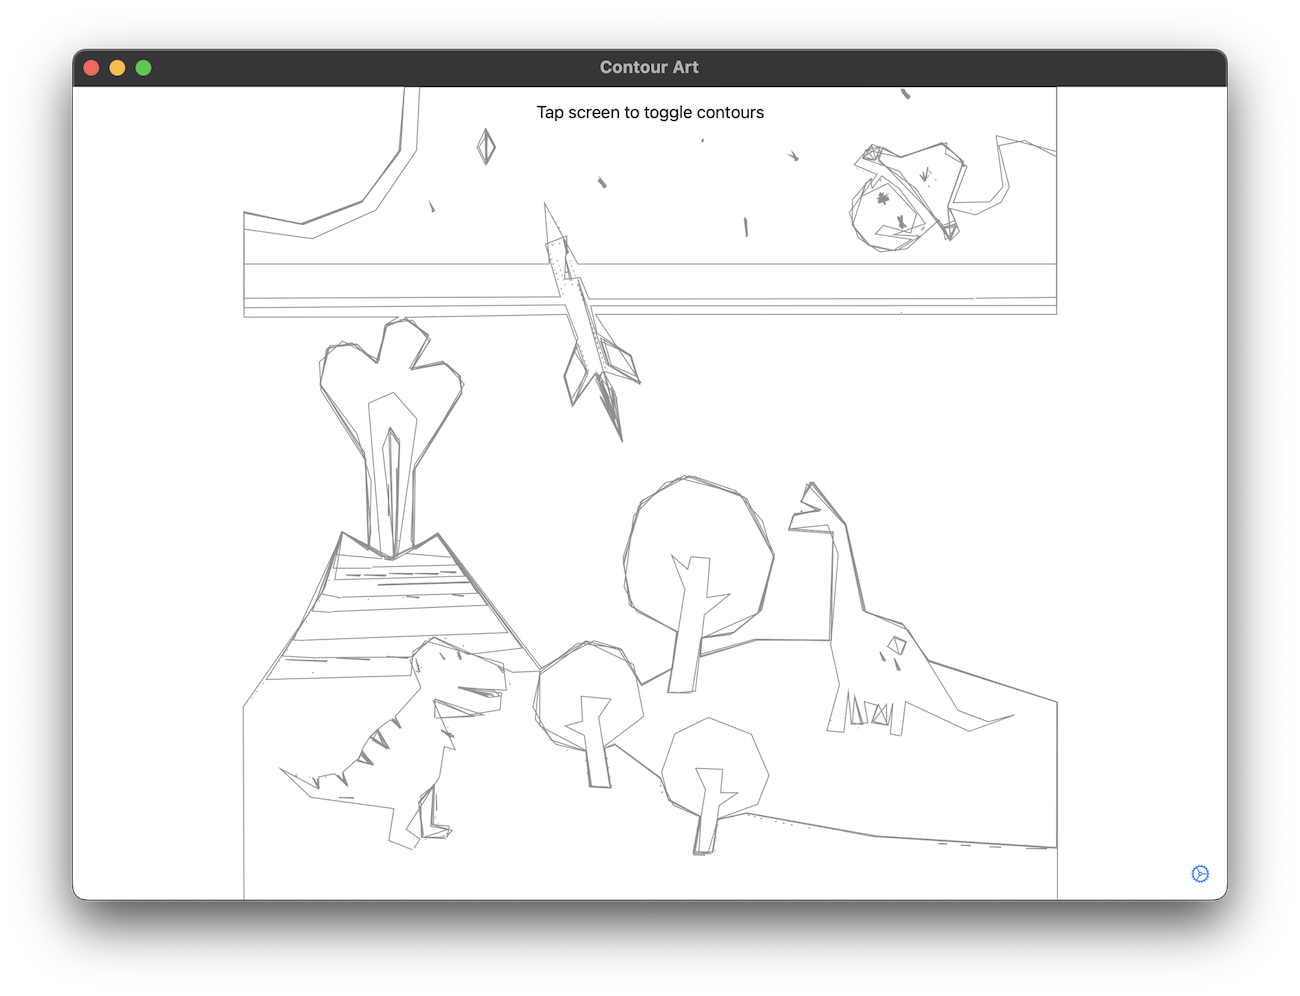
This example used a value of 0.01 for the Polygon Approximation Epsilon setting.
Now that is contour art with style. ;]
Where To Go From Here?
If you've gotten to this point, you've gone through a lot of code and concepts! Pat yourself on the back; you deserve it. You can download the finished project using the Download Materials link at the top or bottom of the tutorial.
By learning how the Vision API pipeline works, you can now use any of the other algorithms provided by Apple within the Vision framework. Think of the possibilities!
We have just the thing if you're interested in more tutorials on Vision APIs; check out:
- Face Detection Tutorial Using the Vision Framework for iOS
- Photo Stacking in iOS with Vision and Metal
- Saliency Analysis in iOS using Vision
- Core ML and Vision Tutorial: On-device training on iOS
- Person Segmentation in the Vision Framework
- Vision Tutorial for iOS: Detect Body and Hand Pose
I hope you enjoyed this tutorial, and if you have any questions or comments, please join the forum discussion below!