Easier Auto Layout: Coding Constraints in iOS 9
iOS 9 made coding Auto Layout constraints far easier! Learn everything you need to know about layout guides and layout anchors in this Auto Layout tutorial. By Caroline Begbie.
Constraint Anchors

iOS 9 introduced NSLayoutAnchor with anchor properties on UIView. You can now set up your views to be ‘anchored’ to other views.
There are three subclasses of NSLayoutAnchor:
NSLayoutXAxisAnchorNSLayoutYAxisAnchorNSLayoutDimension
When you set up a view’s anchor to be constrained to another view’s anchor, it must be of the same subclass. For example, the compiler will reject constraining a leadingAnchor, a subclass of NSLayoutXAxisAnchor, to a heightAnchor which is a subclass of NSLayoutYAxisAnchor.
This is another advantage of using anchors: you get extra constraint validity checking for free.
Note: Beware constraining leading / trailing anchors to left / right anchors – this will crash at runtime. Even though they are all instances of NSLayoutXAxisAnchor, Auto Layout does not let you mix leading with left anchors or trailing with right anchors.
Add the following code to setupConstraints():
// 1
bookTextView.translatesAutoresizingMaskIntoConstraints = false
// 2
bookTextView.leadingAnchor.constraint(
  equalTo: view.leadingAnchor).isActive = true
bookTextView.trailingAnchor.constraint(
  equalTo: view.trailingAnchor).isActive = true
bookTextView.bottomAnchor.constraint(
  equalTo: view.bottomAnchor,
  constant: -20).isActive = true
// 3
bookTextView.heightAnchor.constraint(
  equalTo: view.heightAnchor,
  multiplier: 0.65).isActive = true
Going through this step-by-step:
- You first set
translatesAutoresizingMaskIntoConstraintstofalse. This tells the view that it’s using Auto Layout rather than frames. Interface Builder does this automatically, but if you are adding constraints in code, you need to set this property. - You set up
bookTextView‘s leading, trailing, and bottom anchors to anchor to the main view. The bottom anchor has a constant of -20 which will give a white space margin of 20 points at the bottom of the screen - Using a multiplier, you set
bookTextViewto be always 65% of the height of the view controller’s view, no matter what size that view is.
By setting each constraint’s isActive property to true, these constraints are immediately active.
Note: When you set bookTextView‘s constraints, you used leading and trailing anchors rather than left and right anchors. Leading and trailing become relevant for right-to-left languages such as Arabic. In a right-to-left language, trailing becomes left and leading becomes right.
So when you localize Wonderland to Hebrew or Arabic, there will be no structural layout changes required!
Build and run the app in both portrait and landscape. bookTextView‘s frame adjusts automatically to match the view controller view’s frame.


You can try this out on the iPad simulators too; the view will always be 65% high.
View Layout Margins
All views have a layoutMarginsGuide property to which you can anchor, instead of anchoring to the view.
In most cases, rather than extending subviews all the way to the edge of the screen, it’s better to anchor subviews to the left and right view margin guides to allow standard white space around the edges.
You’ll now add avatarView to the top of the screen using the main view’s left and right layout margin guide anchors. This will leave white space on either side of avatarView.
Add the following code to the end of setupConstraints():
// 1
avatarView.translatesAutoresizingMaskIntoConstraints = false
// 2
avatarView.topAnchor.constraint(
  equalTo: view.topAnchor).isActive = true
// 3
avatarView.leadingAnchor.constraint(
  equalTo: view.layoutMarginsGuide.leadingAnchor).isActive = true
avatarView.trailingAnchor.constraint(
  equalTo: view.layoutMarginsGuide.trailingAnchor).isActive = true
// 4
avatarView.heightAnchor.constraint(equalToConstant: 200).isActive = true
Here’s the explanation of the code above:
- Here you set
avatarViewto use Auto Layout. - You set
avatarView‘s top constraint to the view’s top edge. - You set the leading and trailing edges to constrain to the view’s margins instead of the edges of the view.
-
avatarView‘s height is a constant 200. You’ll be changing this later in this Auto Layout tutorial.
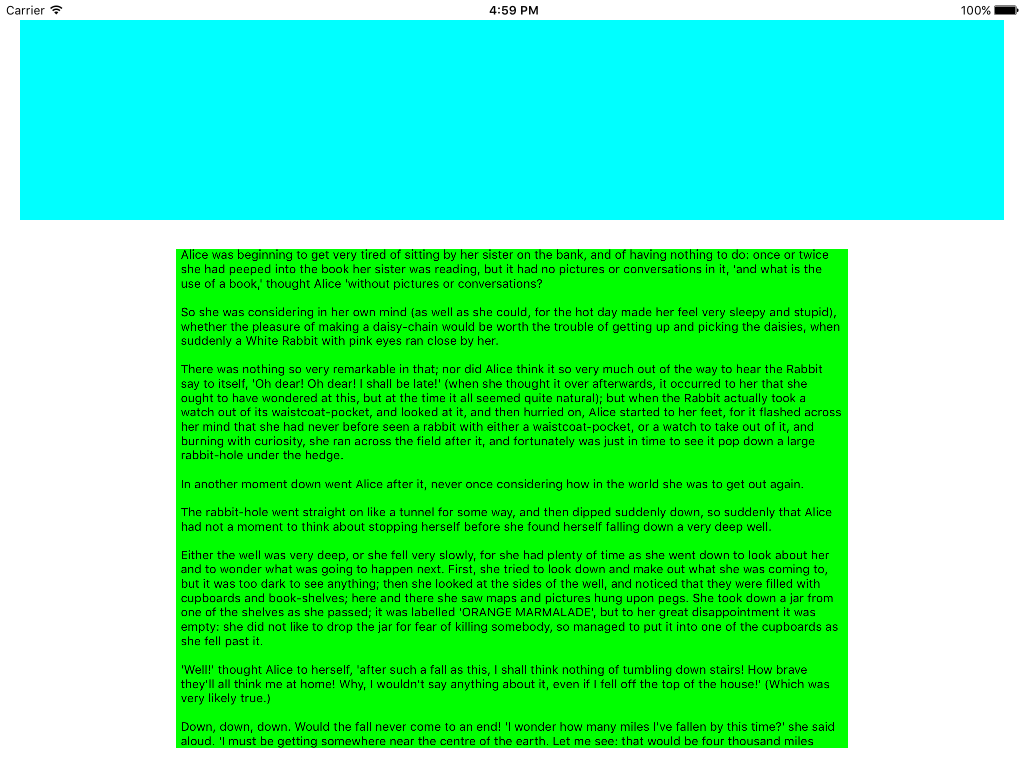
Build and run the app; avatarView is the cyan view at the top of the screen:
![]()
View Controller Layout Guides
As well as the view’s margin guides, view controllers have a top and bottom layout guide.
You can see that avatarView is underneath the status bar. If you had other translucent bars, such as a navigation or tab bar, the view controller’s view would also extend under these, and the content would be obscured by the bar.
When constraining subviews to a view controller’s view, you should always constrain to the view controller’s top guide’s bottom anchor and bottom guide’s top anchor, rather than the view’s top and bottom anchors. This will prevent the status bar from covering the subview.
Change avatarView‘s top anchor constraint in setupConstraints() to:
avatarView.topAnchor.constraint(
      equalTo: topLayoutGuide.bottomAnchor).isActive = true
Here you constrain avatarView to the view controller’s top layout guide’s bottom anchor. The status bar, and any other translucent bars that may be added later, will no longer cover avatarView.
Similarly in setupConstraints(), change bookTextView‘s bottom anchor to:
bookTextView.bottomAnchor.constraint(
      equalTo: bottomLayoutGuide.topAnchor,
      constant: -20).isActive = true
This will constrain bookTextView to the view controller’s bottom layout guide’s top anchor with a margin of 20 points. If you later add a tab bar to your app, then the text will not be covered by the bar.
Build and run the app; avatarView is no longer covered by the status bar:
![]()
There’s no change to bookTextView because there are currently no tab bars on the screen.
Readable Content Guide

The text in bookTextView currently goes from edge to edge and is very uncomfortable to read on an iPad’s wide screen.
Using readable content guides, which change depending on size class, you can make the text more readable by automatically adding more white space at the edges than layout margins currently provide.
On the iPhone 7 Plus in portrait, readable content guides are the same as the view’s margin guides, but in landscape there is more white space on either side of the text view. On the iPad in landscape, the white space is increased significantly.
The margin size depends on the system’s dynamic type. The larger the font, the wider the guide will be.
In setupConstraints(), change bookTextView‘s leading and trailing anchors to:
bookTextView.leadingAnchor.constraint(
      equalTo: view.readableContentGuide.leadingAnchor).isActive = true
bookTextView.trailingAnchor.constraint(
      equalTo: view.readableContentGuide.trailingAnchor).isActive = true
This changes the leading and trailing anchors to constrain to the readable content guide instead of the view’s edges.
Run the app on an iPad in landscape, and see how much more readable the text is when it’s centered in the screen:
Note: You’ve used layout guides provided by Apple, but you can create your own layout guides and constrain views to these guides.
When you create a layout guide, you get most of the anchors available with views. So if you anchor several views to a layout guide and then reposition the guide, all the anchored views will move with the guide.
Layout guides are lighter in resources than UIViews and let you go even further than stack views with spatial relationships.