Advanced MapKit Tutorial: Custom MapKit Tiles
In this custom MapKit tiles tutorial, you’ll learn to modify the default MapKit tiles by adding cool, custom tiles to an adventure game. By Adam Rush.
Dividing up the Earth
The magic of the tile overlay is the ability to translate from a tile path to a specific image asset. Three coordinates represent the tile’s path: x, y, and z. The x and y correspond to indices on the map’s surface, with 0,0 being the upper-left tile. The z-coordinate represents the zoom level and determines how many tiles make up the whole map.
At zoom level 0, a 1×1 grid, requiring one tile, represents the whole world:

At zoom level 1, you divide the whole world into a 2×2 grid. This requires four tiles:

At level 2, the number of rows and columns doubles again, requiring sixteen tiles:

This pattern continues, quadrupling both the level of detail and the number of tiles at each zoom level. Each zoom level requires 22*z tiles, all the way down to zoom level 19, which requires 274,877,906,944 tiles!
Now that you’ve replaced Apple’s tiles with OpenStreetMap’s, it’s time to step it up a notch and show your own fully custom MapKit tiles!
Creating Custom MapKit Tiles
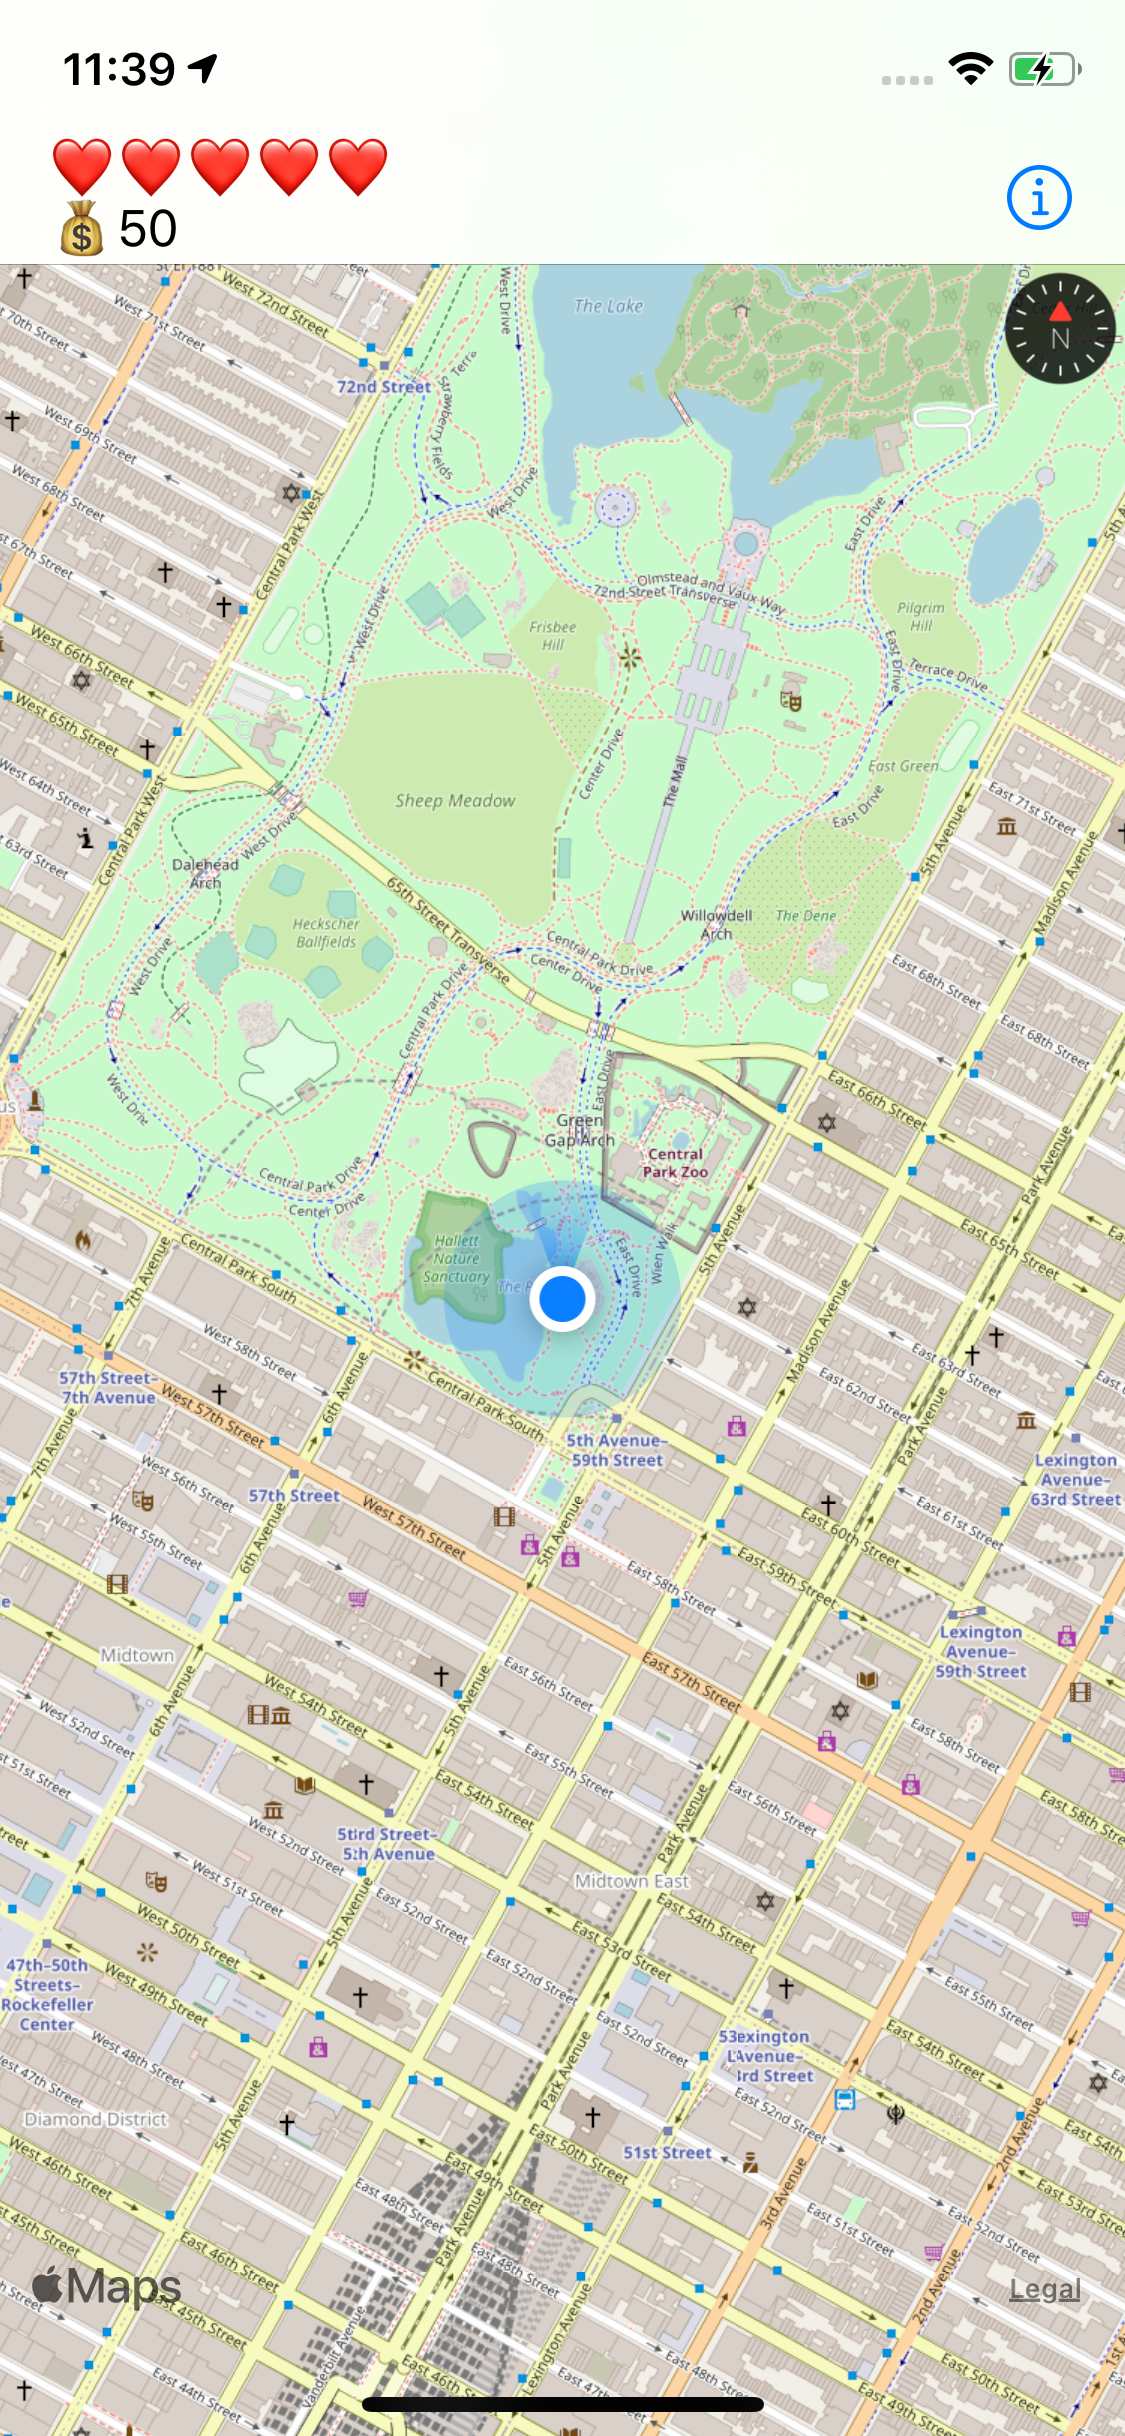
Since the map view follows the user’s location, the default zoom level is 16, which shows a good level of detail to give users the context of where they are.
However, zoom level 16 would require 4,294,967,296 tiles for the whole planet! It would take more than a lifetime to hand-draw these tiles.
Having a smaller bounded area, like a town or park, makes it possible to create custom artwork. For a larger range of locations, you can procedurally generate the tiles from source data.
Because the starter project includes pre-rendered tiles for this game, you simply need to load them. Unfortunately, a generic URL template is not enough, because you want your game to fail gracefully if the renderer requests one of the billions of tiles not included with the app.
To do that, you’ll need a custom MKTileOverlay subclass. Add one by opening AdventureMapOverlay.swift and adding the following code:
class AdventureMapOverlay: MKTileOverlay {
  override func url(forTilePath path: MKTileOverlayPath) -> URL {
    let tileUrl =
      "https://tile.openstreetmap.org/\(path.z)/\(path.x)/\(path.y).png"
    return URL(string: tileUrl)!
  }
}
This sets up the subclass and replaces the basic class using a templated URL with a specialized URL generator.
Keep the OpenStreetMap tiles, for now, to test the custom overlay.
Open MapViewController.swift and replace setupTileRenderer() with the following:
private func setupTileRenderer() {
  let overlay = AdventureMapOverlay()

  overlay.canReplaceMapContent = true
  mapView.addOverlay(overlay, level: .aboveLabels)
  tileRenderer = MKTileOverlayRenderer(tileOverlay: overlay)
}
This swaps in the custom subclass instead of the overlay supplying OpenStreetMap tiles.
Build and run again. The game looks exactly the same as before. Yay!
You’re using your MKTileOverlay subclass, but you’re still loading OpenStreetMap data within that subclass. Next, you’ll replace those tiles with your own custom MapKit tiles.
Loading the Pre-rendered Tiles
Now comes the fun part. Open AdventureMapOverlay.swift and replace url(forTilePath:) with the following:
override func url(forTilePath path: MKTileOverlayPath) -> URL {
  let tilePath = Bundle.main.url(
    forResource: "\(path.y)",
    withExtension: "png",
    subdirectory: "tiles/\(path.z)/\(path.x)",
    localization: nil)
}
Here, you try to locate a matching tile in the resource bundle using a known naming scheme. This will find files that are already loaded in your project. In the starter project, you can find these inside the tiles folder. You’ll notice the tiles are grouped in folders by their z-coordinate, and then grouped again by their x-coordinate. The files themselves are PNGs named after their y-coordinate.
Next, add the following code to the end of the method:
if let tile = tilePath {
  return tile
} else {
  return Bundle.main.url(
    forResource: "parchment",
    withExtension: "png",
    subdirectory: "tiles",
    localization: nil)!
}
Return the found tile if it exists. Otherwise, if a tile is missing, you’ll replace it with a parchment pattern that gives the map a fantasy medieval feel. This also obviates the need to supply a unique asset for every tile path.
Build and run again. Now, you’ll see the custom map.

Try zooming in and out to see different levels of detail.

If you’re hearing your phone ringing right now, that’s Apple staff trying to get your game into Apple Arcade. ;]
Bounding the Zoom Level
There’s a small issue with your game, though. If you zoom too far in or out, you’ll lose the map altogether.

Fortunately, this is an easy fix. Open MapViewController.swift and add the following lines to the bottom of setupTileRenderer():
overlay.minimumZ = 13
overlay.maximumZ = 16
This informs the mapView that you’ve only provided tiles between those zoom levels. Changing the zoom beyond that scales the tile images provided in the app. The user won’t get any additional detail, but at least the displayed image now matches the scale.
You can go even further and restrict zooming in too far. Open MapViewController.swift and add the following lines below initialRegion in viewDidLoad()
mapView.cameraZoomRange = MKMapView.CameraZoomRange(
  minCenterCoordinateDistance: 7000,
  maxCenterCoordinateDistance: 60000)
mapView.cameraBoundary = MKMapView.CameraBoundary(
  coordinateRegion: initialRegion)
Here, you use cameraZoomRange and cameraBoundary to restrict the zooming in capability to your initialRegion.
Creating Tiles
The chances that you’re reading this tutorial to make a fantasy adventure game are pretty slim. In this section, you’ll take a look at how to build your own custom MapKit tiles that fit your needs.
The hardest part of this maneuver is creating tiles of the right size and lining them up properly. To draw your own custom MapKit tiles, you’ll need a data source and an image editor.
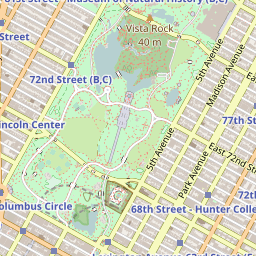
Open the project folder and take a look at MapQuest/tiles/14/4825/6156.png. This tile shows the bottom part of Central Park at zoom level 14. The app contains dozens of these little images to form the map of New York City, where the game takes place. Each one was drawn by hand using rudimentary skills and tools.

Deciding Which Tiles You Need
The first step to making your own map is to figure out which tiles you’ll need to draw. To start, download the source data from OpenStreetMap and use a tool like MapNik to generate tile images from it.
Unfortunately, the source is a 57GB download! Plus, the tools are a little obscure and out of the scope of this tutorial. However, for a bounded region like Central Park, there’s an easier workaround.
In AdventureMapOverlay.swift add the following line to url(forTilePath:):
print("requested tile\tz:\(path.z)\tx:\(path.x)\ty:\(path.y)")
Build and run. Now, as you zoom and pan around the map, the tile paths display in the console output. This shows you exactly which tiles you’ll need to create.

Compiler error: Invalid library file in the Xcode console. This is a simulator bug and can safely be ignored. Unfortunately, it makes the console rather noisy, making it more difficult to see the results of your print statements.Next, you need to get a source tile and customize it. You can reuse the URL scheme from before to get an OpenStreetMap tile.
The following terminal command will grab a tile and store it locally.
curl --create-dirs -o z/x/y.png https://tile.openstreetmap.org/z/x/y.png
You can change the URL, replacing the x, y, and z with a particular map path. For the south section of Central Park, try:
curl --create-dirs -o 14/4825/6156.png \
  https://tile.openstreetmap.org/14/4825/6156.png
This directory structure — zoom-level/x-coordinate/y-coordinate — makes it easier to find and use the tiles later.