Getting Started with the VIPER Architecture Pattern
In this tutorial, you’ll learn about using the VIPER architecture pattern with SwiftUI and Combine, while building an iOS app that lets users create road trips. By Michael Katz.
Considering the Map View
Before heading over to the detail view, consider the map view. This widget is more complicated than the others.
In addition to drawing the geographical features, the app also overlays pins for each point and the route between them.
This calls for its own set of presentation logic. You could use the TripDetailPresenter, or in this case, create a separate TripMapViewPresenter. It will reuse the TripDetailInteractor since it shares the same data model and is a read-only view.
Create a new Swift File named TripMapViewPresenter.swift. Set its contents to:
import MapKit
import Combine

class TripMapViewPresenter: ObservableObject {
  @Published var pins: [MKAnnotation] = []
  @Published var routes: [MKRoute] = []

  let interactor: TripDetailInteractor
  private var cancellables = Set<AnyCancellable>()

  init(interactor: TripDetailInteractor) {
    self.interactor = interactor

    interactor.$waypoints
      .map {
        $0.map {
          let annotation = MKPointAnnotation()
          annotation.coordinate = $0.location
          return annotation
        }
    }
    .assign(to: \.pins, on: self)
    .store(in: &cancellables)

    interactor.$directions
      .assign(to: \.routes, on: self)
      .store(in: &cancellables)
  }
}
Here, the map presenter exposes two arrays to hold annotations and routes. In init(interactor:), you map the waypoints from the interactor to MKPointAnnotation objects so that they can be displayed as pins on the map. You then copy the directions to the routes array.
To use the presenter, create a new SwiftUI View named TripMapView.swift. Set its contents to:
import SwiftUI

struct TripMapView: View {
  @ObservedObject var presenter: TripMapViewPresenter

  var body: some View {
    MapView(pins: presenter.pins, routes: presenter.routes)
  }
}

#if DEBUG
struct TripMapView_Previews: PreviewProvider {
  static var previews: some View {
    let model = DataModel.sample
    let trip = model.trips[0]
    let interactor = TripDetailInteractor(
      trip: trip,
      model: model,
      mapInfoProvider: RealMapDataProvider())
    let presenter = TripMapViewPresenter(interactor: interactor)
    return VStack {
      TripMapView(presenter: presenter)
    }
  }
}
#endif
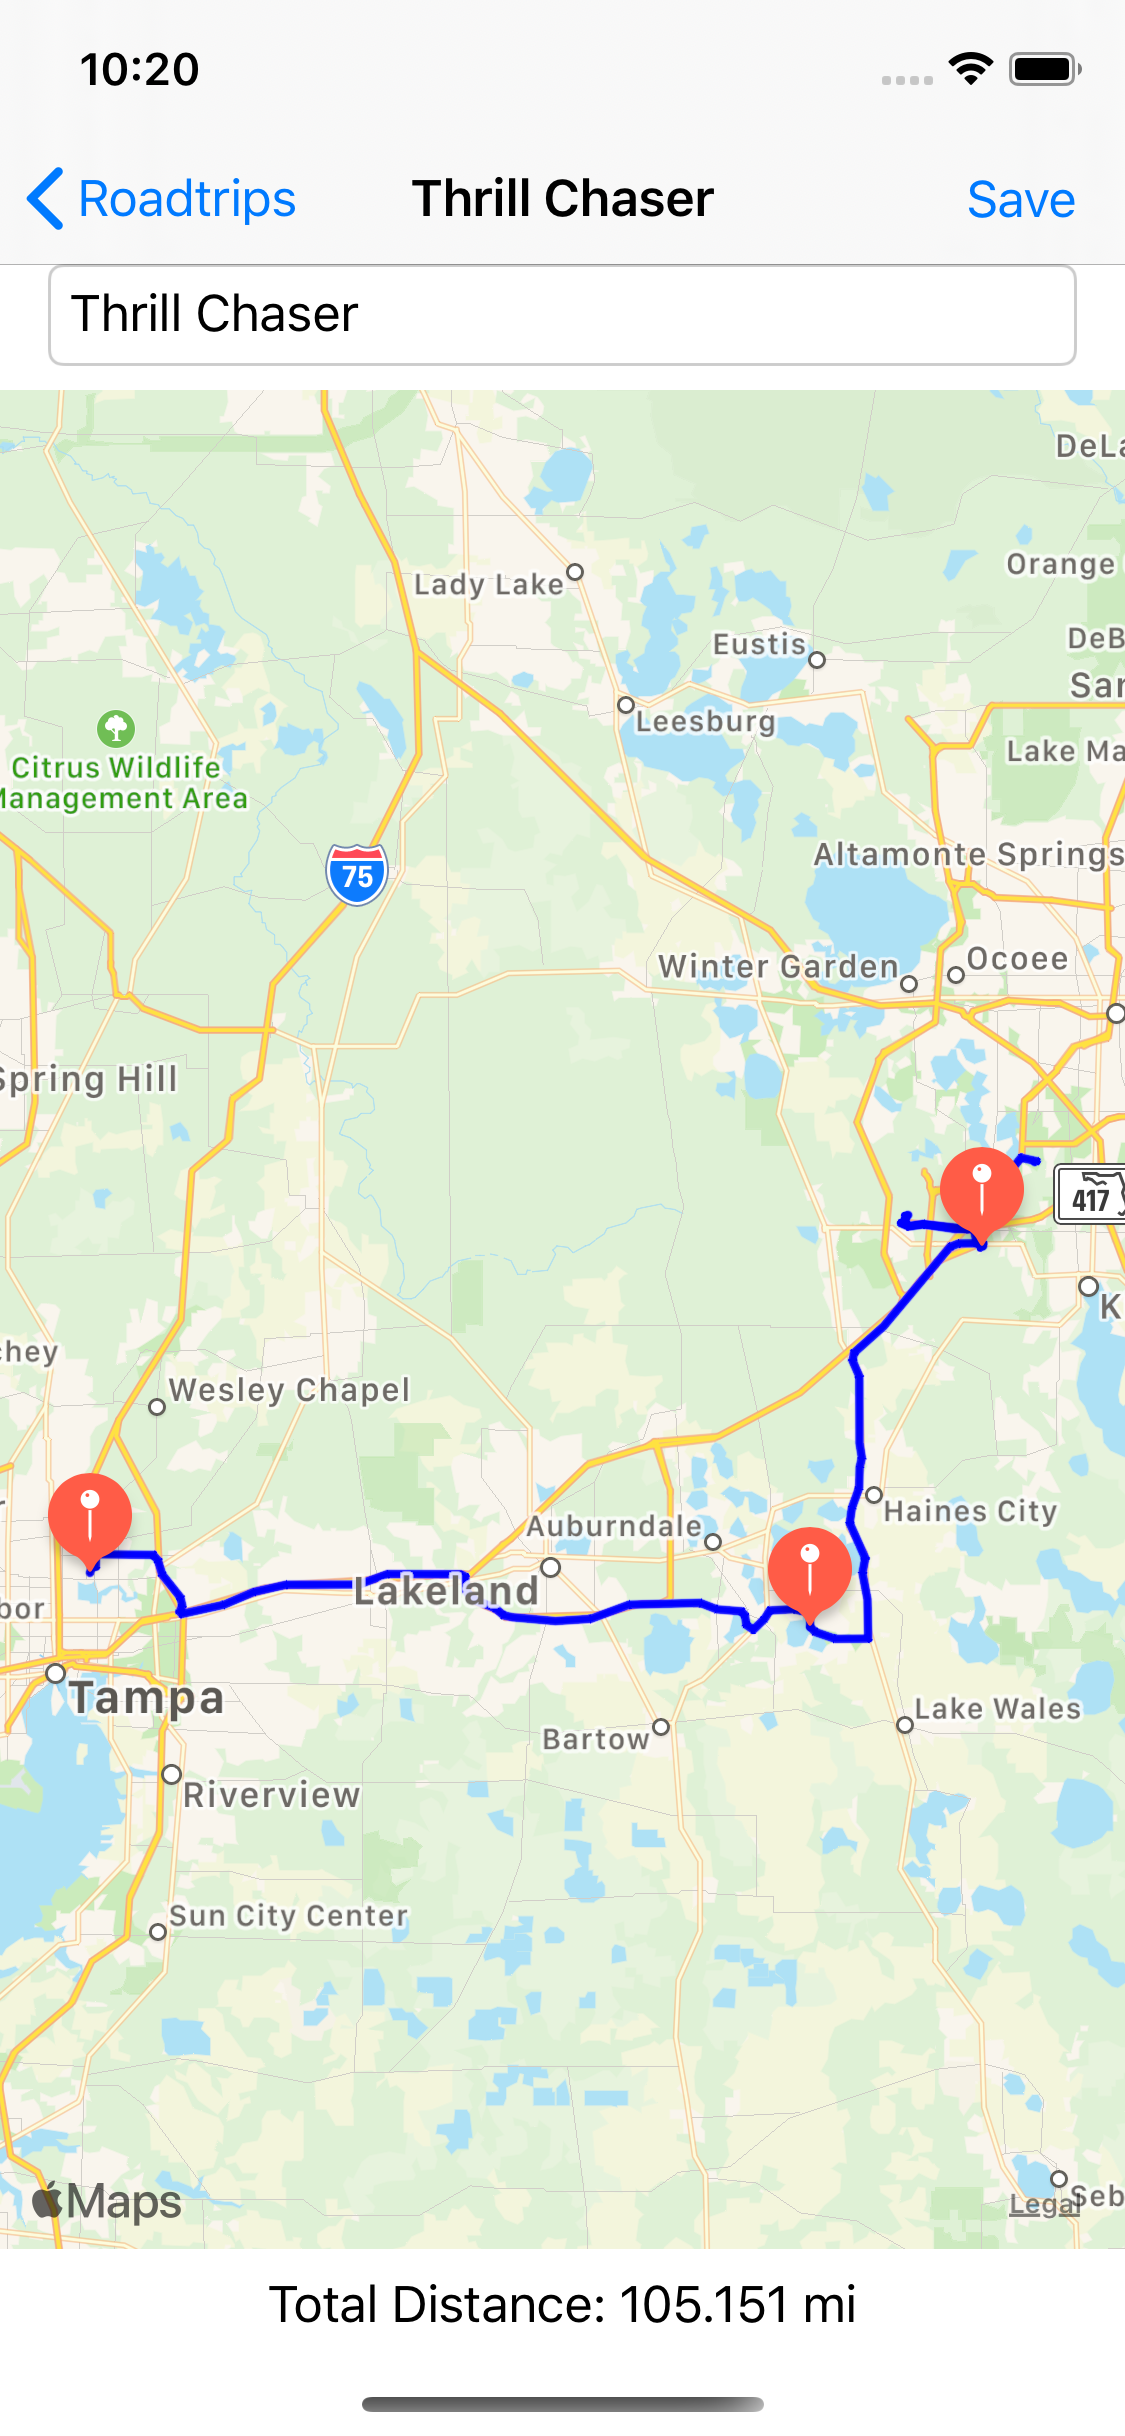
This uses the helper MapView and supplies it with pins and routes from the presenter. The previews struct builds the VIPER chain the app needs to preview just the map. Use Live Preview to see the map properly:

To add the map to the app, first add the following method to TripDetailPresenter:
func makeMapView() -> some View {
   TripMapView(presenter: TripMapViewPresenter(interactor: interactor))
}
This makes a map view, providing it with its presenter.
Next, open TripDetailView.swift.
Add the following to the VStack below the TextField:
presenter.makeMapView()
Text(presenter.distanceLabel)
Build and run to see the map on screen:
Editing Waypoints
The final feature is to add waypoint editing so you can make your own trips! You can rearrange the list on the trip detail view. But to create a new waypoint, you’ll need a new view for the user to type in the name.
To get to a new view, you’ll want a Router. Create a new Swift File named TripDetailRouter.swift.
Add this code to the new file:
import SwiftUI
class TripDetailRouter {
private let mapProvider: MapDataProvider
init(mapProvider: MapDataProvider) {
self.mapProvider = mapProvider
}
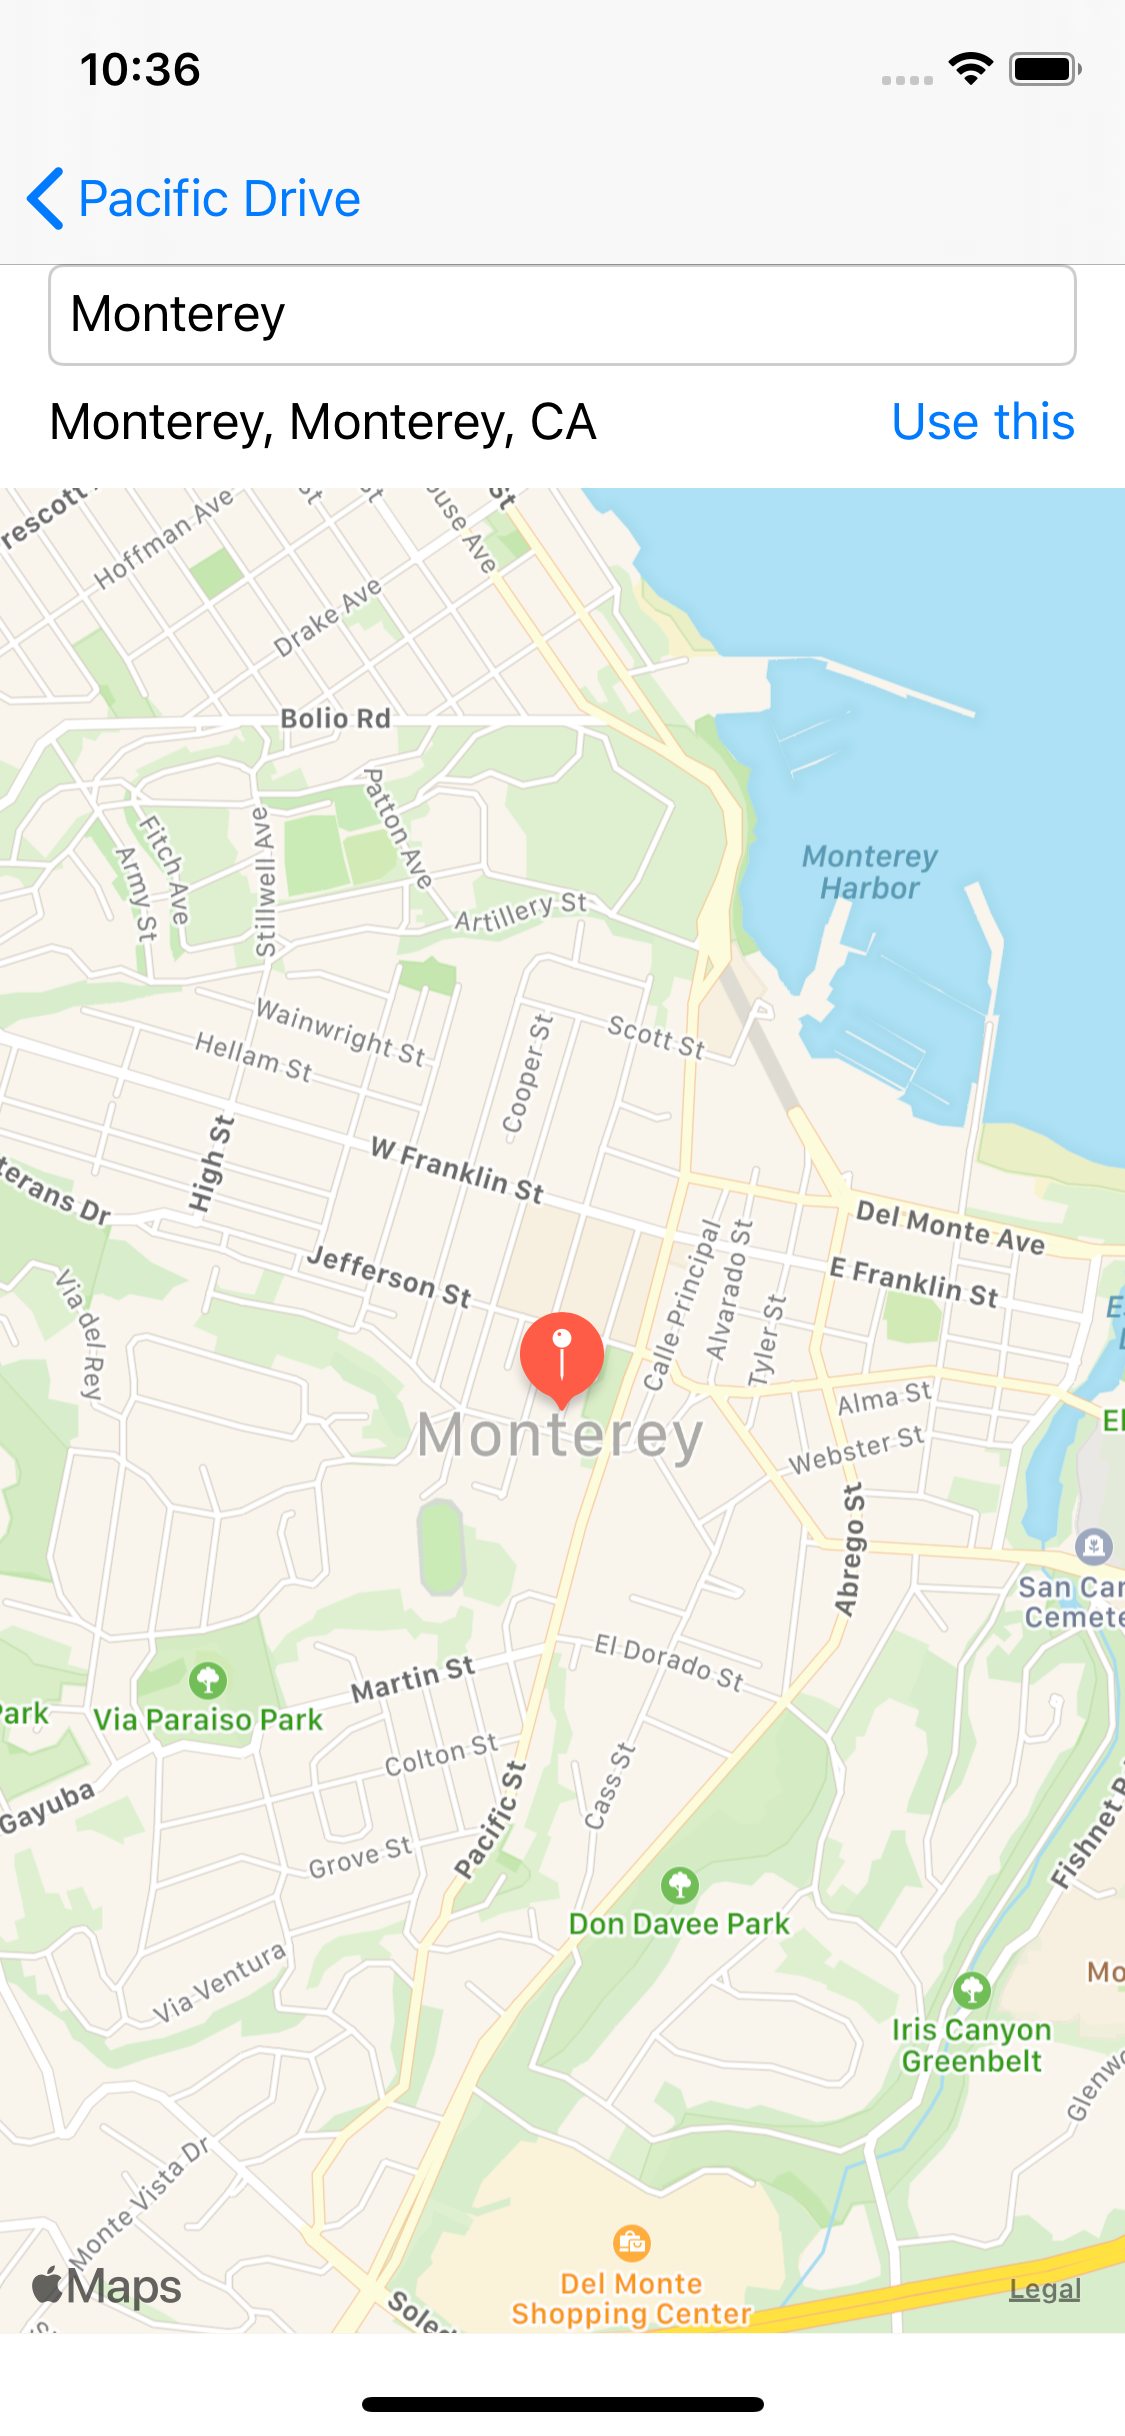
func makeWaypointView(for waypoint: Waypoint) -> some View {
let presenter = WaypointViewPresenter(
waypoint: waypoint,
interactor: WaypointViewInteractor(
waypoint: waypoint,
mapInfoProvider: mapProvider))
return WaypointView(presenter: presenter)
}
}
This creates a WaypointView that is already set up and ready to go.
With the router on hand, go to TripDetailInteractor.swift, and add the following methods:
func addWaypoint() {
   trip.addWaypoint()
}

func moveWaypoint(fromOffsets: IndexSet, toOffset: Int) {
 trip.waypoints.move(fromOffsets: fromOffsets, toOffset: toOffset)
}

func deleteWaypoint(atOffsets: IndexSet) {
  trip.waypoints.remove(atOffsets: atOffsets)
}

func updateWaypoints() {
  trip.waypoints = trip.waypoints
}
These methods are self descriptive. They add, move, delete, and update waypoints.
Next, expose these to the view through TripDetailPresenter. In TripDetailPresenter, add this property:
private let router: TripDetailRouter
This will hold the router. Create it by adding this to the top of init(interactor:):
self.router = TripDetailRouter(mapProvider: interactor.mapInfoProvider)
This creates the router for use with the waypoint editor. Next, add these methods:
func addWaypoint() {
  interactor.addWaypoint()
}

func didMoveWaypoint(fromOffsets: IndexSet, toOffset: Int) {
  interactor.moveWaypoint(fromOffsets: fromOffsets, toOffset: toOffset)
}

func didDeleteWaypoint(_ atOffsets: IndexSet) {
  interactor.deleteWaypoint(atOffsets: atOffsets)
}

func cell(for waypoint: Waypoint) -> some View {
  let destination = router.makeWaypointView(for: waypoint)
    .onDisappear(perform: interactor.updateWaypoints)
  return NavigationLink(destination: destination) {
    Text(waypoint.name)
  }
}
The first three are part of the operations on the waypoint. The final method calls the router to get a waypoint view for the waypoint and put it in a NavigationLink.
Finally, show this to the user in TripDetailView by adding the following to the VStack under the Text:
HStack {
  Spacer()
  EditButton()
  Button(action: presenter.addWaypoint) {
    Text("Add")
  }
}.padding([.horizontal])
List {
  ForEach(presenter.waypoints, content: presenter.cell)
    .onMove(perform: presenter.didMoveWaypoint(fromOffsets:toOffset:))
    .onDelete(perform: presenter.didDeleteWaypoint(_:))
}
This adds the following controls to the view:
- An
EditButtonthat puts the list into editing mode so the user can move or delete waypoints. - An add
Buttonthat uses the presenter to add a new waypoint to the list. - A
Listthat uses aForEachwith the presenter to make a cell for each waypoint. The list defines anonMoveandonDeleteaction that enables those edit actions and calls back into the presenter.
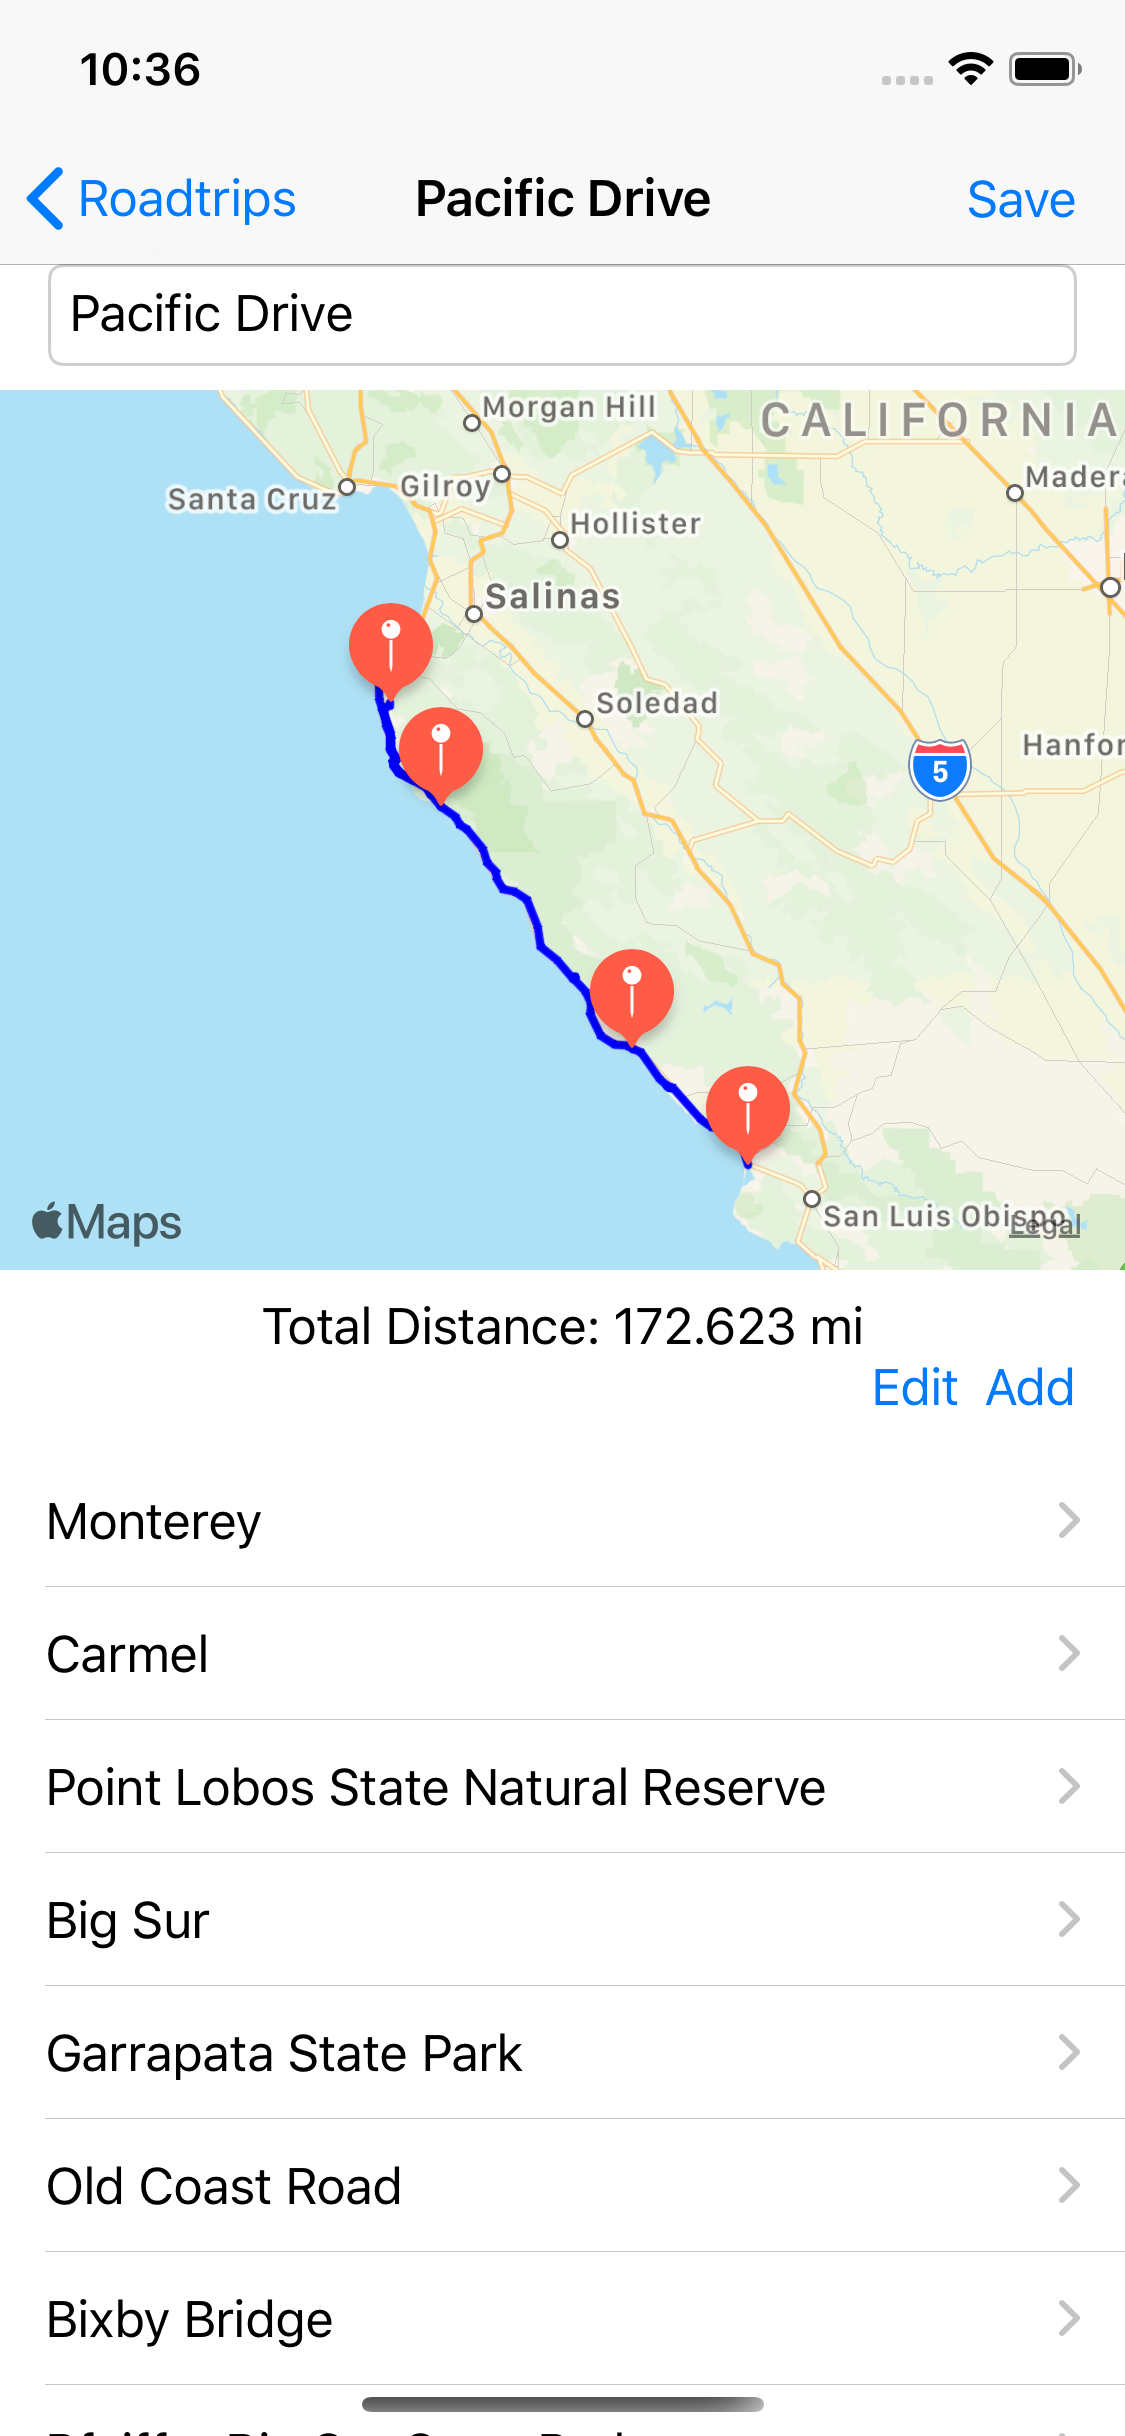
Build and run, and you can now customize a trip! Be sure to save any changes.
Making Modules
With VIPER, you can group together the presenter, interactor, view, router and related code into modules.
Traditionally, a module would expose the interfaces for the presenter, interactor and router in a single contract. This doesn’t make a lot of sense with SwiftUI because it’s view forward. Unless you want to package each module as its own framework, you can instead conceptualize modules as groups.
Take TripListView.swift, TripListPresenter.swift, TripListInteractor.swift and TripListRouter.swift and group them together in a group named TripListModule.
Do the same for the detail classes: TripDetailView.swift, TripDetailPresenter.swift, TripDetailInteractor.swift, TripMapViewPresenter.swift, TripMapView.swift, and TripDetailRouter.swift.
Add them to a new group called TripDetailModule.
Modules are a good way to keep the code clean and separated. As a good rule of thumb, a module should be a conceptual screen/feature, and the routers hand the user off between modules.
Where to Go From Here?
Click the Download Materials button at the top or bottom of the tutorial to download the completed project files.
One of the advantages of the separation VIPER endorses is in testability. You can test the interactor so that it can read and manipulate the data model. And you can do all that while independently testing the presenter to change the view and respond to user actions.
Think of it as a fun exercise to try on your own!
Because of the reactive power of Combine and its native support in SwiftUI, you may have noticed that the interactor and presenter layers are relatively thin. They do separate the concerns, but mostly, they’re just passing data through an abstraction layer.
With SwiftUI, it’s a little more natural to collapse the presenter and interactor functionality into a single ObservableObject that holds most of the view state and interacts directly with the entities.
For an alternate approach, read MVVM with Combine Tutorial for iOS.
We hope you enjoyed this tutorial! If you think of questions or comments, drop them in the discussion below. We’d love to hear about your favorite architecture and what’s changed in the era of SwiftUI.