Getting Started with the VIPER Architecture Pattern
In this tutorial, you’ll learn about using the VIPER architecture pattern with SwiftUI and Combine, while building an iOS app that lets users create road trips. By Michael Katz.
The VIPER architectural pattern is an alternative to MVC or MVVM. And while the SwiftUI and Combine frameworks create a powerful combination that makes quick work of building complex UIs and moving data around an app, they also come with their own challenges and opinions about architecture.
It’s a common belief that all of the app logic should now go into a SwiftUI view, but that’s not the case.
VIPER offers an alternative to this scenario and can be used in conjunction with SwiftUI and Combine to help build apps with a clean architecture that effectively separates the different functions and responsibilities required, such as the user interface, business logic, data storage and networking. These are then easier to test, maintain and expand.
In this tutorial, you’ll build an app using the VIPER architecture pattern. The app is also conveniently called VIPER: Visually Interesting Planned Easy Roadtrips. Clever, right? :]
It will allow users to build out road trips by adding waypoints to a route. Along the way, you’ll also learn about SwiftUI and Combine for your iOS projects.
Getting Started
Download the project materials from the Download Materials button at the top or bottom of the tutorial. Open the starter project. This includes some code to get you started:
- The
ContentViewwill launch the app’s other views as you build them. - There are some helper views in the Functional Views group: one for wrapping the MapKit map view, a special “split image” view, which is used by the
TripListCell. You’ll be adding these to the screen in a little bit. - In the Entities group, you’ll see the classes related to the data model. Trip and Waypoint will serve later as the Entities of the VIPER architecture. As such, they just hold data and don’t include any functional logic.
- In the Data Sources group, there are the helper functions for saving or loading data.
- Peek ahead if you like in the WaypointModule group. This has a VIPER implementation of the Waypoint editing screen. It’s included with the starter so you can complete the app by the end of this tutorial.
This sample uses Pixabay, a permissively licensed photo-sharing site. To pull images into the app, you’ll need to create a free account and obtain an API key.
Follow the instructions here https://pixabay.com/accounts/register/ to create an account. Then, copy your API key into the apiKey variable found in ImageDataProvider.swift. You can find it in the Pixabay API docs under Search Images.
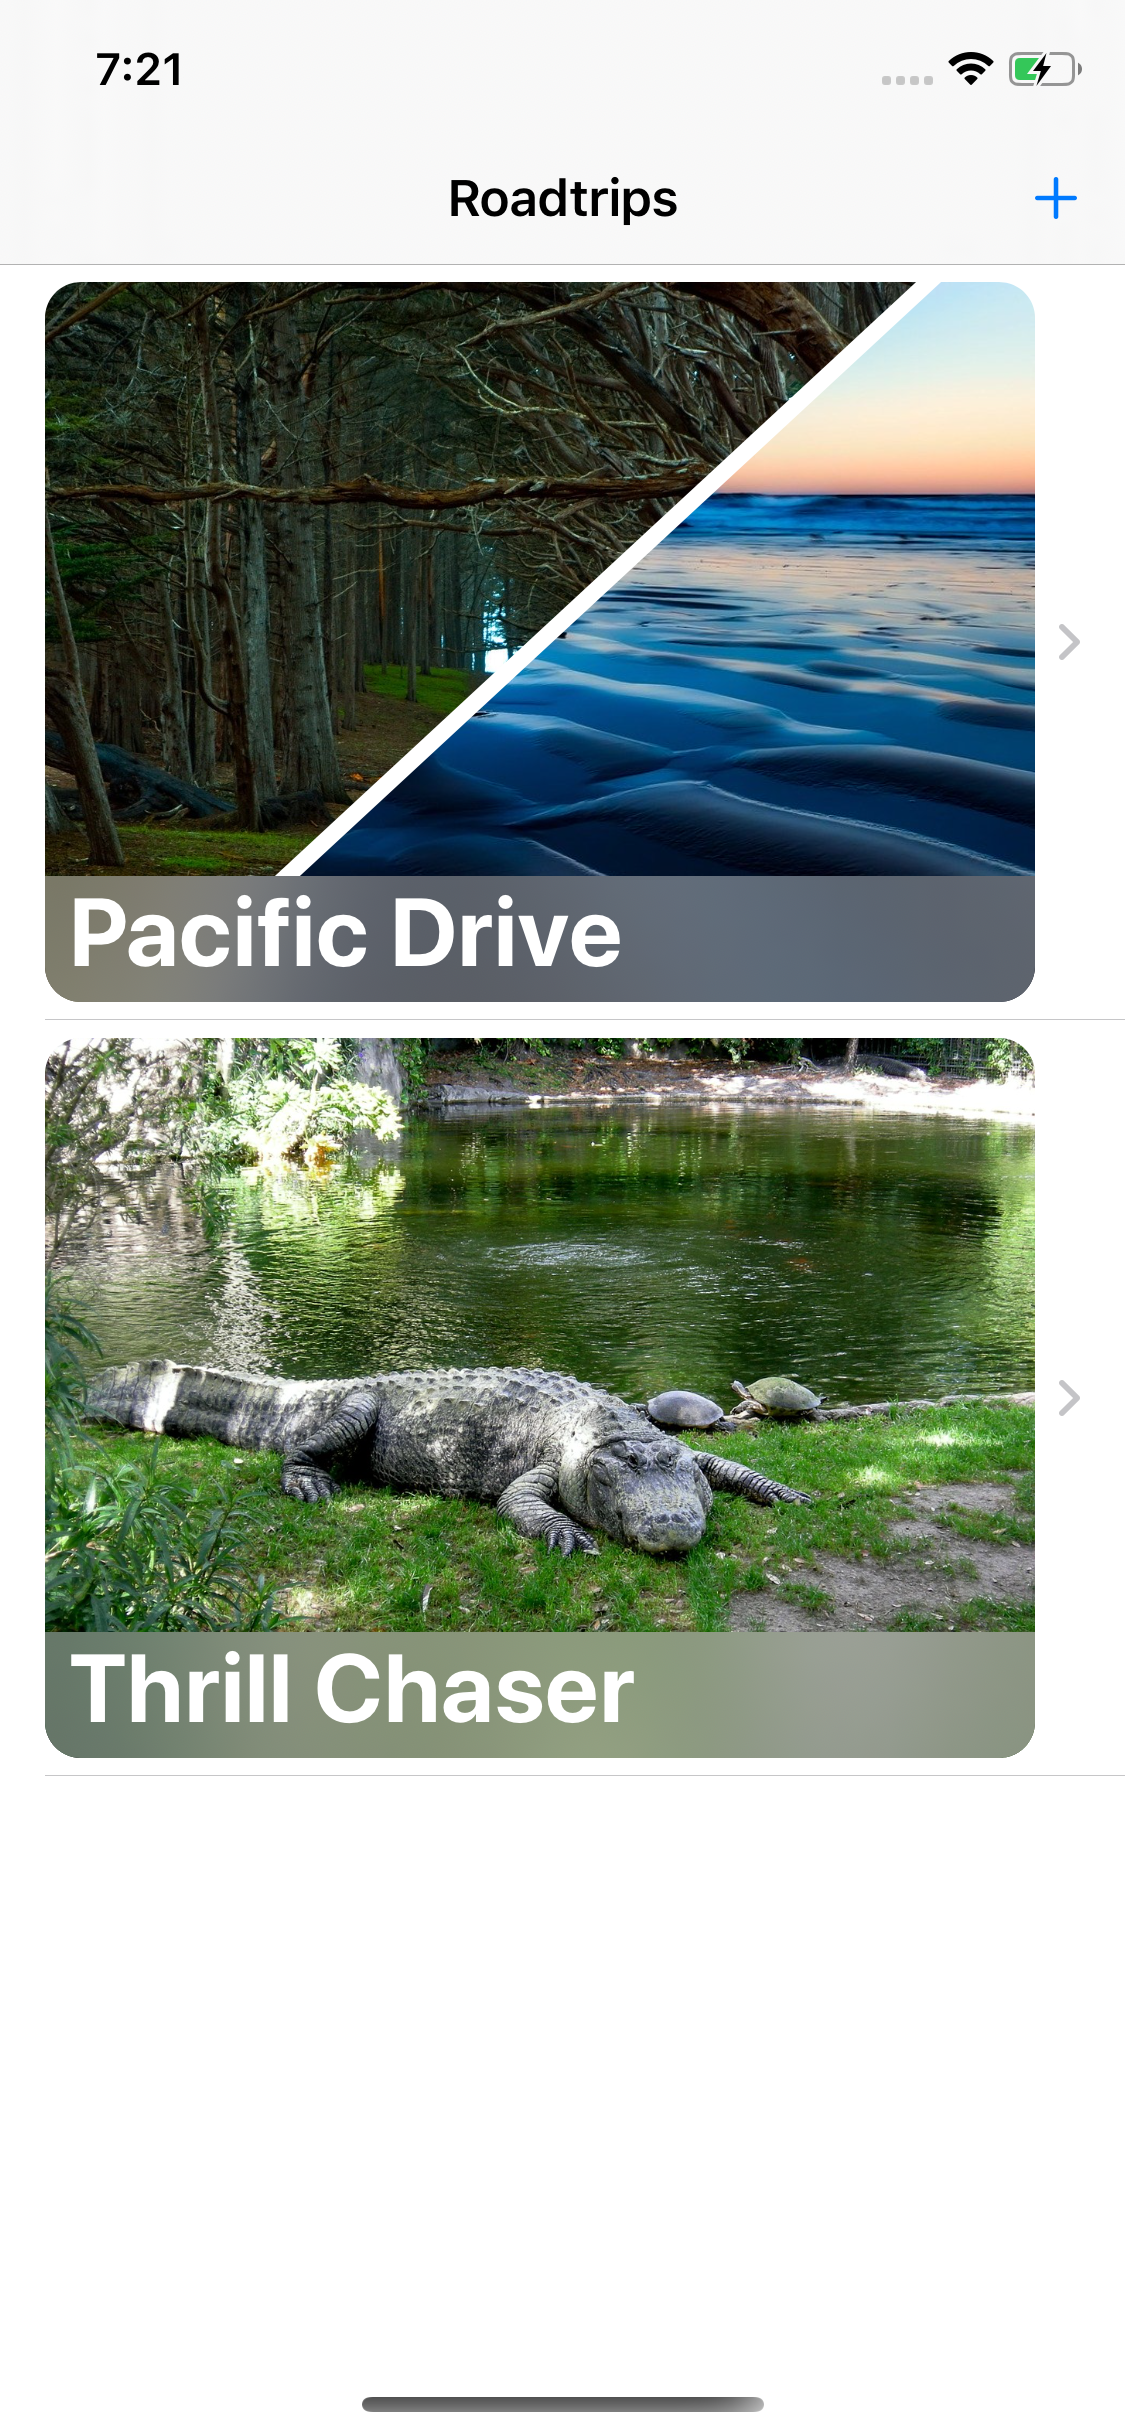
If you build and run now, you won’t see anything too interesting.

However, by the end of the tutorial, you’ll have a fully functional road-trip planning app.
What is VIPER?
VIPER is an architectural pattern like MVC or MVVM, but it separates the code further by single responsibility. Apple-style MVC motivates developers to put all logic into a UIViewController subclass. VIPER, like MVVM before it, seeks to fix this problem.
Each of the letters in VIPER stand for a component of the architecture: View, Interactor, Presenter, Entity and Router.
- The View is the user interface. This corresponds to a SwiftUI
View. - The Interactor is a class that mediates between the presenter and the data. It takes direction from the presenter.
- The Presenter is the “traffic cop” of the architecture, directing data between the view and interactor, taking user actions and calling to router to move the user between views.
- An Entity represents application data.
- The Router handles navigation between screens. That’s different than it is in SwiftUI, where the view shows any new views.
This separation is borne out of “Uncle” Bob Martin’s Clean Architecture paradigm.

When you look at the diagram, you can see there’s a complete path for the data to flow between the view and entities.
SwiftUI has its own opinionated way of doing things. The mapping of VIPER responsibilities onto domain objects will be different if you compare this to tutorials for UIKit apps.
Comparing Architectures
People often discuss VIPER with MVC and MVVM, but it is different from those patterns.
MVC, or Model-View-Controller, is the pattern most people associate with 2010’s iOS app architecture. With this approach, you define the View in a storyboard, and the Controller is an associated UIViewController subclass. The Controller modifies the View, accepts user input and interacts directly with the Model. The Controller bloats with view logic and business logic.
MVVM is a popular architecture that separates the view logic from the business logic in a View Model. The view model interacts with the Model.
The big difference is that a view model, unlike a view controller, only has a one-way reference to the view and to the model. MVVM is a good fit for SwiftUI, and there is a whole tutorial on the topic.
VIPER goes a step further by separating the view logic from the data model logic. Only the presenter talks to the view, and only the interactor talks to the model (entity). The presenter and interactor coordinate with each other. The presenter is concerned with display and user action, and the interactor is concerned with manipulating the data.

Defining an Entity
VIPER is a fun acronym for this architecture, but its order isn’t proscriptive.
The fastest way to get something on screen is to start with the entity. The entity is the data object(s) for the project. In this case, the main entities are Trip, which contains a list of Waypoints, which are the stops in the trip.
The app contains a DataModel class that holds a list of trips. The model uses a JSON file for local persistence, but you can replace this by a remote back end without having to modify any of the UI-level code. That’s one of the advantages of clean architecture: When you change one part — like the persistence layer — it’s isolated from other areas of the code.
Adding an Interactor
Create a new Swift File named TripListInteractor.swift.
Add the following code to the file:
class TripListInteractor {
  let model: DataModel

  init (model: DataModel) {
    self.model = model
  }
}
This creates the interactor class and assigns it a DataModel, which you’ll use later.