Unity 2D Techniques: Build a 2D Pinball Game
In this tutorial, you’ll learn how to use Unity’s 2D techniques to build an old-school pinball game using sorting groups, the mesh editor and more. By Ben MacKinnon.
Sign up/Sign in
With a free Kodeco account you can download source code, track your progress, bookmark, personalise your learner profile and more!
Create accountAlready a member of Kodeco? Sign in
Sign up/Sign in
With a free Kodeco account you can download source code, track your progress, bookmark, personalise your learner profile and more!
Create accountAlready a member of Kodeco? Sign in
Contents
Unity 2D Techniques: Build a 2D Pinball Game
30 mins
- Getting Started
- Exploring the Starter Project
- Adjusting Your Sorting Layers
- Getting the Ball Rolling
- Scrolling Trees
- Scripting the Animation
- Adding the Billboard
- Placing the Billboard
- Adding the Score
- Adding the Ping!
- Adding the Plunger
- Adding the Anchor
- Adding the Spring Joint
- Adding the Plunger Script
- Test Your Work
- Adding the Flippers
- The Hinge Joints
- Adding a Script to Flip
- Road Tunnel Zone
- Force Field With Area Effector 2D
- A Guided Path With Surface Effector 2D
- Mesh Editing in Unity
- Blocking With Platform Effector 2D
- Float Piece Area
- Code the Float
- Implementing the Float Area
- Triangle Bumpers
- Adding More Bumpers
- Where to Go From Here?
Adding a Script to Flip
Now, add the script to make the flippers work.
Open FlipControlLeft.cs from Assets/RW/Scripts.
Declare the following variables below the existing ones:
public float speed = 0f;
private HingeJoint2D hingeJoint2D;
private JointMotor2D jointMotor;
Grab your references in Start by adding:
hingeJoint2D = GetComponent<HingeJoint2D>();
jointMotor = hingeJoint2D.motor;
Then, in the if statement in FixedUpdate, add the code to engage the joint’s motor:
// set motor speed to max
jointMotor.motorSpeed = speed;
hingeJoint2D.motor = jointMotor;
Finally, add an else statement to the same block:
else
{
    // snap the motor back again
    jointMotor.motorSpeed = -speed;
    hingeJoint2D.motor = jointMotor;
}
Try repeating the above code for the right flipper:
- Declare the required variables to gain access to the object’s HingeJoint2D and JointMotor2D components.
- Create a variable that stores the speed value for the motor.
- Listen for user interaction in
FixedUpdateand trigger its motor speed.
[spoiler title=”Code Update for FlipControlRight“]
The only difference here is that you flip the speed variable because you rotate the flipper the other way.
In FlipControlRight.cs, declare the same variables:
public float speed = 0f;
private HingeJoint2D hingeJoint2D;
private JointMotor2D jointMotor;
Store your references in Start again:
hingeJoint2D = GetComponent<HingeJoint2D>();
jointMotor = hingeJoint2D.motor;
Then, in the if statement in FixedUpdate, add:
// set motor speed to max
jointMotor.motorSpeed = -speed;
hingeJoint2D.motor = jointMotor;
Finally, add the following else statement to that same block:
else
{
    // snap the motor back again
    jointMotor.motorSpeed = speed;
    hingeJoint2D.motor = jointMotor;
}
[/spoiler]
Save the files and return to Unity.
Attach the script component FlipControlLeft to FlipLeft-hingejoint and FlipControlRight to FlipRight-hingejoint. Set their Speed values to 1700.

Click Play and try your flippers using the left and right arrow keys.
Road Tunnel Zone
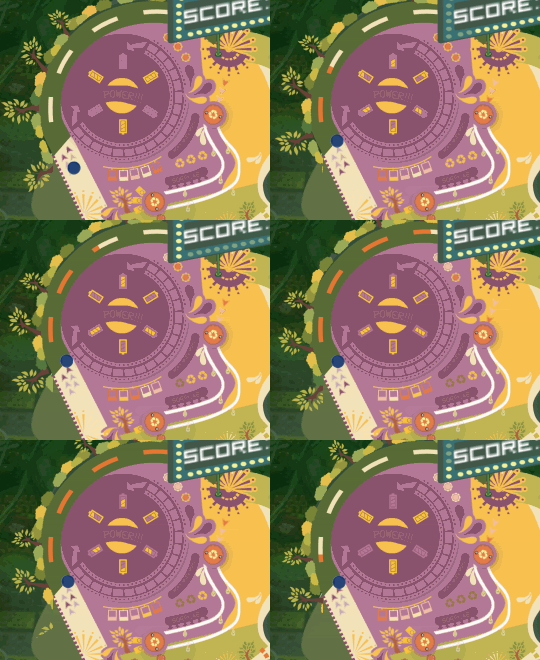
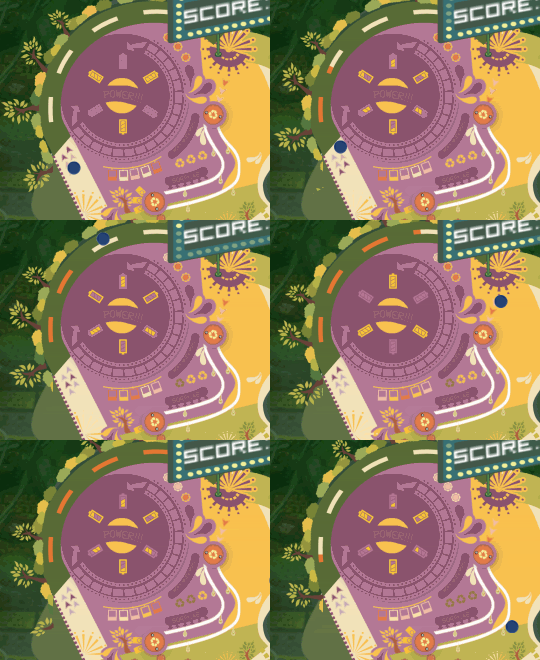
The curved orbit at the top of the playfield increases the chance for the ball to enter the CurveRamp for more points — if you’re able to get the ball in!
In this step, you’ll create a vortex at the entrance to suck the ball into the tunnel and spit it out at the other end. Whee!
Force Field With Area Effector 2D
Set the ball instance’s Transform Position to (X:-2.28, Y:1, Z:0). In the Hierarchy, right-click Road Tunnel Zone and select Create Empty. Name this object Force Field.
Click Add Component and select Physics 2D ▸ Polygon Collider 2D.
In the Inspector, click the Edit Collider icon and move the vectors to the area outside the entrance of the tunnel. Enable Is Trigger and Used By Effector.

Click Add Component and select Physics 2D ▸ Area Effector 2D. Enable Use Global Angle. Then, set Force Angle to 90 and Force Magnitude to 20. In the Force Target drop-down, select Rigidbody.
Hit Play and test your new vortex.

A Guided Path With Surface Effector 2D
The “weak” vortex has only enough power to push your ball to the tunnel’s entrance. Next, you’ll create a path to guide the ball through the rest of the tunnel.
- Right-click Road Tunnel Zone in the Hierarchy and select Create Empty. Name this new object Road Surface.
- In the Inspector, click Add Component and select Physics 2D ▸ Edge Collider 2D.
- Click the Edit Collider icon and move the vectors accordingly.
- Enable Used By Effector and increase Edge Radius to 0.03.

Next, click Add Component and select Physics 2D ▸ Surface Effector 2D. Set Force Speed to 15 and Force Scale to 1. Click Play.
Wait, what is that ball doing? You’ll fix is behavior in the next section.
Mesh Editing in Unity
At this point, when you preview your work you’ll see that the ball is acting weird.
Go to the Hierarchy, select Static Colliders/WallBoard and enable Sprite Renderer in the Inspector. Here, you’ll find the culprit — some vectors are blocking the tunnel’s entrance.
To fix this, go to Polygon Collider 2D, click on the Edit Collider icon and move the offending vectors out of the way. Don’t make the gap too wide.

- Hold Alt and left-click to change the cursor into the Hand icon to move the canvas around.
- Press Command (Mac) or Control (Windows) to highlight vertices, then left-click to delete.
Click Play again. There you go… all better!
Blocking With Platform Effector 2D
Now, the ForceField pushes the ball onto the Road Surface, which then guides the ball along the tunnel and right back to the shooter and then…
Wha…? It goes right back down the chute to the plunger.
That’s not quite right.
You need a collider to prevent the ball from falling back into the Plunger. But at the same time, you need to allow the ball to exit from the shooter after launch.
Back in the old days, you might have if-else‘d” your way out of it. But now, Platform Effector 2D is here to save the day!
Right-click Road Tunnel Zone in the Hierarchy, select Create Empty and name the new object Block Platform.
In the Inspector, click Add Component and select Physics 2D ▸ Edge Collider 2D. Then Edit Collider to move the vectors that will block the exit. Enable Used By Effector and set Edge Radius to 0.03.
Next, click Add Component and select Physics 2D ▸ Platform Effector 2D. Disable Use Collider Mask. Then, set the value of Rotational Offset to 90 and the value of Surface Arc to 130. Enable Use One Way.
Click Play… you’ve solved the problem!
Float Piece Area
Another sweet spot where the player can score more points is in the floating area.
To implement it:
- Set the Transform Position of the ball instance to (X:-2.2, Y:-0.5, Z:0).
- Go to Assets/RW/Sprites and drag floatpiece into Float Piece Area object in the Hierarchy.
- Name the child instance Float Area.
- In the Inspector, set Transform Position to (X:-2.63, Y:0.18, Z:0) and select Logo as its Sorting Layer.
- Click Add Component and select Physics 2D ▸ Polygon Collider 2D. Enable Is Trigger and Used By Effector.
- Add another component from Physics 2D ▸ Buoyancy Effector 2D. Set Density to 50. Under Damping, set Linear Drag and Angular Drag to 10.
- Set Flow Variation to -5 to give the floating effect a bit of movement.

Click Play to check out the floating effect.


