Test-Driven Development Tutorial for Android: Getting Started
Learn the basics of test-driven development, or TDD, and discover how to use TDD effectively when developing your Android apps! By Victoria Gonda.
Instrumentation and Unit Tests
Instrumentation tests are for the parts of your code that are dependent on the Android framework but that do not require the UI. These need an emulator or physical device to run because of this dependency. You are using the architecture component ViewModel, which requires mocking the MainLooper to test, so you will use an instrumentation test for this. These tests go in a app/src/androidTest/ directory with the same package structure as your project.
A unit test, in contrast with an instrumentation test, focuses on the small building blocks of your code. It’s generally concerned with one class at a time, testing one function at a time. Unit tests typically run the fastest out of the different kinds of tests, because they are small and independent of the Android framework and so do not need to run on a device or emulator. JUnit is usually used to run these tests.
In order to ensure that you’re purely testing just the class of interest, you mock or stub dependencies when writing unit tests. Because unit tests are independent of the Android framework, they generally go in the app/src/test/ directory with the same package structure as your project. You can learn all about unit tests on Android here.
You will write your instrumentations tests in this tutorial much like a unit test, with the exception of the ViewModel dependency on the Android framework.

Writing a Failing Instrumentation Test
The first task you’re going to complete is implementing the increment victory count. When you tap the Floating Action Button in the bottom corner, the behavior you want is that it will increment a count in the star in the center of the screen. If you take a look at the VictoryViewModel, you might get a hint of how you will implement it. There is already an incrementVictoryCount() method that you will fill in. But first — tests!
Open up the VictoryViewModelTest and take a look:
// 1
@Rule
@JvmField
var instantTaskExecutorRule = InstantTaskExecutorRule()

// 2
private val viewStateObserver: Observer<VictoryUiModel> = mock()
private val mockVictoryRepository: VictoryRepository = mock()

// 3
private val viewModel = VictoryViewModel()

@Before
fun setUpTaskDetailViewModel() {
  // 4
  viewModel.viewState.observeForever(viewStateObserver)
  viewModel.repository = mockVictoryRepository
}
-
For testing purposes, you need an
InstantTaskExecutorRuleto avoid the check of setting values to LiveData objects on threads that are not the Android main thread. The@JvmFieldannotation is used to expose the rule as a field. This is required by the Android JUnit test runner. - Here is the initialization of objects being mocked for testing the view model.
- Here you instantiate the view model to be tested.
-
In the test setup method, which is tagged with a
@Beforeannotation, you use mocks to set properties on theVictoryViewModel, setting up an observer for theLiveDataand the repository.
At the bottom of the test class, you can see helper stub methods. You don’t have to worry about how to stub in this tutorial, but you can learn about stubs here.
In the middle of the test class, you’ll see existing tests for the interactions with the title. You’ll write your new tests in a similar way.

There are a couple things you want to make sure happen when the count increments, and you will want a test for each one.
- Get the old count from the
VictoryRepository. - Increment that count, and save it to the
VictoryRepository. - Notify the view of a new count to display using a
VictoryUiModel.
When writing tests, you only want to test one thing in each test method. This maps to one verify() per test.
Add this test to VictoryViewModelTest to test for getting the previous count:
@Test
fun incrementVictoryCountCallsRepository() {
   stubVictoryRepositoryGetVictoryCount(5) // Arrange
   viewModel.incrementVictoryCount() // Act
   verify(mockVictoryRepository).getVictoryCount() // Assert
}
In the new test, you’re doing the following:
- First, you’re stubbing the
VictoryRepositoryto return a count of 5. Remember that you are only testing theVictoryViewModelhere, and you don’t care about the repository implementation. This is using Mockito to do the work. - Then, you calling the method under test,
incrementVictoryCount(). - Finally, there’s the verification. You verify that the method
getVictoryCount()is called on the repository — here calledmockVictoryRepository. This is also using Mockito.
The code in this test follows the TDD Arrange–Act–Assert pattern for testing. You first arrange the setup for testing, you perform the action that you’re testing, and you then assert that the expected result has occurred.
You will follow the same pattern for writing tests for the other two conditions. Add the test for saving the incremented count to the repository.
@Test
fun incrementVictoryCountUpdatesCount() {
   val previousCount = 5
   stubVictoryRepositoryGetVictoryCount(previousCount)
   viewModel.incrementVictoryCount()
   verify(mockVictoryRepository).setVictoryCount(previousCount + 1)
}
In this code, you stub getting the previous count that you saw before calls to incrementVictoryCount(), and you then verify that setVictoryCount() was called on the repository with the correct, incremented value.
Now, add the test for the final condition on incrementing the count: notifying the view to update. This is done by setting the value on the LiveData that the view is observing:
@Test
fun incrementVictoryCountReturnsUpdatedCount() {
   val previousCount = 5
   stubVictoryRepositoryGetVictoryCount(previousCount)
   viewModel.incrementVictoryCount()
   verify(viewStateObserver)
       .onChanged(VictoryUiModel.CountUpdated(previousCount + 1))
}
Because you’re testing the value set on the LiveData here, the verification looks different. The verification is on the mock viewStateObserver, which is observing the LiveData. You verify that it has changed, and that it’s the value you’re expecting: a VictoryUiModel.CountUpdated with the correct incremented count.
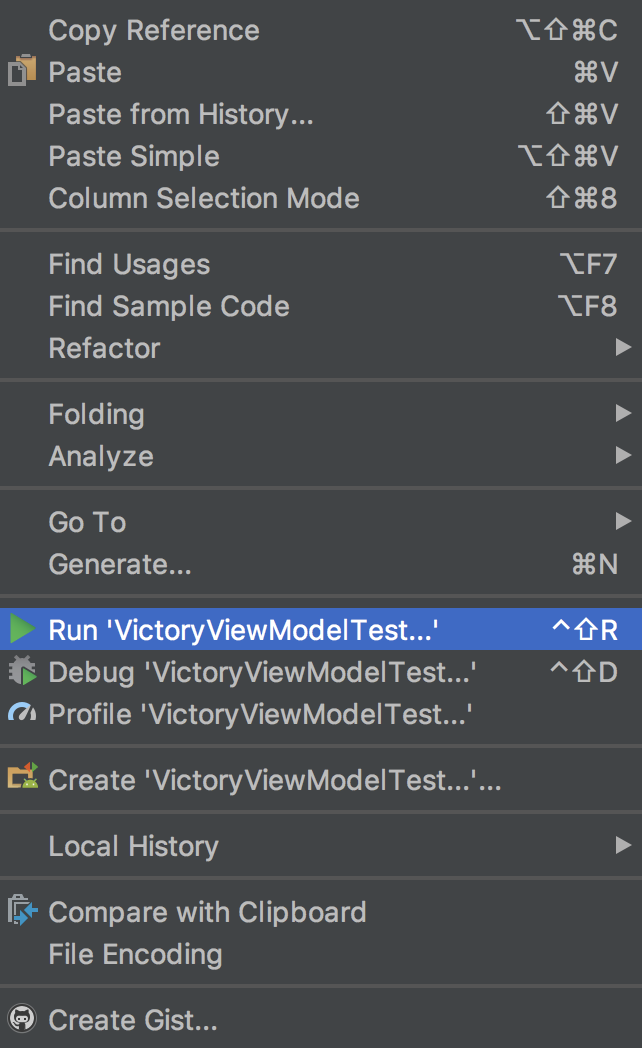
Running the Tests
Now that you have your tests written, you can run them and see them fail, following step two of the TDD process. You can run them right in Android Studio a couple of different ways. In the test class file itself, there should be icons in the gutter that you can click to run the full test class or a single test method.

You can also right-click on a test class name, file or directory in the Android Studio Project pane to run everything in that class, file or directory.
Run all the tests in VictoryViewModelTest and see the new tests you’ve added fail. You’ll be prompted to pick an emulator or device to run the tests on.
