CocoaPods Tutorial for Swift: Getting Started
Use this CocoaPods Tutorial for Swift to learn how to install and manage third-party library dependencies in your Swift projects. By Rony Rozen.
Challenge Time
If a pod has a current version of 2.4.6 and you make changes that fix bugs and add backward-compatible functionality, what should the new version number be?
[spoiler]
Answer: 2.5.0
Explanation: If you make changes that include new functionality that’s backward-compatible, you increase the minor number and reset the patch to zero.
[/spoiler]
If a pod has a current version of 3.5.8 and you make changes to existing functionality which aren’t backward-compatible, what should the new version number be?
[spoiler]
Answer: 4.0.0
Explanation: If changes modify existing behavior and are not backward-compatible, you must increase the major number and reset the minor and patch numbers to zero.
[/spoiler]
If a pod has a current version of 10.20.30 and you only fix bugs, what should the new version number be?
[spoiler]
Answer: 10.20.31
Explanation: If you only fix bugs, you only increase the patch number.
[/spoiler]
Having said all this, there’s one exception to these rules:
If a pod’s version number is less than 1.0.0, it’s considered a beta version. Minor number increases may include changes that aren’t backward-compatible.
So back to MBProgressHUB: Using ~> 1.0 means you should install the latest version that’s greater than or equal to 1.0 but less than 2.0.
This ensures you get the latest bug fixes and features when you install this pod, but you won’t accidentally pull in backward-incompatible changes.
There are several other operators you can use as well. For a complete list, see the Podfile Syntax Reference.
Now that you’ve learned how operators work with your CocoaPods, it’s time to finish your app.
Showing Progress
If you recall, you were building a progress indicator to show your users when flavors are loading in the app.
To finish this feature, go back to PickFlavorViewController.swift and add the following right after the other imports:
import MBProgressHUD
Next, add the following helper methods after loadFlavors():
private func showLoadingHUD() {
  let hud = MBProgressHUD.showAdded(to: contentView, animated: true)
  hud.label.text = "Loading..."
}

private func hideLoadingHUD() {
  MBProgressHUD.hide(for: contentView, animated: true)
}
Now, in loadFlavors(), add the following two lines (as indicated):
  private func loadFlavors() {
    showLoadingHUD() // <-- Add this line

    Alamofire.request(
      "https://www.raywenderlich.com/downloads/Flavors.plist",
      method: .get,
      encoding: PropertyListEncoding(format: .xml, options: 0))
        .responsePropertyList { [weak self] response in
        guard let self = self else { return }

        self.hideLoadingHUD() // <-- Add this line
      // ...
As the method names imply, showLoadingHUD() shows an instance of MBProgressHUD while the GET request downloads. hideLoadingHUD() hides the HUD when the request finishes. Since showLoadingHUD() is outside the closure, it doesn't need the self prefix.
Build and run. You'll now see a loading indicator while the flavors are loading. If your internet connection is too fast for this, you can add a sleep(_:) statement just before hideLoadingHUD() so that you can experience the goodness that is MBProgressHUD. :]
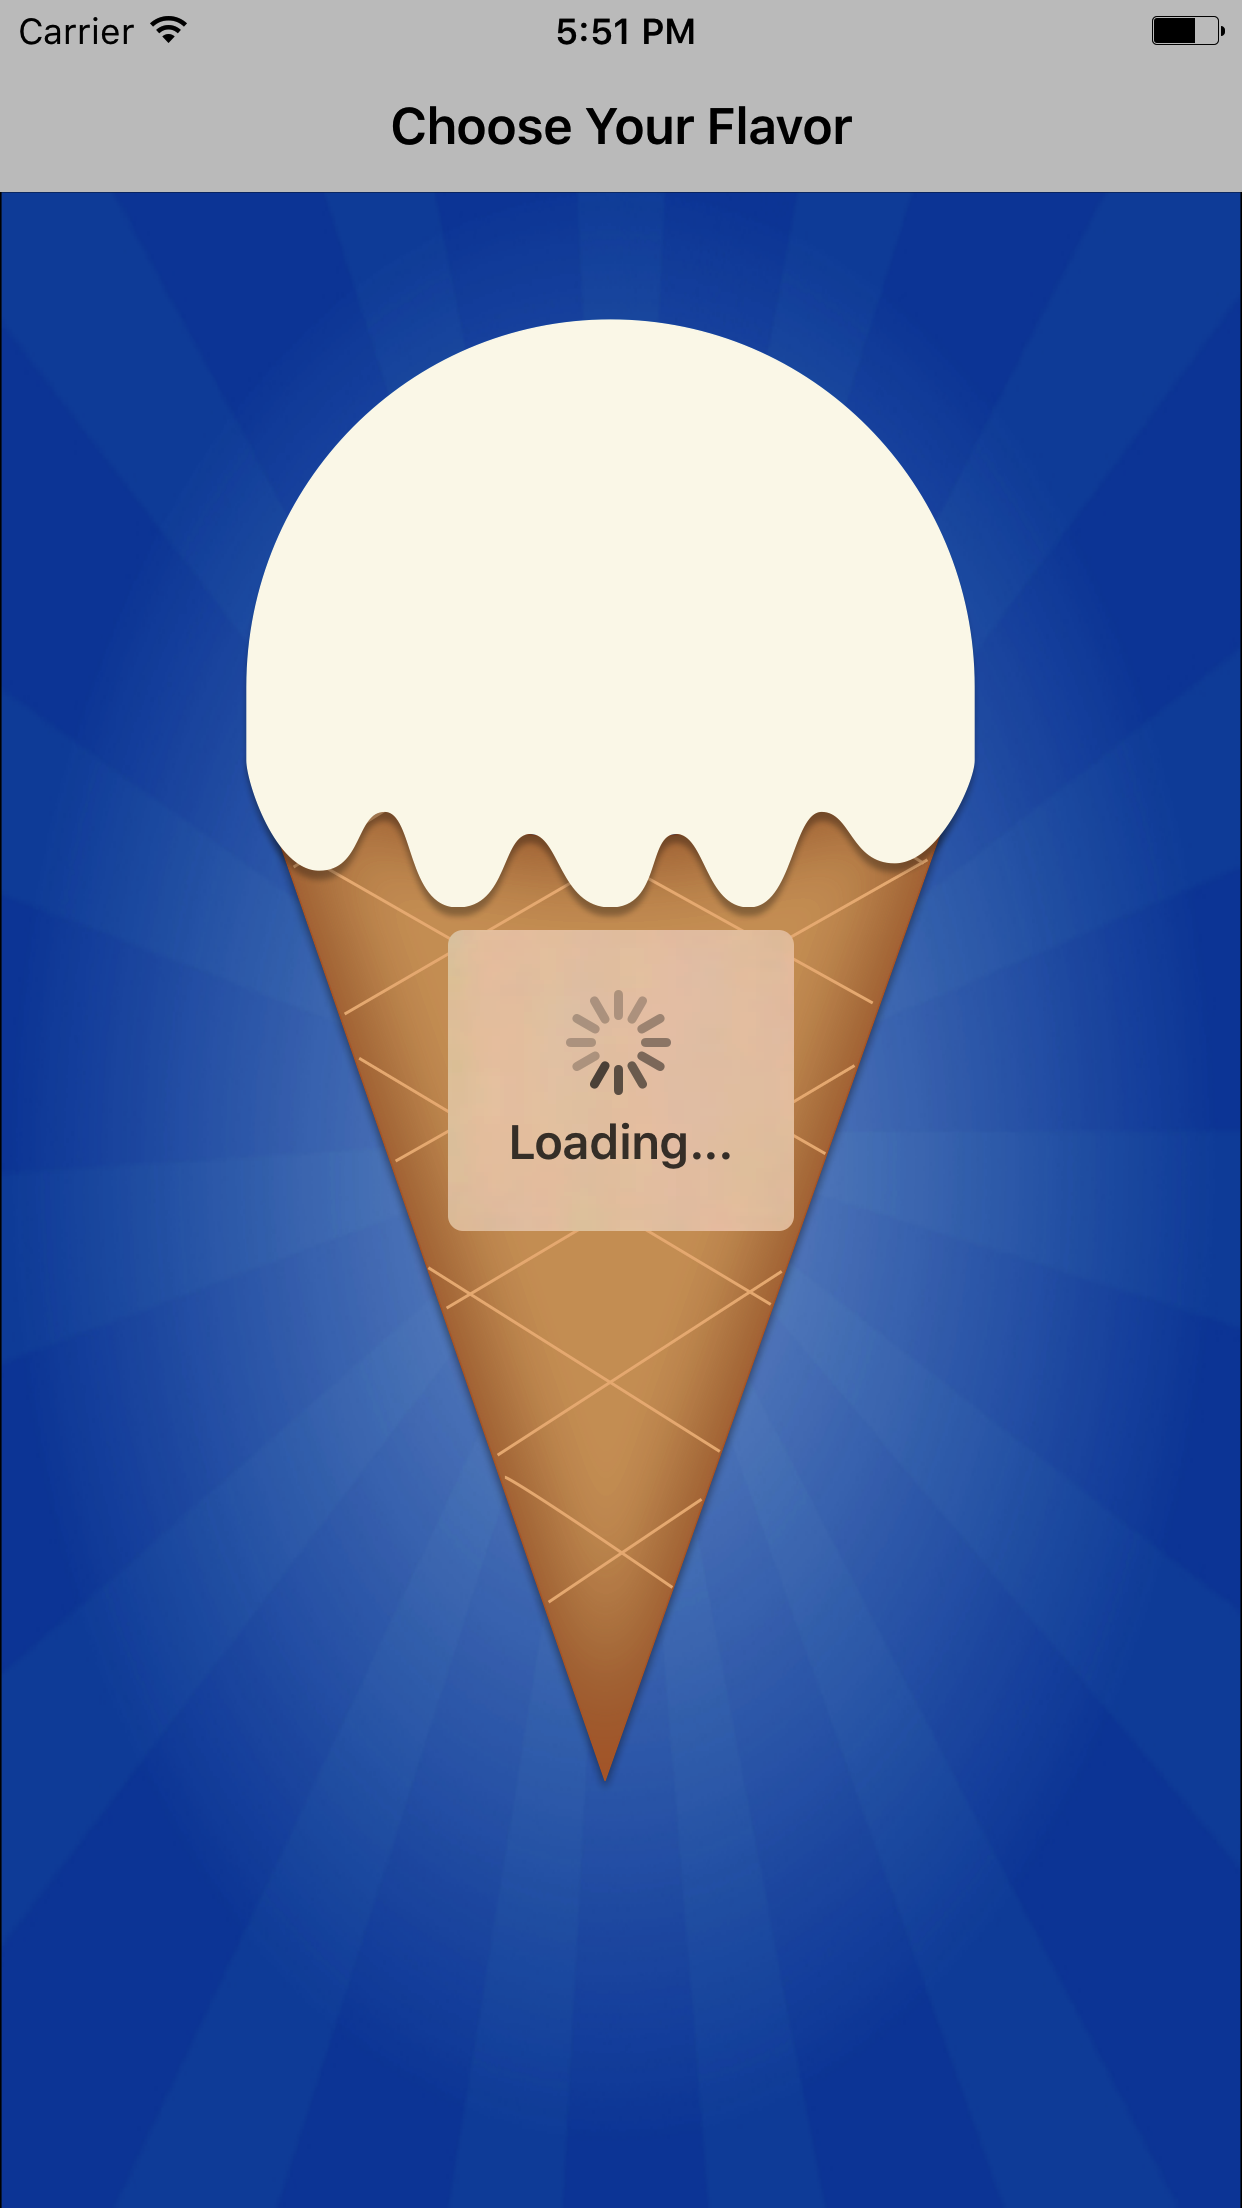
Great work! Customers can now select their favorite ice cream flavor and they see a loading indicator while flavors are downloading.
Where to Go From Here?
You can download the completed project using the Download Materials button at the top or bottom of this page.
Congratulations! You now know the basics of using CocoaPods, including creating and modifying dependencies and understanding semantic versioning. You're now ready to start using them in your own projects!
There's lots more that you can do with CocoaPods. You can search for existing pods on the official CocoaPods website. Also, refer to the CocoaPods Guides to learn the finer details of this excellent tool. But be warned, once you begin using it, you'll wonder how you ever managed without it! :]
I hope you enjoyed reading this CocoaPods tutorial as much I did writing it. What are some of your favorite CocoaPods? Which ones do you rely on the most for everyday projects? Feel free to share, or to ask any questions, in the comments below!