Image Recognition With ML Kit
See how to use the new ML Kit library from Google to easily enable machine learning capabilities in your Android app and perform image recognition. By Aldo Olivares.
Finishing the Camera Code
The last step to be able to take pictures is to implement the onActivityResult() method to process the data from the camera, convert it to a Bitmap and display it in the ImageView. To do that, under onActivityResult() replace // TODO: provide an implementation with the implementation as in following code block:
override fun onActivityResult(requestCode: Int, resultCode: Int, data: Intent?) {
  super.onActivityResult(requestCode, resultCode, data)

  if (resultCode == Activity.RESULT_OK) {
    if (requestCode == Camera.REQUEST_TAKE_PHOTO) {
      val bitmap = camera.cameraBitmap
      if (bitmap != null) {
        imageView.setImageBitmap(bitmap)
        detectDeliciousFoodOnDevice(bitmap)
      } else {
        Toast.makeText(this.applicationContext, getString(R.string.picture_not_taken),
            Toast.LENGTH_SHORT).show()
      }
    }
  }
}
Build and run the app and click the TAKE PICTURE button to see the camera in action:

Hurray! The camera is working properly. Now you can move on to detecting delicious food pictures. :]
Note: If you don’t want the pictures to be saved, override onDestroy() and call the camera.deleteImage() method:
override fun onDestroy() {
  super.onDestroy()
  camera.deleteImage()
}
override fun onDestroy() {
  super.onDestroy()
  camera.deleteImage()
}
Detecting Food On-Device
It’s time to see what happens when the user takes a picture and returns to the app’s main activity:

Although it is a nice picture, you are still not receiving any information about its contents. That’s because you still haven’t implemented the ML Kit methods to detect food. Don’t worry, that’s about to change.
Image recognition with ML Kit uses two main classes: FirebaseVisionLabel and FirebaseVisionLabelDetector.
- FirebaseVisionLabel is an object that contains a String for an associated image and the confidence for the result.
- FirebaseVisionLabelDetector is an object that receives a Bitmap and returns an array of FirebaseVisionLabels.
In your case, you will supply the FirebaseVisionLabelDetector with a picture, and it will return an array of FirebaseVisionLabels with the objects found.
Implement the detectDeliciousFoodOnDevice() method, replacing // TODO: provide an implementation:
private fun detectDeliciousFoodOnDevice(bitmap: Bitmap) {
  //1
  progressBar.visibility = View.VISIBLE
  val image = FirebaseVisionImage.fromBitmap(bitmap)
  val options = FirebaseVisionLabelDetectorOptions.Builder()
      .setConfidenceThreshold(0.8f)
      .build()
  val detector = FirebaseVision.getInstance().getVisionLabelDetector(options)

  //2
  detector.detectInImage(image)
      //3
      .addOnSuccessListener {

        progressBar.visibility = View.INVISIBLE

        if (hasDeliciousFood(it.map { it.label.toString() })) {
          displayResultMessage(true)
        } else {
          displayResultMessage(false)
        }

      }//4
      .addOnFailureListener {
        progressBar.visibility = View.INVISIBLE
        Toast.makeText(this.applicationContext, getString(R.string.error),
            Toast.LENGTH_SHORT).show()

      }
}
Step-by-step:
- You display a progress bar and creates the necessary FirebaseVisionLabelDetector and FirebaseVisionImage objects. The threshold represents the minimum level of confidence that you will accept for the results.
- You call the
detectInImage()method of the FirebaseVisionLabelDetector object and add anonSuccessListenerandonFailureListener. - If successful, you call the
hasDeliciousFood()method with the array of FirebaseVisionLabel objects mapped to an array of Strings to check if there is food on the picture, and then display a message accordingly. - On failure, you display a toast with the error message.
The above code block you added uses some utility methods already added in the starter project. The logic behind them is simple:
-
hasDelicious()receives an array of Strings and returns true if it finds the word “Food.” -
displayResultMessage()receives a Boolean and displays a nice DELICIOUS FOOD or NOT DELICIOUS FOOD message accordingly.
Build and run your app, and take a picture of some food to see your app in action:
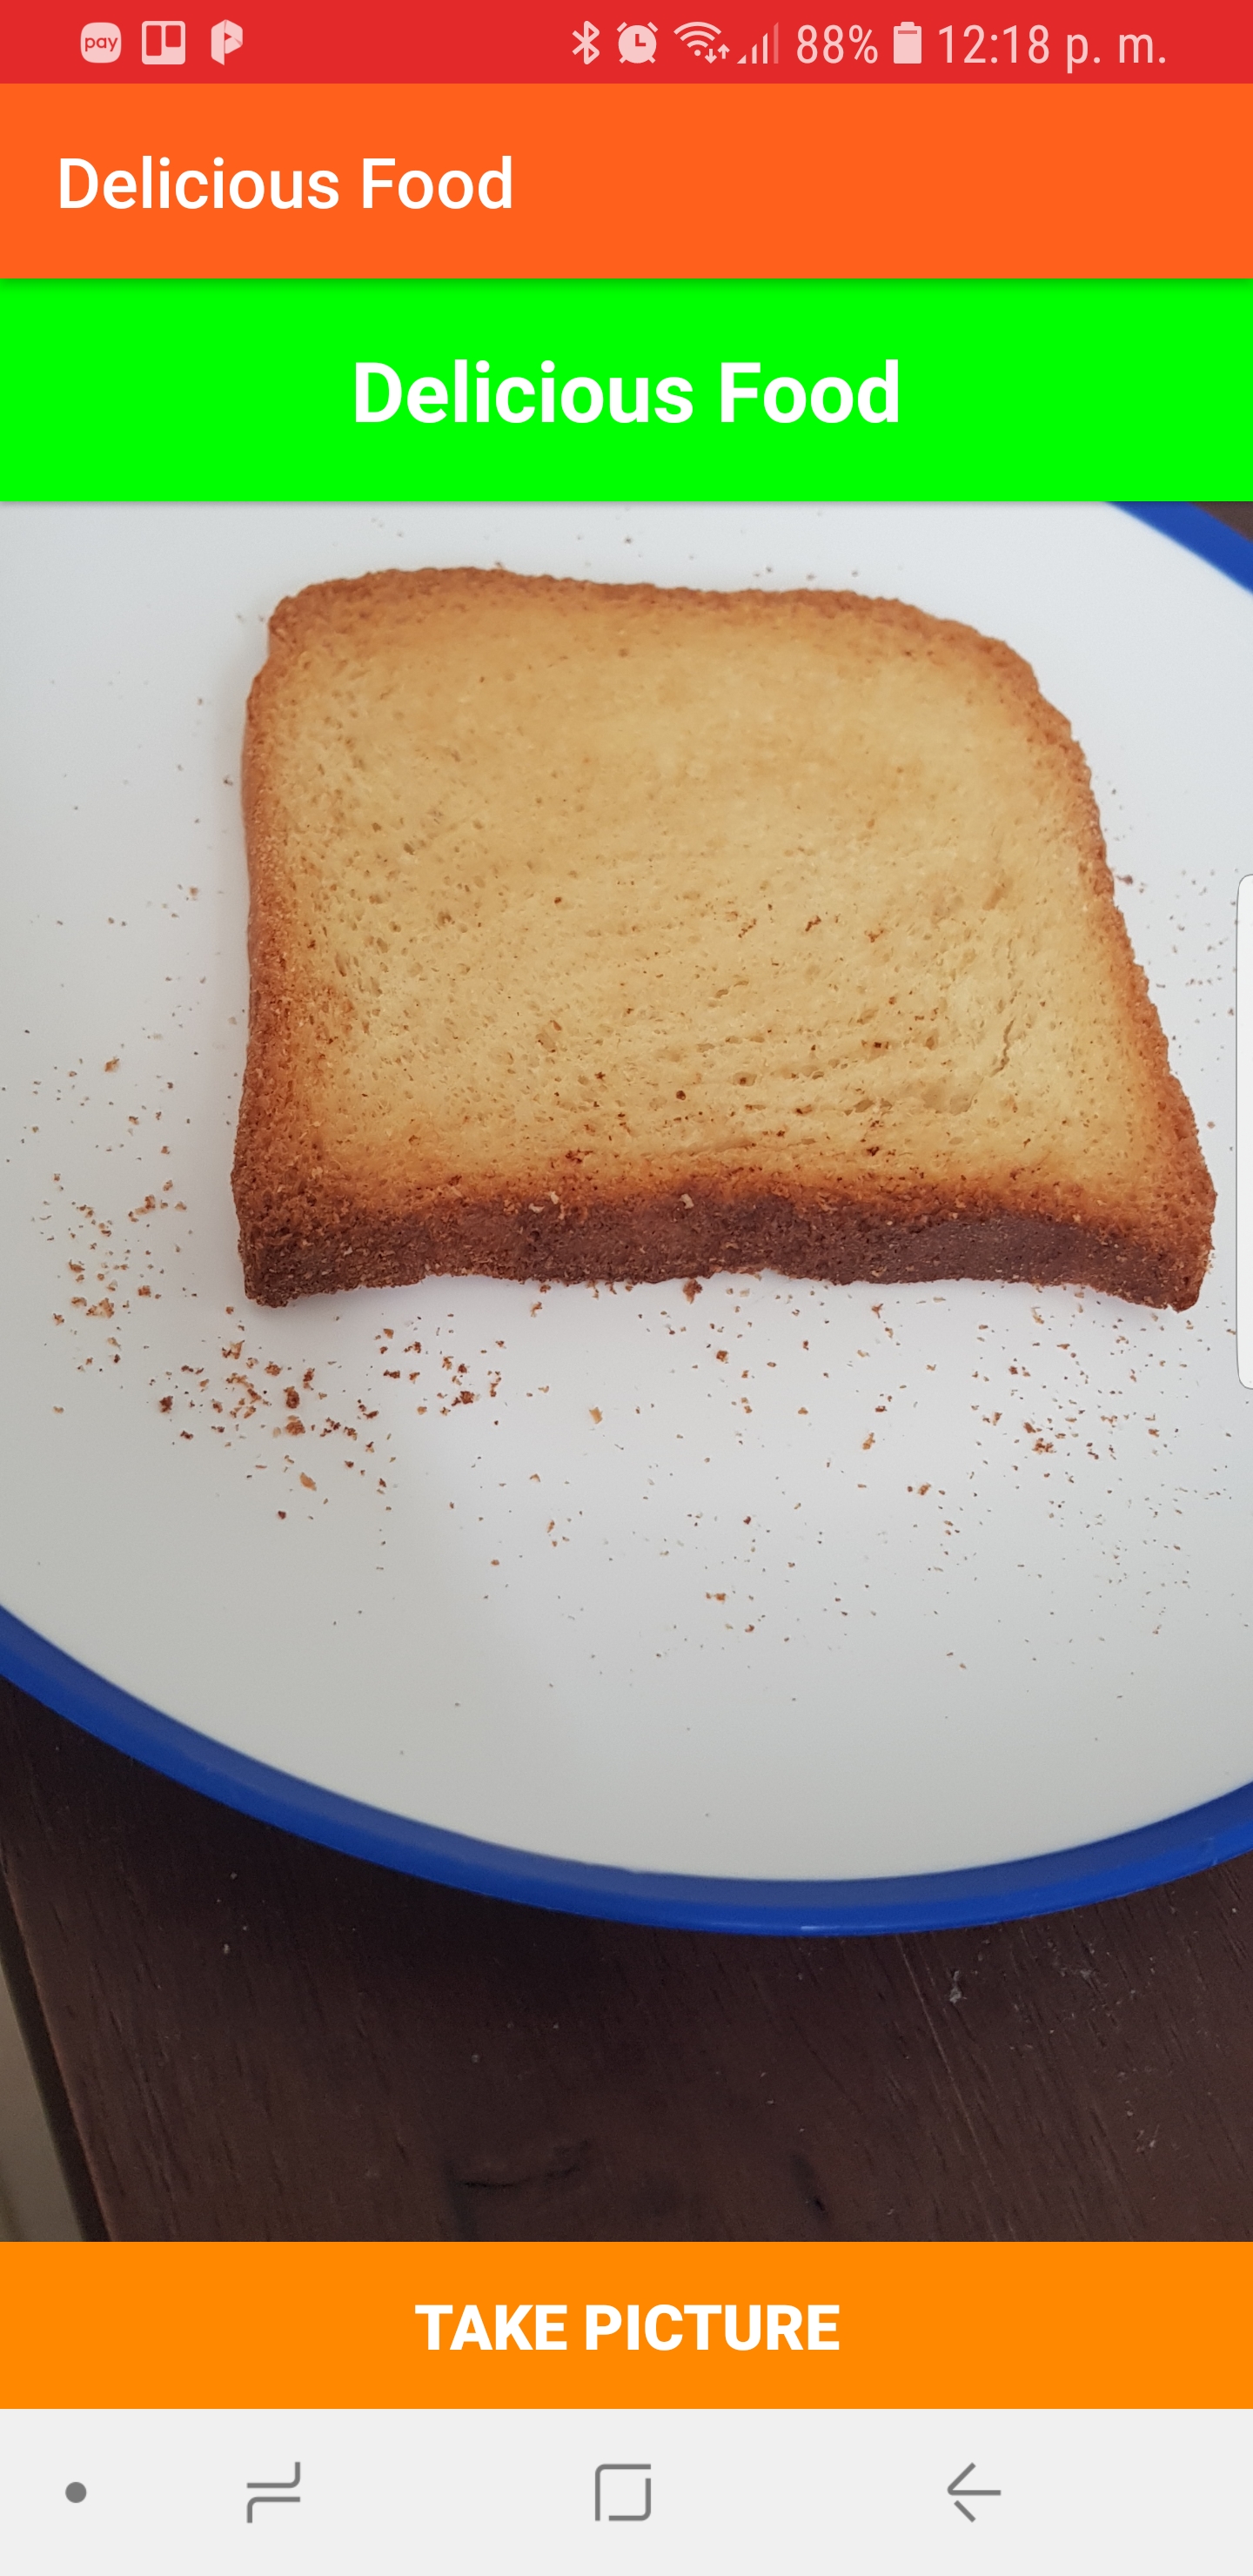
Huzzah, your app is a toast detecting marvel!
Detecting Food via On-Cloud Processing
When you run image labeling in the cloud, you receive more detailed and accurate predictions. You could receive as many as 10,000 labels for each category. You also save processing power on your device since the cloud will do all the work for you, but you depend on a stable Internet connection for cloud processing to work.
You can set up on-cloud processing for your Android app as explained below.
Enabling On-Cloud Image Recognition via ML Kit
There are a few extra steps that you have to follow if you want to use the on-cloud APIs. It is easy, and your project will be ready if you decide that the on-device APIs are not enough.
Open the Firebase Console and, on the bottom left of the site, in the navigation bar, select Upgrade to see the current plan for your project:
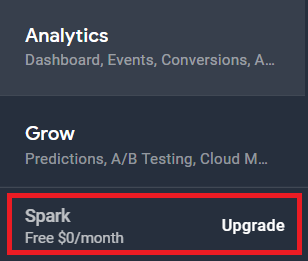
You will need to be on the Blaze Plan if you want to use the on-cloud APIs. It is a paid plan, but the first 1,000 requests are free and that should be enough to complete this tutorial.
Note: If you don’t want to submit your payment information, you can stick with the Spark Plan and skip the Detecting Food via On-Cloud Processing section of this tutorial.

Your last step is to enable the Cloud Vision APIs in the Firebase Console.
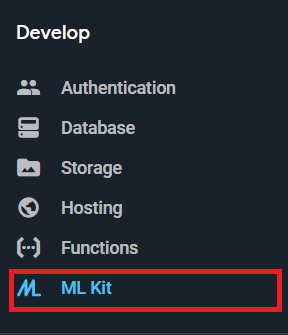
Click Develop in the navigation bar on the left to show a dropdown menu, then click ML Kit on the left menu.
Choose Get started on the main screen.

Next, click Cloud API usage on the next screen.
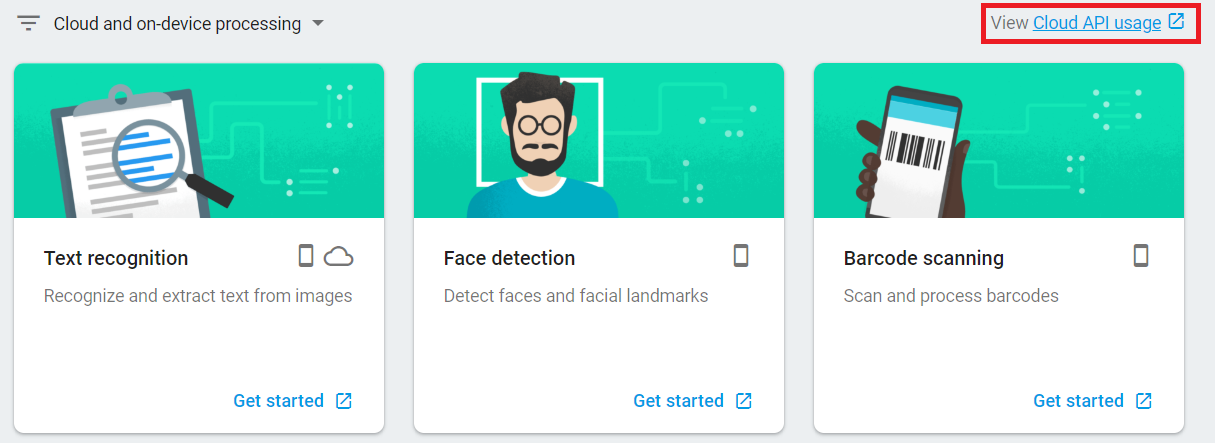
Choose Enable on the Google Cloud Platform page.

The code to use the on-cloud APIs is basically the same as the on-device APIs. The main difference is that your image will be processed in the cloud, receiving more accurate predictions.
Now, implement the detectDeliciousFoodOnCloud() method, replacing // TODO: provide an implementation:
private fun detectDeliciousFoodOnCloud(bitmap: Bitmap) {
  progressBar.visibility = View.VISIBLE
  val image = FirebaseVisionImage.fromBitmap(bitmap)
  val options = FirebaseVisionCloudDetectorOptions.Builder()
      .setMaxResults(10)
      .build()
  val detector = FirebaseVision.getInstance()
      //1
      .getVisionCloudLabelDetector(options)

  detector.detectInImage(image)
      .addOnSuccessListener {

        progressBar.visibility = View.INVISIBLE

        if (hasDeliciousFood(it.map { it.label.toString() })) {
          displayResultMessage(true)
        } else {
          displayResultMessage(false)
        }

      }
      .addOnFailureListener {
        progressBar.visibility = View.INVISIBLE
        Toast.makeText(this.applicationContext, getString(R.string.error),
            Toast.LENGTH_SHORT).show()

      }
}
As you can see, the on-cloud code is pretty much the same as the on-device code. The only difference is that you are using FirebaseVisionCloudDetector instead of FirebaseVisionLabelDetector in the code block above at the point marked with comment //1.
Also, since the number of results could be very high, you should set a limit using the setMaxResults() method. In your case, it’s been set to 10.
Finally, change the call detectDeliciousFoodOnDevice(bitmap) to detectDeliciousFoodOnCloud(bitmap) in your onActivityResult() method.
override fun onActivityResult(requestCode: Int, resultCode: Int, data: Intent?) {
  if (resultCode == Activity.RESULT_OK) {
    ...
    detectDeliciousFoodOnCloud(bitmap)
    ...
  }
}
Build and run your app.
Sweet! Your image recognition is now occurring in the cloud.