Image Recognition With ML Kit
See how to use the new ML Kit library from Google to easily enable machine learning capabilities in your Android app and perform image recognition. By Aldo Olivares.
Setting Up Firebase and ML Kit
ML Kit is part of Firebase, so you will need to create a Firebase app to use it. Don’t worry, it is quite simple.
To start:
- Open the Firebase Console. You will need to sign in with your Google Account (or sign up for one) and create a new project.
-
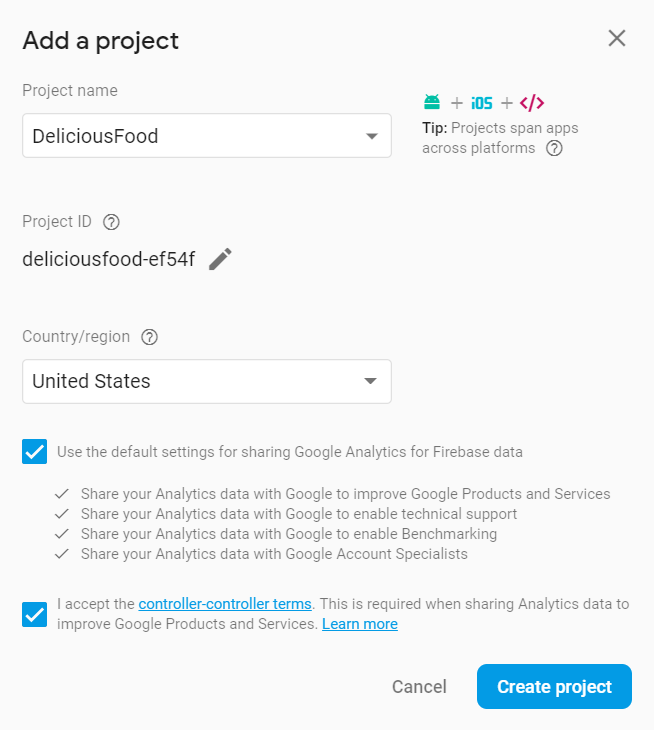
Click on the Add project button.

-
Next, add the name of your project and the country/region. Enter DeliciousFood as the project name and choose your own country as the region. Check the boxes below the region textfield to agree to the Firebase and Google Analytics terms and then Click Create project.

-
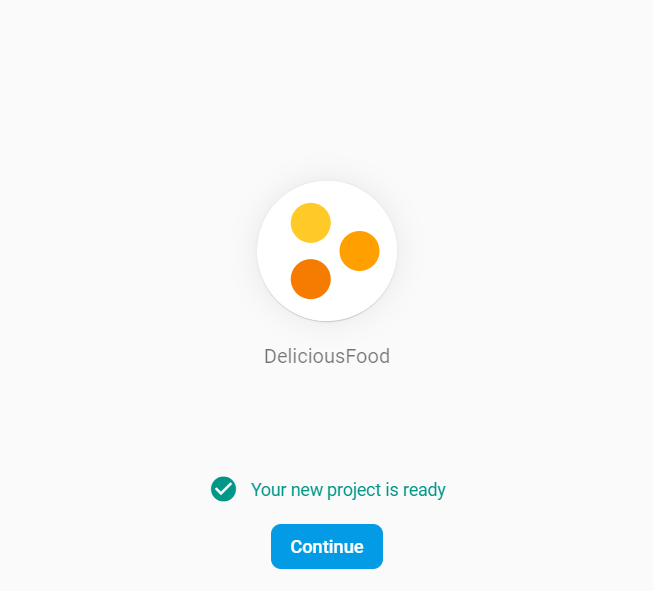
You should see a confirmation screen telling you that your project is ready. Click Continue.
Now that your project is ready, you need to add it to your Android app.
Next, add the Firebase Core and the ML Kit dependencies to your app level build.gradle file in the dependencies block:
At the bottom of your app/build.gradle file, apply the following plugin:
Sync your Gradle files now to ensure everything is working.
Finally, open MainActivity.kt and add the following line inside the onCreate() method, replacing // TODO: Init Firebase:
Be sure to import the Class if you need to. This ensures Firebase is initialized when your app is launched.
-
Click on Add Firebase to your Android app.

-
Next, you need to provide a package name. You can find your package name in Android Studio in the app/build.gradle file. Open the gradle file and your package name can be found under a variable named
applicationId:applicationId "com.raywenderlich.deliciousfood"
-
Copy and paste the package name into the Android Package Name textfield in the Firebase Console, then click Register App.

-
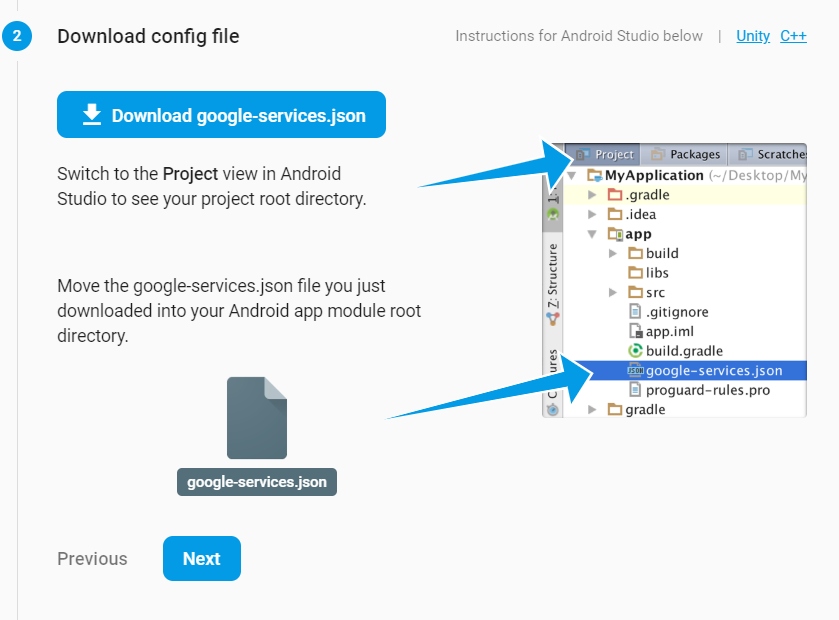
You will need to download the generated google-services.json file. Download it and place it under your app/ folder.

-
In your project level build.gradle file, add the following line in the dependencies block:
classpath 'com.google.gms:google-services:4.0.1'
-
implementation 'com.google.firebase:firebase-core:16.0.1'
implementation 'com.google.firebase:firebase-ml-vision:16.0.0'
implementation 'com.google.firebase:firebase-ml-vision-image-label-model:15.0.0'
-
apply plugin: 'com.google.gms.google-services'
-
FirebaseApp.initializeApp(this)

applicationId "com.raywenderlich.deliciousfood"
classpath 'com.google.gms:google-services:4.0.1'
implementation 'com.google.firebase:firebase-core:16.0.1'
implementation 'com.google.firebase:firebase-ml-vision:16.0.0'
implementation 'com.google.firebase:firebase-ml-vision-image-label-model:15.0.0'
apply plugin: 'com.google.gms.google-services'
FirebaseApp.initializeApp(this)
Build and run the app. While the app is running you should be to see logging in the console reporting that everything is setup. Head back to the Firebase Console and click next on the steps until the verify installation step is shown. Firebase will check to make sure everything is working and report back with a congratulations message once it detects your app.

Click Continue to console and you will see Firebase detecting the number of users running your app. That means you!

Taking a Delicious Picture
Configuring the Camera
Now you have Firebase all set up, you will proceed to the first coding part of this tutorial: taking a picture with Android.
Setting up the camera in an Android app can be a tricky process. You need to handle runtime permissions, storage location, file formats and much more.
Fortunately, there are many Android libraries that can assist you in handling all those complexities via an easier API. For this tutorial, you are going to use an Android library called ParaCamera since it is easy to use and configure.
To use it, open your app level build.gradle file and add the following line to your dependencies section:
implementation 'com.mindorks:paracamera:0.2.2'
Sync your files to verify that everything is working properly.
Next, open the MainActivity.kt file and add the following just above onCreate() method:
  private lateinit var camera: Camera
  private val PERMISSION_REQUEST_CODE = 1
Note: Make sure you import the Camera class from the com.mindorks.paracamera.Camera package, not the usual Android Camera class.
You’ll set up the camera property shortly, and don’t worry about the request code until later.
Add the following code to the end of onCreate(), replacing // TODO: Configure Camera to initialize and configure the camera:
camera = Camera.Builder()
        .resetToCorrectOrientation(true)//1
        .setTakePhotoRequestCode(Camera.REQUEST_TAKE_PHOTO)//2
        .setDirectory("pics")//3
        .setName("delicious_${System.currentTimeMillis()}")//4
        .setImageFormat(Camera.IMAGE_JPEG)//5
        .setCompression(75)//6
        .build(this)
Taking each commented section in turn:
- Rotates the camera bitmap to the correct orientation from meta data.
- Sets the request code for your
onActivityResult()method. - Sets the directory in which your pictures will be saved.
- Sets the name of each picture taken according to the system time.
- Sets the image format to JPEG.
- Sets a compression rate of 75% to use less system resources.
Now, implement the takePicture() method, replacing the stubbed // TODO: provide an implementation message.
fun takePicture(view: View) {
  if (!hasPermission(android.Manifest.permission.WRITE_EXTERNAL_STORAGE) ||
        !hasPermission(android.Manifest.permission.CAMERA)) {
      // If do not have permissions then request it
      requestPermissions()
    } else {
      // else all permissions granted, go ahead and take a picture using camera
      try {
        camera.takePicture()
      } catch (e: Exception) {
        // Show a toast for exception
        Toast.makeText(this.applicationContext, getString(R.string.error_taking_picture),
            Toast.LENGTH_SHORT).show()
      }
    }
}
This is the method you are going to call when the user presses the TAKE PICTURE button.
It checks if the app has the CAMERA and WRITE_EXTERNAL_STORAGE permissions granted. If it does, then it calls camera.takePicture() method of the Android library to take a picture. Otherwise, it requests those permissions with the hasPermission() method, which helps you verify if the user has granted the permission. This method is already implemented for you in the starter project.
Requesting Permissions
Your app will need the CAMERA and WRITE_EXTERNAL_STORAGE permissions to take pictures and save files.
Back in the day, just adding those permissions in the Android Manifest was considered enough, but now things are handled a bit differently.
Permissions are classified into two categories: normal and dangerous. Dangerous permissions are the ones that request access to private data such as the Calendar, Contacts, or Internal Store and require runtime permission from the user.
You can consult this table for a full list of the dangerous permissions.
You need to request the appropriate permissions to save files and take pictures.
Implement the requestPermissions() method, replacing the stubbed // TODO: provide an implementation message.
private fun requestPermissions(){
  if (ActivityCompat.shouldShowRequestPermissionRationale(this,
            android.Manifest.permission.WRITE_EXTERNAL_STORAGE)) {

      mainLayout.snack(getString(R.string.permission_message), Snackbar.LENGTH_INDEFINITE) {
        action(getString(R.string.OK)) {
          ActivityCompat.requestPermissions(this@MainActivity,
              arrayOf(android.Manifest.permission.WRITE_EXTERNAL_STORAGE,
                  android.Manifest.permission.CAMERA), PERMISSION_REQUEST_CODE)
        }
      }
    } else {
      ActivityCompat.requestPermissions(this,
          arrayOf(android.Manifest.permission.WRITE_EXTERNAL_STORAGE,
              android.Manifest.permission.CAMERA), PERMISSION_REQUEST_CODE)
      return
    }
}
requestPermissions() asks for the CAMERA and WRITE_EXTERNAL_STORAGE permissions. If the user rejected those permissions previously, it will display a nice snackbar with a message.
Now, implement onRequestPermissionsResult() method, replacing // TODO: provide an implementation:
override fun onRequestPermissionsResult(requestCode: Int,
    permissions: Array<String>, grantResults: IntArray) {
  when (requestCode) {
    PERMISSION_REQUEST_CODE -> {
      // If request is cancelled, the result arrays are empty.
      if (grantResults.isNotEmpty()
          && grantResults[0] == PackageManager.PERMISSION_GRANTED
          && grantResults[1] == PackageManager.PERMISSION_GRANTED) {
        try {
          camera.takePicture()
        } catch (e: Exception) {
          Toast.makeText(this.applicationContext, getString(R.string.error_taking_picture),
              Toast.LENGTH_SHORT).show()
        }
      }
      return
    }
  }
}
The code above calls the takePicture() method when the user has granted all the permission to use the camera.
Note: A detailed explanation of permission handling is beyond the scope of this tutorial, but you can check out this document for more information on requesting permissions at runtime.