Unity Tutorial Part 1: Getting Started
In this Unity tutorial series, newly updated for Unity 2018.1, you’ll learn how to make your first game in Unity with C# from scratch: a twin-stick shooter called Bobblehead Wars! By Brian Moakley.
Installing Blender
At this point, you’ve imported the models and texture for the space marine. The models were in FBX format, and the texture was in .PSD format.
We supplied the space marine models to you in the .FBX format, as this is a popular format for artists to deliver assets. But there’s another popular format you should understand how to use as well: Blender files.
Unlike .FBX, Blender files contain the source model data. This means you can actually edit these files inside Blender, and the changes will immediately take effect in Unity, unlike an .FBX file.
With an .FBX, you’d need to export and re-import the model into Unity every time you changed it.
There is a small tradeoff for all this delicious functionality. For Unity to work with Blender files, you need Blender installed on your computer. Blender is free, and you’ll be happy to know that you’ll use it to make your own models in the book.
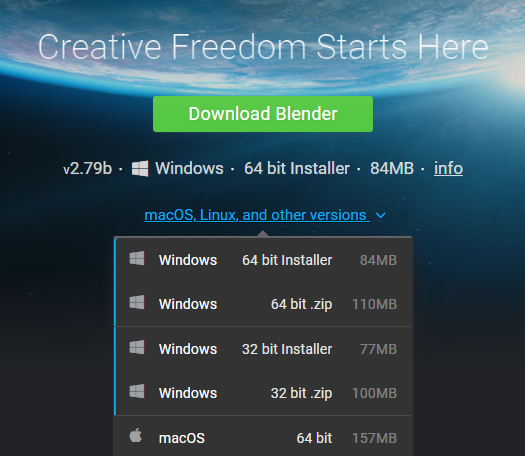
Download and install Blender at the following URL: https://www.blender.org/download/
After you install Blender, run the app and then quit. That’s it — you can now use Blender files with Unity.
Importing Packages
Now that you’ve installed Blender, you can now import the rest of the assets.
The rest of the assets are combined into a single bundle called a Unity package. This is a common way that artists deliver assets for Unity, especially when they purchase them from the Unity store.
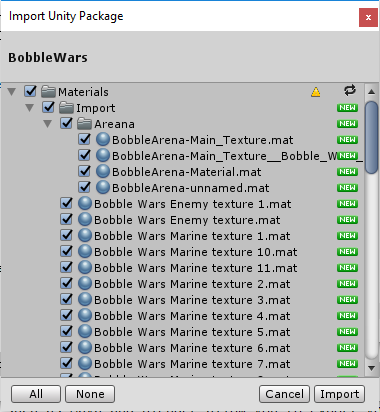
Let’s try importing a package. Select Assets\Import Package\Custom Package…, navigate to your resources folder and select BobbleheadWars.unitypackage, then click Open.
You’ll be presented with a list of assets included in that package, all of which are selected by default. Note that some of these are Blender files, but there are also other files like textures and sounds as well. Click the Import button to import them into Unity.
The import will add a bunch of additional assets to your project. If you get a warning, just dismiss it.
To keep things tidy, single-click the newly generated Materials folder (in the Models folder) and rename it to Models. Drag this new folder into the parent-level Materials folder.
Adding Models to the Scene View
At this point, you have imported everything into Unity. It’s time to start putting your game together, and you’ll kick it off by adding your models to the Scene view.
The Scene view is where game creation happens. It’s a 3D window wherein you’ll place, move, scale and rotate objects.
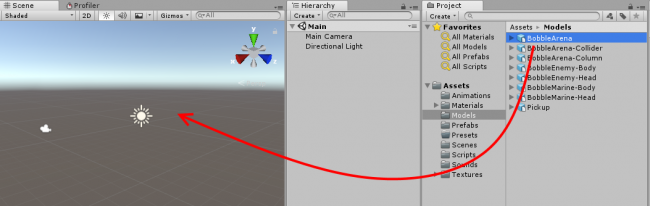
First, make sure to select the Scene view tab. Then, in the Project Browser, select BobbleArena from the Models subfolder and drag it into the Scene view.
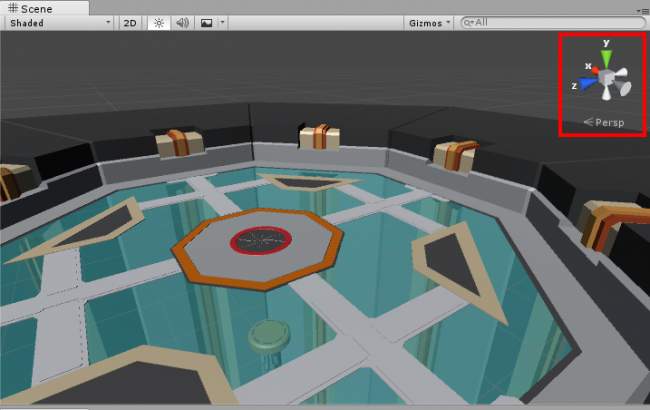
Check out the arena in the Scene view:
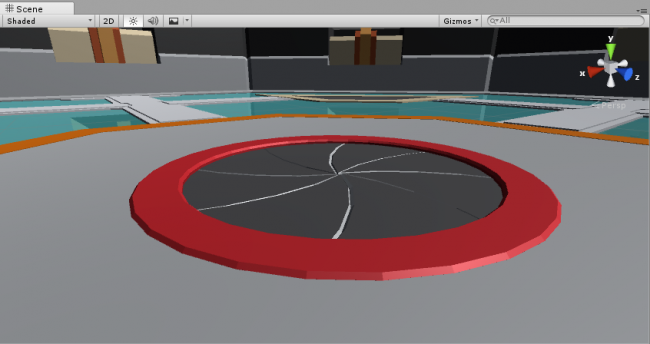
Pretty cool, eh?
The Scene view gives you a way to navigate your game in 3D space:
- Right-click and rotate your mouse to look around.
- Hold down the right mouse button and use the WASD keys to actually move through the scene.
- Moving too slow? Give it some juice by holding down the Shift key.
- Scroll with your mouse wheel to zoom.
- Press your mouse wheel and move your mouse to pan.
By default, the view displays everything with textures in a shaded mode. You can switch to other viewing modes such as wireframes or shaded wireframe.
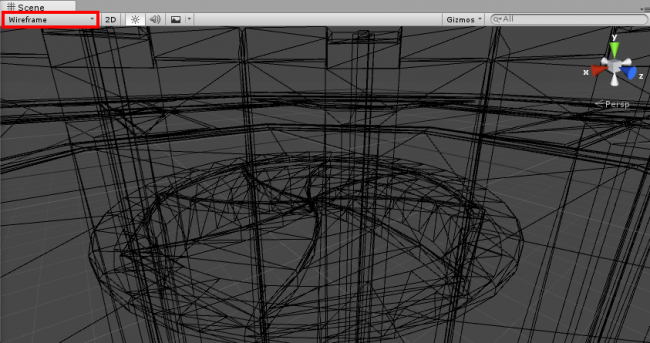
Let’s try this out. Just underneath the Scene tab, click the Shaded dropdown and select Wireframe. Now you’ll see all your meshes without any textures, which is useful when you’re placing meshes by eye.
Switch the Scene view back to Shaded textures.
In the Scene view, you’ll notice a gizmo in the right-hand corner with the word Persp underneath it. This means the Scene view is in perspective mode; objects that are closer to you appear larger than those that are farther away.
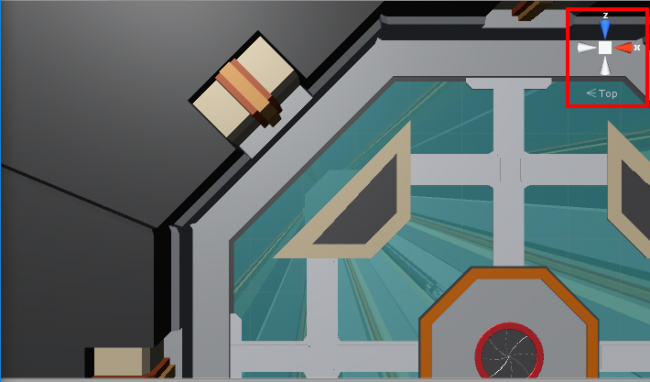
Clicking on a colored axis will change your perspective of the scene. For example, click the green axis and the Scene view will look down from the y-axis. In this case, the Persp will read Top because you’re looking at the world from that perspective.
How’s it feel to be on top of the world? :]
Clicking the center box will switch the view into Isometric mode a.k.a., Orthographic mode. Essentially, objects are the same size regardless of their proximity to you.
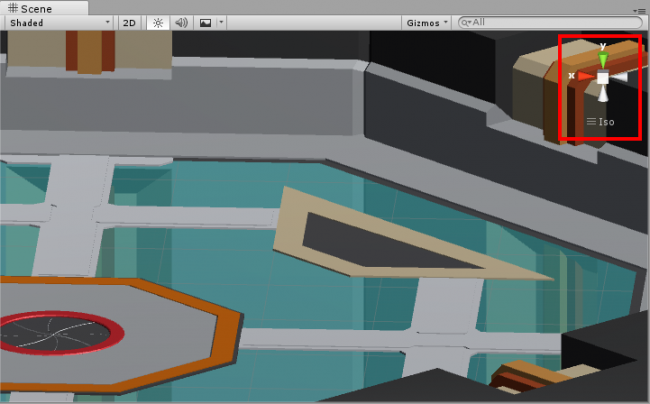
To return to Perspective mode, simply click the center box again.
Adding the Hero
At this point, you have the arena set up, but it’s missing the guest of honor!
To fix this, in the Project Browser, find and open the Models folder then drag BobbleMarine-Body into the Hierarchy view.
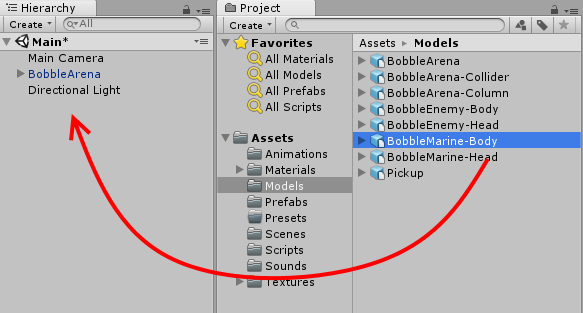
In Unity, games are organized by scenes. For now, you can think of a scene as a level of your game. The Hierarchy view is a list of all objects that are currently present in the scene.
Note that your scene already contains several objects. At this point, it contains your arena, the space marine, and two default objects: The main camera and a directional light.
With the marine body still selected, hover the mouse over the Scene view and press the F key to zoom to the marine. This shortcut is useful when you have many objects in your scene and you need to quickly get to one of them.
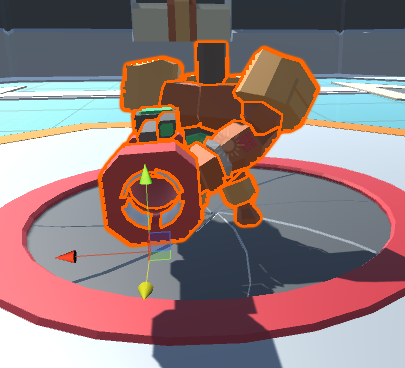
Don’t worry if your space marine isn’t placed at this exact position. You’ll fix that later.
You’ll notice that when an object is selected, an outline appears around that object. Unity occasionally changes the outline color for selected objects from version to version.
In Unity 2018, new projects have a red outline. This is due to the new default color space of the editor. The color space determines how the engine mixes colors. It also determines what devices and platforms that your game can support. By default, the color space is set to Gamma but you can switch it to Linear for new PCs, mobile devices, and current consoles (PS4, Xbox One, and the Nintendo Switch).
For now, it’s best to use the default color settings, but you can easily switch from red to orange. You can always change the color by selecting Edit\Preferences on Windows or Command-, on macOS. From the Preference window, select Colors and you’ll see a listing of all the colors that you can customize. To change the selection color, you need to alter the Selection Outline field.
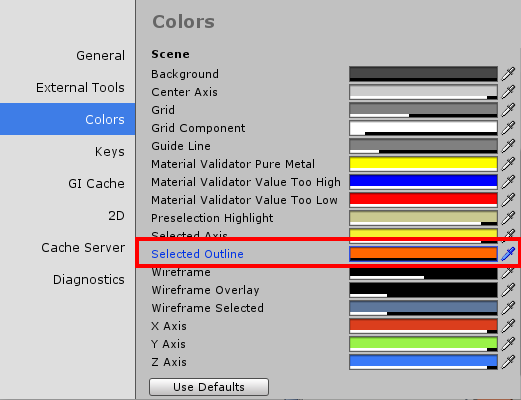
The key point is that the selection color is cosmetic, not functional. Throughout this tutorial, we use an orange selection color.
While the space marine’s dismembered body is pretty intimidating, he’s going to have a hard time seeing and bobbling without a head!
Drag the BobbleMarine-Head from the Project Browser into the Hierarchy. Chances are, the head will not go exactly where you’d hope.
Select the head in the Hierarchy to see its navigation gizmos. By selecting and dragging the colored arrows, you can move the head in various directions.
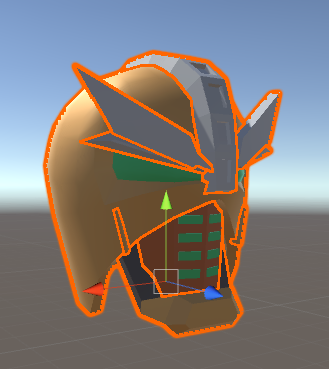
The colored faces of the cube in the middle of the head allow you to move the object along two axes at the same time. For example, selecting and dragging the red face — the x-axis — allows you to move the head along the y- and z-axes.
You can use the toolbar to make other adjustments to an object.
The first item is the hand tool. This allows you to pan the Scene and is equivalent to holding down the middle mouse button.
![]()
Select the position tool to see the position gizmo that lets you reposition the selected object.
![]()
Use the rotate tool to rotate the selected object.
![]()
The scale tool allows you to increase and decrease the size of an object.
![]()
The rect tool lets you rotate, scale and reposition sprites. You’ll use this when working with the user interface and Unity 2D.
![]()
The transform tool, new to Unity 2018, combines the move, rotate, and scale tool into one swiss army knife. This tool is your one stop shop for providing all your object transformations.
![]()
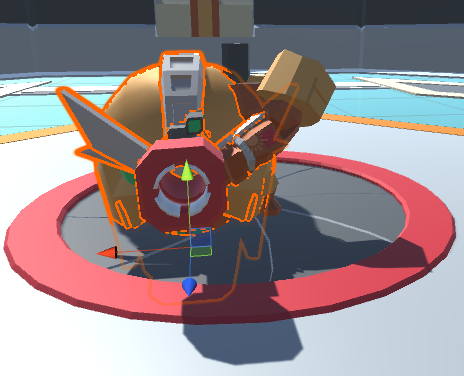
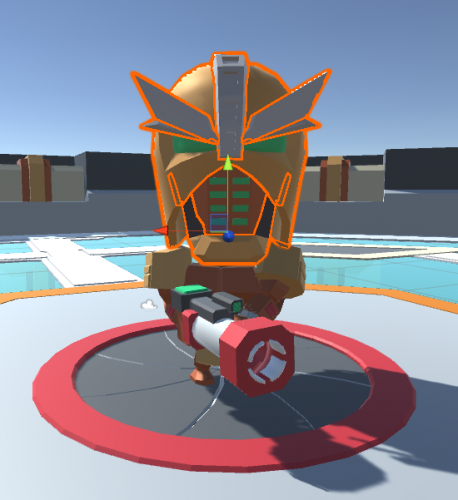
Using the aforementioned tools, tweak the position of the helmet so that it sits on the hero’s neck. Also, see if you can move the space marine so he’s centered in the arena. In the next tutorial in this series, you’ll position these precisely with the Inspector. When done, the marine should look like this:
After positioning the space marine’s head, select File\Save Scene as…. Unity will present you with a save dialog. Name the scene Main, and after you finish creating it drag the file to the Scenes folder.