Unreal Engine 4 UI Tutorial
In this Unreal Engine 4 UI tutorial, you will learn how to create, display and update a HUD. By Tommy Tran.
4.8 (38) · 2 Reviews
Anchors
An anchor point defines where a widget’s position is relative to. By default, widgets have their anchor set to the top-left of their parent. So, when you’re setting a widget’s position, you’re actually setting its position relative to that anchor point.
In the example below, each image is anchored to a single point (the nearest corner).
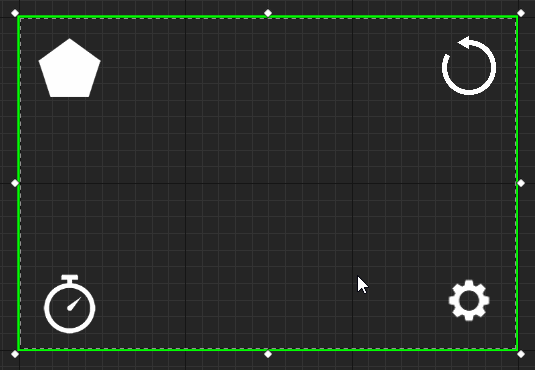
Notice how each image is maintaining its position relative to its anchor. Using anchors, you can ensure your UI has the same layout across different screen sizes.
You can also use anchors to automatically resize widgets. When anchoring to two or more points, the widget will resize itself to maintain its relative size.
In the example below, the bar is anchored to the top-left and top-right corners.
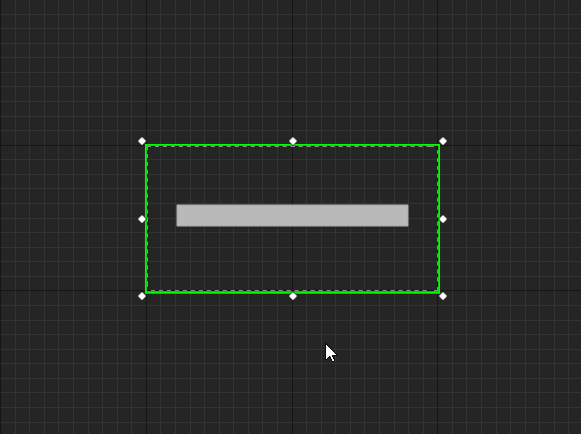
Vertically, the bar moves but does not resize. This is because it only has one anchor on the Y-axis (the top). However, the bar resizes horizontally because it has two anchor points on the X-axis.
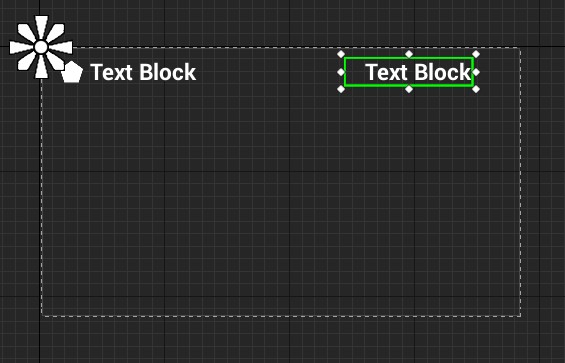
The Anchor Medallion represents the location of your anchor. It will appear whenever you have a widget selected.

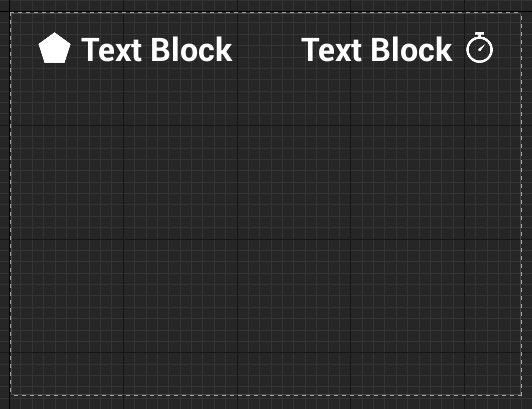
The anchors for CounterText and CounterIcon are already in the correct position so you don’t need to set them.
Next, you will create another Text and Image widget for the timer. However, this time you will place them on the right-hand side.
Creating the Timer
Create a Text widget and name it TimerText. Set the following properties:
- Position X: 1225
- Position Y: 50
- Size X: 500
- Size Y: 100
- Font Size: 68
- Justification: Align Text Right (This will align the text to the right side of the widget)
Next, you will set the anchor to the top-right. You can do this by left-clicking and dragging the circle on the Anchor Medallion. Move the Anchor Medallion to the top-right corner.
Notice how the position has updated to be relative to the anchor.
![]()
Create an Image widget and name it TimerIcon. Set the following properties:
- Position X: 1750
- Position Y: 50
- Size To Content: Checked
- Brush\Image: T_Timer

Instead of setting the anchor by using the Anchor Medallion, you can use presets. Go to the Details panel and click the drop-down next to Anchors to display the presets. Select the third preset (the one with the square at the top-right).

The layout for the UI is now complete. You can see the anchors working by emulating different screen sizes. Go to the Designer panel and click the Screen Size drop-down.
![]()
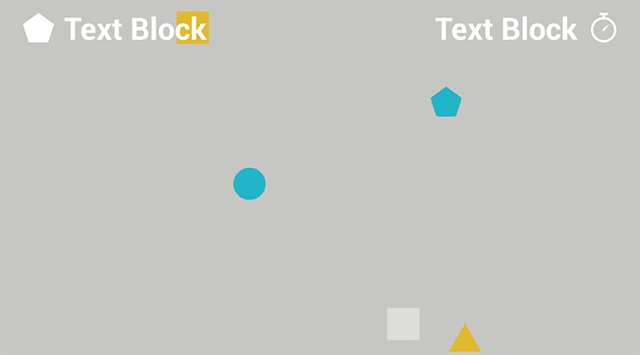
Selecting an option will change the size of WBP_HUD to match the option. Below is how the HUD would look on an iPad Air. Notice how the widgets are closer together.
In the next section, you will learn how to display the WBP_HUD widget.
Displaying the HUD
Click Compile and then go back to the main editor. Navigate to the Blueprints folder and double-click on BP_GameManager to open it.
The HUD should be visible as soon as the game starts. You can use the Event BeginPlay node to do this.
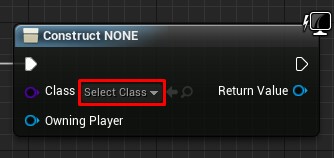
Find the Event BeginPlay node and then add a Create Widget node to the end of the node chain. This node will create an instance of the specified widget.

Click the drop-down next to Class and select WBP_HUD.
To display the HUD, you need to use an Add to Viewport node. Left-click and drag the Return Value pin of the Create Widget node. Release left-click on an empty space to bring up the context menu. Add an Add to Viewport node.

Let’s go over the order of events:
- Once Unreal spawns BP_GameManager, the Restart and SetUpCamera functions will execute. These functions set up a few variables and the camera. If you don’t know what a function is, don’t worry. The tutorial will cover them later on.
- The Create Widget node creates an instance of WBP_HUD
- The Add to Viewport node displays WBP_HUD
Click Compile and then go back to the main editor. Press Play to play the game with your new HUD.
To display the values for the counter and timer, you will need the variables holding that information. You can find these variables in BP_GameManager.

To use these variables, you need a way to access BP_GameManager from WBP_HUD. You can do this by storing a reference to BP_GameManager in a variable.
Storing References
Storing a reference is useful because it means you can access a specific instance easily.
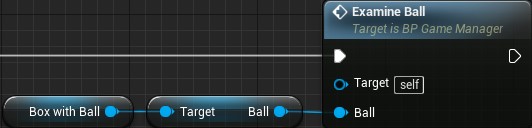
Imagine you had a single box with a ball in it. If you wanted to find the ball and examine it, it’d be easy because there’s only one box.
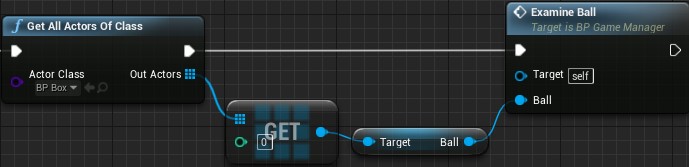
Now, imagine you had one hundred boxes but only one contains a ball. You would have to check each box until you found the box with the ball.

Whenever you want to examine the ball, you would you have to perform this operation. This would quickly lead to performance issues.
Using references, you can keep track of the box with the ball. This way, you don’t have to check every box.
Creating the Variable
Open WBP_HUD and switch to the Graph mode by going to the Editor Mode and selecting Graph.

Navigate to the My Blueprint tab and create a new variable called GameManager.
Go to the Details panel and click the drop-down next to Variable Type. Search for BP_GameManager and select BP Game Manager\Object Reference.

Setting the Reference
Click Compile and then open BP_GameManager.
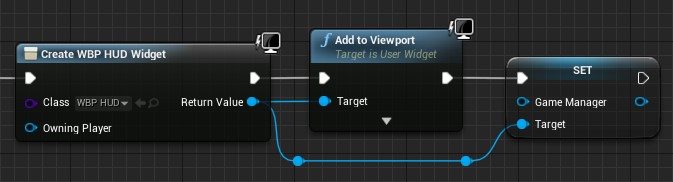
Locate the Create Widget node and then left-click and drag the Return Value pin. Release left-click on an empty space and then select Set Game Manager from the menu.
Afterwards, link the Add to Viewport node to the Set Game Manager node.
Next, create a Self node and connect it to the left pin of the Set Game Manager node. The Self node will be listed as Get a reference to self.
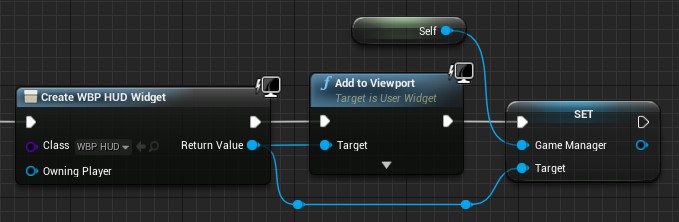
Now, when WBP_HUD is created, it will have a reference to BP_GameManager.
In the next section, you will learn how to update a widget with the help of functions.