Beginning Android Development with Kotlin, Part One: Installing Android Studio
In this Beginning Android Development tutorial, you will learn how to set up all the tools needed to start Android development. By Joe Howard.
Selecting a Device
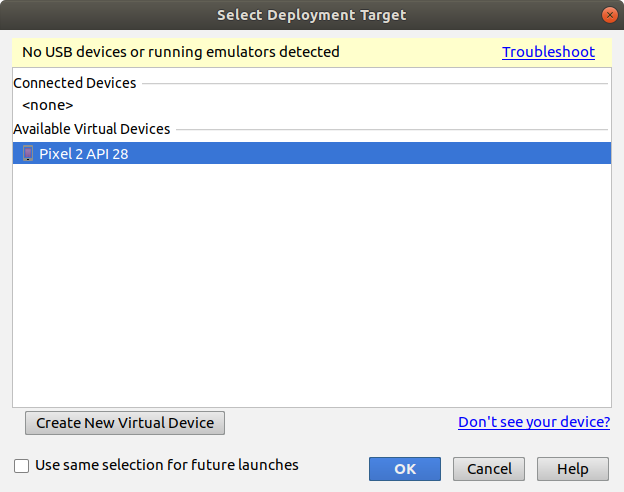
A new window will appear, asking you to choose the device you wish to test your App on. You currently have no devices running, so select the Pixel 2 you just created and click OK.
Note: If you get an error that says This AVD’s configuration is missing a kernel file!!, check to make sure that you don’t have the ANDROID_SDK_ROOT environment variable set from a previous installation of the Android SDK. See this thread on Stack Overflow for more troubleshooting tips.
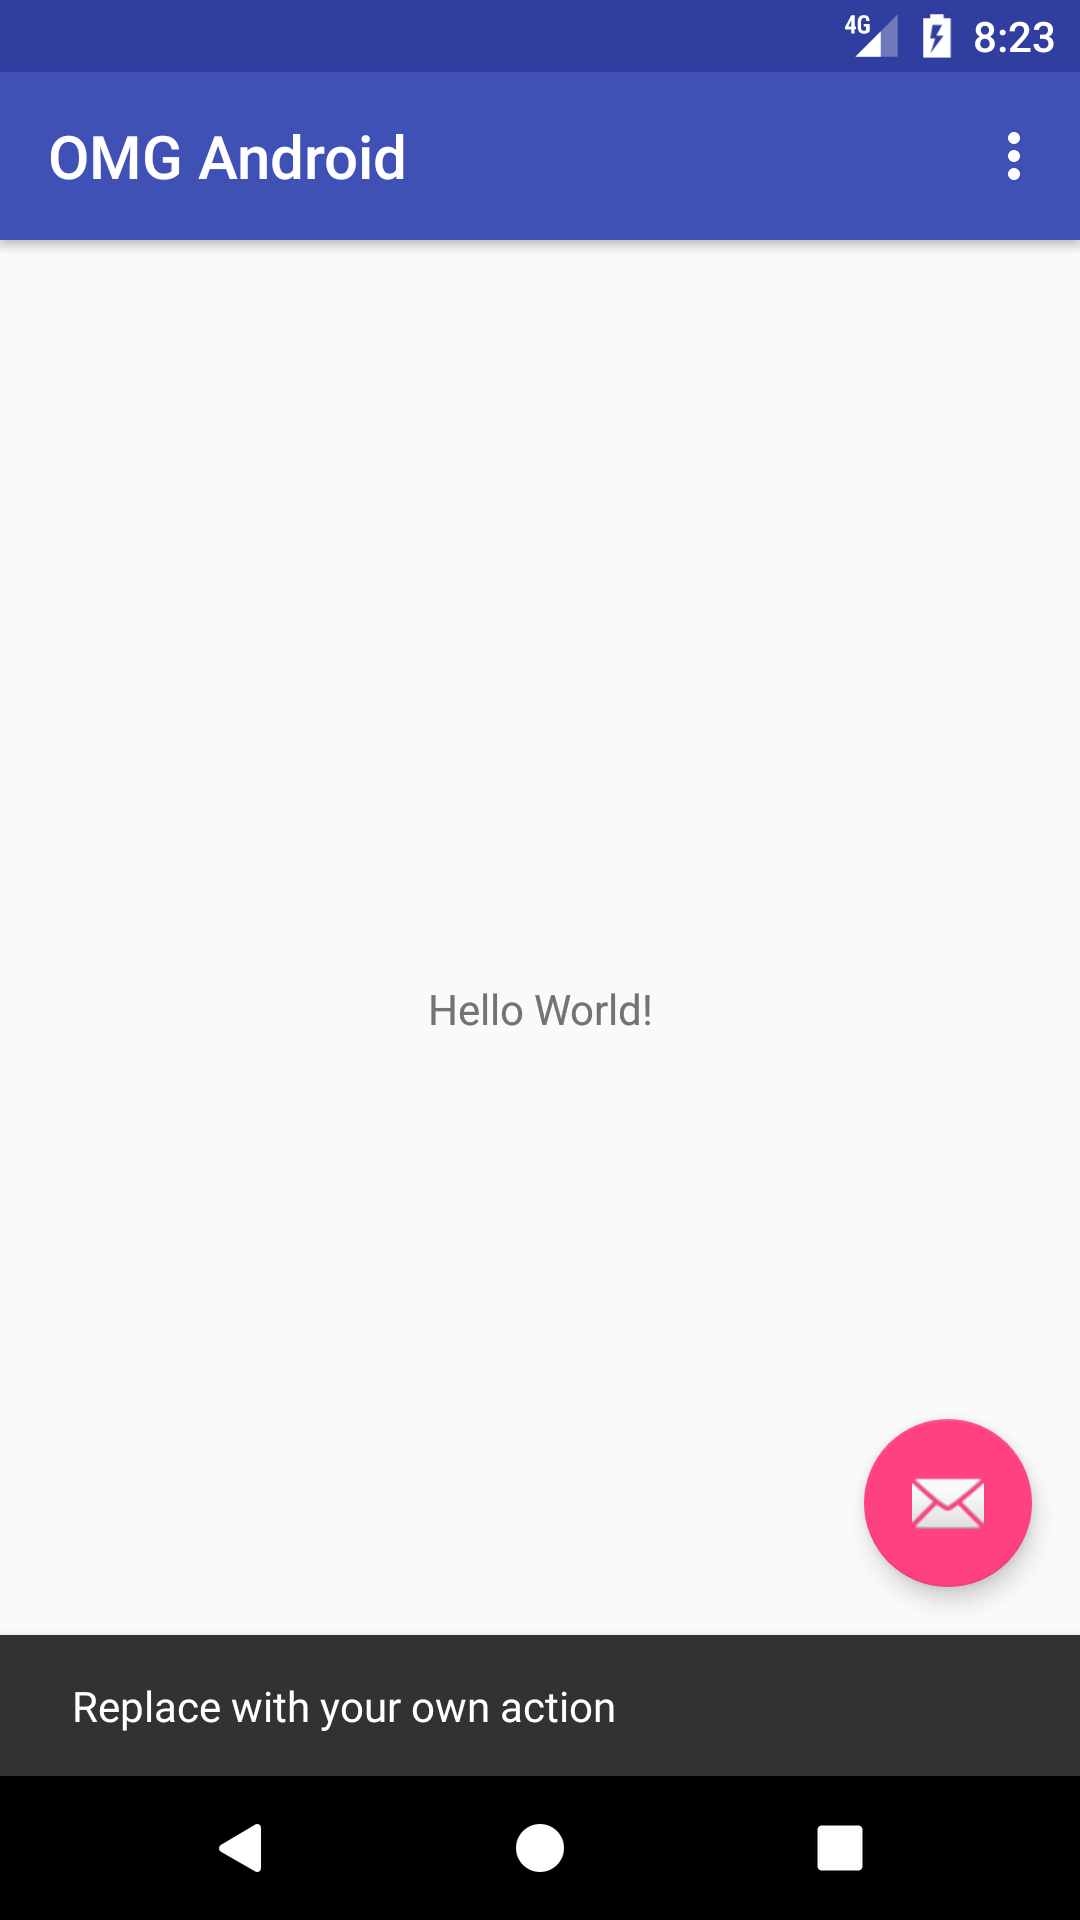
In the event that it doesn’t work the first time or takes several minutes for the emulator to fire up correctly, don’t worry, that’s not entirely unexpected. Stick with it. Once it’s ready, you should see something like this:

Whoa. You just made your first Android app.

The Emulator Toolbar
As you may have noticed, there’s a panel on the right side of the emulator. That is the emulator toolbar. The toolbar lets you perform various tasks such as taking screenshots, screen rotation, and volume control and also to perform extended functions such as simulating device location, phone calls, message sending, finger print, etc.
To access the extended functionalities, click the More (…) icon at the bottom of the toolbar.

Running on a Device
If you have an Android device you want to run your app on, follow the animated GIF on the right. It demonstrates how to enable developer mode on your device.
Here are the step-by-step instructions to enable Developer Mode on an Android device:
- Go to Settings on your device.
- Scroll all the way down and select About phone.
- Scroll to Build number and tap in multiple times. You’ll see a toast come up that states “You’re n steps away from becoming a developer”. Keep tapping and it will change to “You’re now a developer!” once it’s enabled.
- Go back to Settings screen and scroll all the way to the bottom. You’ll now see Developer Options enabled.
- Select Developer Options. Next, turn on the USB debugging switch under the Debugging section.
- Connect your device to your computer via USB.
- Your phone will prompt you to confirm this option via a dialog that states Allow USB debugging? — click OK.
- Next, the phone will ask you to register your computer’s RSA key fingerprint. If this is a trusted machine, then check the Always allow from this computer option.
Now that you’ve configured your device, click the Run button.

Just like before, you’ll get a prompt from the Select Deployment Target dialog. The device should now appear in this dialog. Select it and click OK.
Ahh…isn’t it rewarding to see the app on your device? Go ahead and show it off to your friends. :]
Note: If the app is already running, you might not get the prompt. This is because of a new functionality in Android Studio know as Instant Run. We’ll talk about it in the next section of this tutorial. Close the emulator, go back and click the Run button again.
Instant Run
From version 2.0 of Android Studio, a new functionality was introduced called Instant Run. Instant Run allows you to push updates (code and resources) to a running app on a device or emulator without performing a full reinstall. By doing this, you are able to view your changes in a shorter time.
There are three kinds of changes you can make to your code: a hot swap, warm swap, or cold swap. Instant Run pushes updates by performing one of the following, depending on the kind of change you made:
- Hot Swap: This applies to method changes. Your app continues to run but uses a stub method with the changes performed the next time the relevant method is called. This is the fastest swap.
- Warm Swap: This swap applies to resource changes. With this, your the current activity will restart to update the changed resources.
- Cold Swap: With this, Instant run restarts the whole app even though it does not perform a re-install. This swap applies to structural code changes
Testing Instant Run
Go ahead and try out Instant Run.
To enable Instant Run, start with Android Studio \ Preferences on macOS or File \ Settings on Windows or Linux, then select Build, Execution, Deployment \ Instant Run. Ensure that Enable Instant Run to hot swap code/resource changes on deploy is checked and that Restart activity on code changes is unchecked.

If your app is not yet running, launch it by clicking the Run button, and wait for it to launch.
When the app is running, the Apply Changes button on the right side of the Run becomes enabled.

As your app is now running, clicking on the floating button, shows the message, Replace with your own action at the bottom of the screen.
Change that message to test out Instant Run.
Open MainActivity.kt in the app/java/[your package name] folder, and in the onCreate() method, replace the text: Replace with your own action with Hello Instant Run.
Then click the Apply Changes button again in the Android Studio toolbar. Now when you click the floating action button, you will see the new message. This is an example of a hot swap.

Instant Run helps you code faster by significantly reducing the time it takes to update your app with code and resource changes.
Importing an Existing Project
During your Android app-making journey, you’ll find times where you need to import existing projects. The steps below will guide you through how to import a project:

- Use the Download Materials button at the top or the bottom of the tutorial to download materials for the tutorial.
- Once downloaded, unzip the contents and place them somewhere easy to get to.
- In Android Studio, go to File/New/Import Project….
- An open sheet will appear. Select the cardview folder in the downloaded materials and click Open.
- Once the Gradle build completes, you’ll see all the necessary files of the imported project in the project explorer.

It’s build and run time! Click the Run button in the toolbar and select either the emulator or device you’ve already set up.
