UISplitViewController Tutorial: Getting Started
Learn how to split your iOS app into two sections and display a view controller on each side in this UISplitViewController tutorial. By Adam Rush.
Making Your Model
Next, you need to define a model for the data you want to display. You don’t want to complicate things while learning the basics of split view controllers, so you’re going with a simple model with no data persistence.
First, make a class representing the monsters you want to display. Go to File ▸ New ▸ File…, select the iOS ▸ Source ▸ Swift File template and click Next. Name the file Monster and click Create.
You’re going to create a simple class with some attribute properties about each monster you want to display. You’ll also implement a couple of methods for creating new monsters and accessing the image for each monster’s weapon.
Replace the contents of Monster.swift with the following:
import UIKit

enum Weapon {
  case blowgun, ninjaStar, fire, sword, smoke

  var image: UIImage {
    switch self {
    case .blowgun:
      return UIImage(named: "blowgun.png")!
    case .fire:
      return UIImage(named: "fire.png")!
    case .ninjaStar:
      return UIImage(named: "ninjastar.png")!
    case .smoke:
      return UIImage(named: "smoke.png")!
    case .sword:
      return UIImage(named: "sword.png")!
    }
  }
}

class Monster {
  let name: String
  let description: String
  let iconName: String
  let weapon: Weapon

  init(name: String, description: String, iconName: String, weapon: Weapon) {
    self.name = name
    self.description = description
    self.iconName = iconName
    self.weapon = weapon
  }

  var icon: UIImage? {
    return UIImage(named: iconName)
  }
}
This defines an enumeration and a class. The enumeration is to track the different kinds of weapons including an image for each of them. The class is to hold the monster information with a simple initializer to create Monster instances.
That’s it for defining the model. Next, you’ll hook it up to your master view!
Displaying the Monster List
Open MasterViewController.swift and add a new property to the class:
let monsters = [
    Monster(name: "Cat-Bot", description: "MEE-OW",
            iconName: "meetcatbot", weapon: .sword),
    Monster(name: "Dog-Bot", description: "BOW-WOW",
            iconName: "meetdogbot", weapon: .blowgun),
    Monster(name: "Explode-Bot", description: "BOOM!",
            iconName: "meetexplodebot", weapon: .smoke),
    Monster(name: "Fire-Bot", description: "Will Make You Steamed",
            iconName: "meetfirebot", weapon: .ninjaStar),
    Monster(name: "Ice-Bot", description: "Has A Chilling Effect",
            iconName: "meeticebot", weapon: .fire),
    Monster(name: "Mini-Tomato-Bot", description: "Extremely Handsome",
            iconName: "meetminitomatobot", weapon: .ninjaStar)
  ]
This holds the array of monsters to populate the table view.
Find tableView(_:numberOfRowsInSection:) and replace the return statement with the following:
return monsters.count
This will return the number of monsters based on the size of the array.
Next, find tableView(_:cellForRowAtIndexPath:) and add the following code before the final return statement:
let monster = monsters[indexPath.row]
cell.textLabel?.text = monster.name
This configures the cell based on the correct monster. That’s it for the table view which will simply show each monster’s name.
Build and run the app.
You should see the list of monster bots on the left hand side on landscape iPad:

On iPhone:
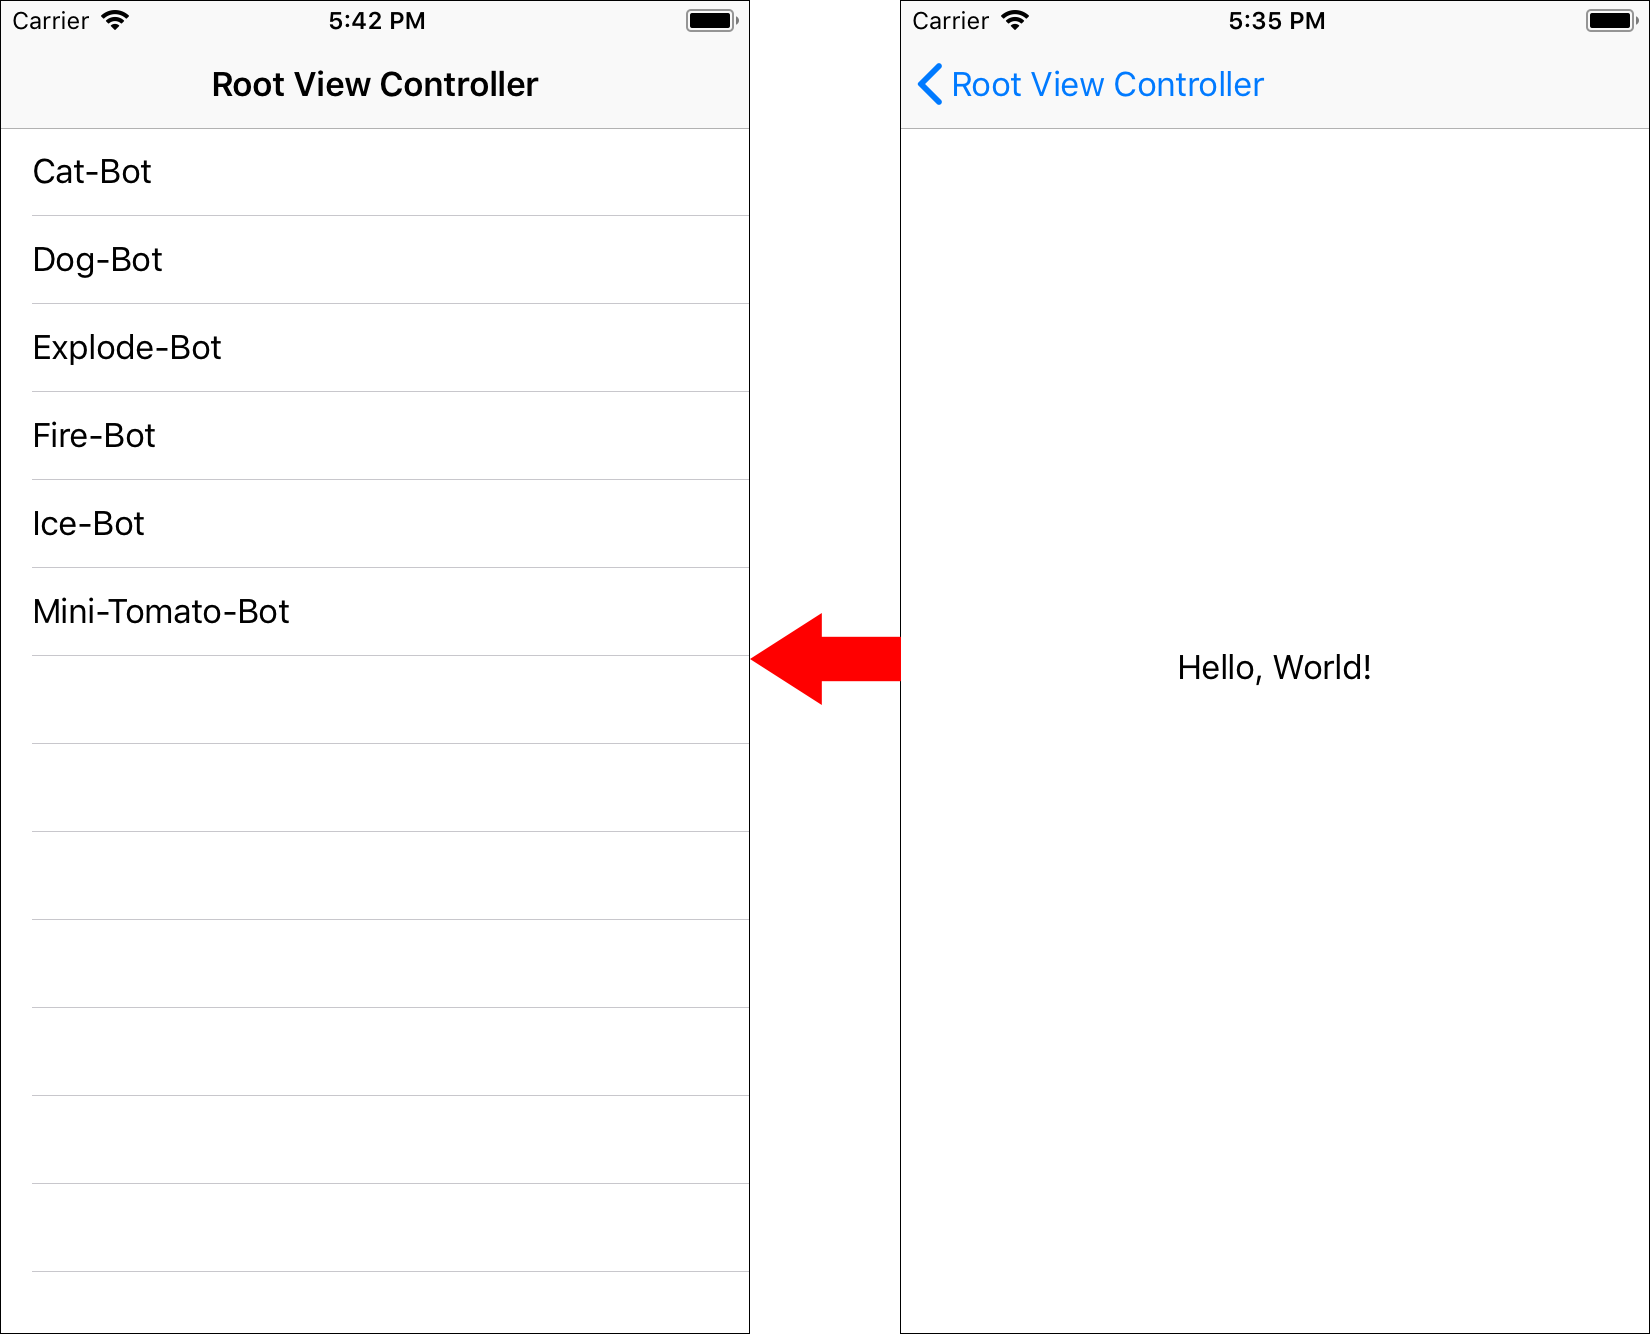
Remember that on a compact-width iPhone, you start one level deep already in the navigation stack on the detail screen. You can tap the back button to see the table view.
Updating the Master View Controller’s Title
The navigation bar automatically sets the title from the initial view controller, which is RootViewController.
Open Main.storyboard, select Root View Controller and double click the NavigationBar.
Change it to Monster List. This is much better than Root View Controller.

Displaying Bot Details
Now that the table view is showing the list of monsters, it’s time to get the detail view in order.
Open Main.storyboard, select Detail View Controller and delete the label you put down earlier.
Using the screenshot below as a guide, drag the following controls into the DetailViewController’s view (see underneath for a detailed list of what to add):

Here is what you need to add:
- A container view into which the rest of the views will go into. This should be aligned with the top of the screen and centered horizontally in the screen.
- A 95×95 image view, at 8 pixels from the top of the container view and 20 pixels from the left. This is for displaying the monster’s image.
- A label aligned with the top of the image view with font System Bold, size 30 and the text Monster Name. Align its top with the image’s top, and set it 8 pixels to the right of the image. Also make its trailing side be 8 pixels from the right-hand side of the container view.
- Two labels underneath with font System, size 24. One label should be bottom aligned with the image view. The other label should be below the first label. Their left edges should be aligned and they should be vertically spaced 8 pixels apart. Also set these labels’ trailing to be 8 pixels from the right side of the containing view. They should have the titles Description and Preferred way to kill.
- A 70×70 image view for displaying the weapon image, left aligned with the Preferred way to kill label and 8 pixels vertical spacing. Also set its bottom to be 8 pixels from the bottom of the containing view.
Getting Auto Layout to use the proper constraints is especially important since this app is universal and Auto Layout ensures the layout adapts well to both iPad and iPhone.

That’s it for Auto Layout for now. Next, you need to hook these views up to some outlets.
Open DetailViewController.swift and add the following properties to the top of the class:
@IBOutlet weak var nameLabel: UILabel!
@IBOutlet weak var descriptionLabel: UILabel!
@IBOutlet weak var iconImageView: UIImageView!
@IBOutlet weak var weaponImageView: UIImageView!

var monster: Monster? {
  didSet {
    refreshUI()
  }
}
Here, you added properties for the various UI elements you just created which need to change dynamically. You also added a property for the Monster object this view controller should display.
Next, add the following helper method to the class:
private func refreshUI() {
  loadViewIfNeeded()
  nameLabel.text = monster?.name
  descriptionLabel.text = monster?.description
  iconImageView.image = monster?.icon
  weaponImageView.image = monster?.weapon.image
}
Whenever you switch the monster, you want the UI to refresh itself and update the details displayed in the outlets. It’s possible that you’ll change monster and trigger the method even before the view has loaded. So, you call loadViewIfNeeded() to guarantee that the view is loaded and its outlets are connected.
Now, open Main.storyboard. Right-click the Detail View Controller object from the Document Outline to display the list of outlets. Drag from the circle at the right of each item to the view to hook up the outlets.

Remember, the icon image view is the big image view in the top left. The weapon image view is the smaller one underneath the Preferred way to kill label.
Go to SceneDelegate.swift and replace the implementation of scene(_:willConnectTo:options:) with the following:
guard
  let splitViewController = window?.rootViewController as? UISplitViewController,
  let leftNavController = splitViewController.viewControllers.first
    as? UINavigationController,
  let masterViewController = leftNavController.viewControllers.first
    as? MasterViewController,
  let detailViewController = splitViewController.viewControllers.last
    as? DetailViewController
  else { fatalError() }

let firstMonster = masterViewController.monsters.first
detailViewController.monster = firstMonster
A split view controller has an array property viewControllers which contains the master and detail view controllers. The master view controller, in your case, is actually a navigation controller. So to get the actual MasterViewController instance, you take the navigation controller’s first view controller.
To get the detail view controller, you look at the second view controller in the viewControllers array of the split view controller.
The download materials for this tutorial contain a folder called MonsterArt Drag this folder containing those images into Assets.xcassets in Xcode.
Build and run the app, and you should see some monster details on the right.
On iPad Landscape:

and iPhone:

Note that selecting a monster on the MasterViewController does nothing yet and you’re stuck with Cat-Bot forever. That’s what you’ll work on next!