How to Create a Simple FPS in Unreal Engine 5
In this Unreal Engine 5 tutorial, you’ll create a simple first-person shooter while learning how to create a first-person character equipped with a gun, and you’ll learn how to apply damage to other actors in your game. By Ricardo Santos.
Setting the Default Pawn
Click Compile in the window’s top-left corner, and go back to the main editor. Before you click it, it shows a yellow circle with a question mark. After clicking, it should have a green circle instead, showing that the process was successful.

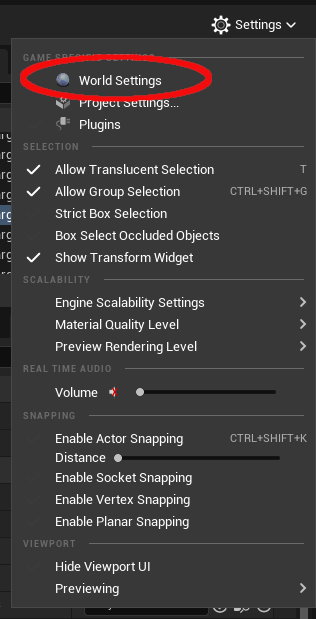
Open the World Settings panel and locate the Game Mode section. Change Default Pawn Class to BP_Player.
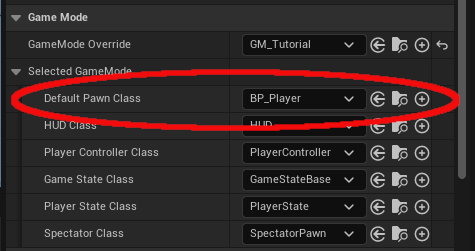
Now, you’ll automatically use BP_Player when the game starts, and it’s placed automatically in the position of the Player Start asset. Press Play and use the W, A, S and D keys to move around. You may have to click the mouse inside the game window first to give that window the keyboard focus.
Next, you’ll create mappings for looking around.
Creating Look Mappings
Open Project Settings again. Create two more Axis Mappings called LookHorizontal and LookVertical.
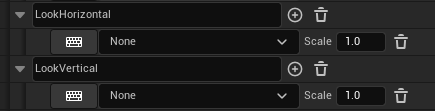
Change the key for LookHorizontal to Mouse X.

This mapping outputs a positive value when you move the mouse right and vice versa.
Next, change the key for LookVertical to Mouse Y.

This mapping outputs a positive value when you move the mouse up and vice versa.
Now, you need to create the logic for looking around.
Implementing Looking
If a Pawn doesn’t have a Camera component, Unreal automatically creates a camera for you. By default, this camera uses the rotation of the controller.
Even though controllers are non-physical, they still have their own rotation. This means you can make the Pawn and camera face different directions. For example, in a third-person game, the character and camera don’t always face the same direction.
To rotate the camera in a first-person game, you just need to change the rotation of the controller. It’s pretty much the same process you did for movement — you just use rotations instead of translations.
Open BP_Player and create a LookHorizontal event.

To make the camera look left or right, you need to adjust the controller’s yaw. Create an Add Controller Yaw Input and connect it:

When you move the mouse horizontally, the controller yaws left or right. Since the camera is using the controller’s rotation, it also yaws.
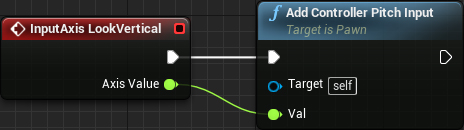
Repeat the process for LookVertical, replacing Add Controller Yaw Input with Add Controller Pitch Input.
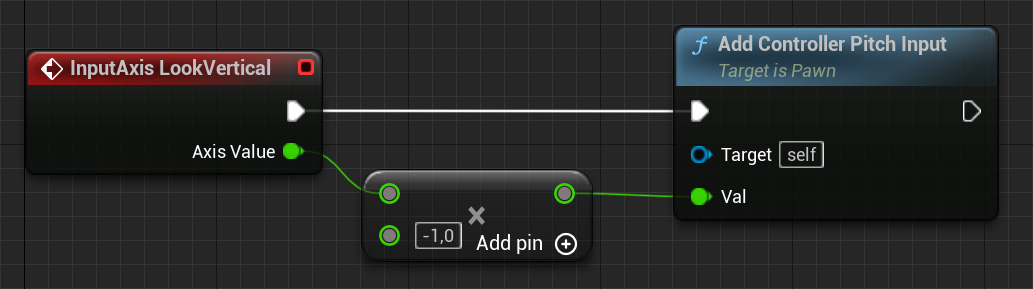
If you test the game right now, you’ll notice that vertical looking is inverted. This means when you move the mouse up, the camera looks down. If you prefer non-inverted controls, add a Multiply operator and multiply Axis Value by -1. This inverts Axis Value and controller pitching.
Click Compile, and then press Play. Use your mouse to start looking around.
Now that you’re done with movement and looking, it’s time to create a gun!
Creating the Gun
You know how when you create a Blueprint Class, you can select a parent class? Well, you can also select your own Blueprints as a parent. This is useful when you have different types of objects that share common functionalities or attributes.
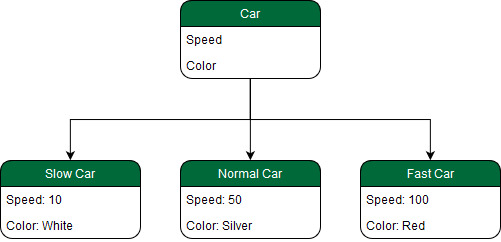
Say you want to have multiple types of cars. You can create a base car class containing variables such as speed and color. You can then create children classes that use the base car class as a parent. Each child will also contain the same variables. Now, you have an easy way to create cars with different speed and color values.
You can use the same method to create guns. You just need to create a base class first.
Creating the Base Gun Class
Go back to the main editor, and create a Blueprint Class of type Actor. Name it BP_BaseGun, and double-click to open it.
Next, you’ll create variables to define the gun properties. To do that, go to the Variables section of the blueprint window, and click the + button on the top-right of the frame.
Create the following float variables:
- MaxBulletDistance: How far each bullet can travel.
- Damage: How much damage to apply when a bullet hits an actor.
- FireRate: How long before the gun can shoot another bullet, measured in seconds.

Now, you need a physical representation of the gun. Click Add, type Static Mesh, select the component Static Mesh to add it to the blueprint class, and name it GunMesh.
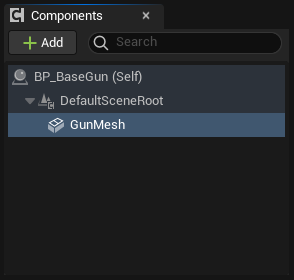
Don’t worry about selecting a static mesh now. You’ll do this in the next section when you create a child gun class. In this parent class, you just define that a gun must have a static mesh component that displays the gun geometry in the game.
Creating a Child Gun Class
Click Compile, and go back to the main editor. To create a child class, right-click BP_BaseGun and select Create Child Blueprint Class.
Name it BP_Rifle, and then open it. Open the Class Defaults at the top-right of the window, and set the variable values:
- MaxBulletDistance: 5000
- Damage: 2
- FireRate: 0.1
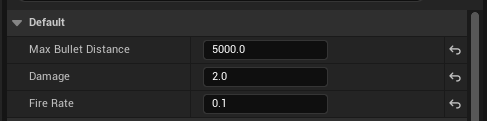
This means each bullet can travel a maximum distance of 5000. If it hits an actor, it deals 2 damage. When firing consecutive shots, the duration between each shot will be at least 0.1 seconds.
Next, you need to specify which mesh the gun should use. Select the GunMesh component on the left side of the screen, and notice that the Details tab on the right side has changed its contents. Look for the Static Mesh section and use the drop-down menu to set it to SM_Rifle.
The gun is complete. Click Compile, and close BP_Rifle.
Next, you’ll create your own camera component to give you better control of camera placement. It’ll also allow you to attach and keep the gun in front of the camera.
Creating the Camera
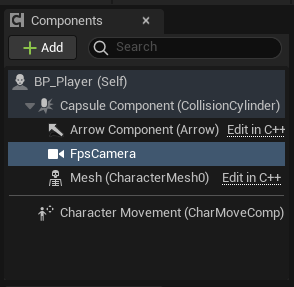
Open BP_Player, and add a Camera component the same way you created the Static Mesh component of the BP_BaseGun class. Name it FpsCamera.
The default position is a bit too low, which might make the player feel small. On the Details panel, set the location of FpsCamera to (X:0, Y:0, Z:90).
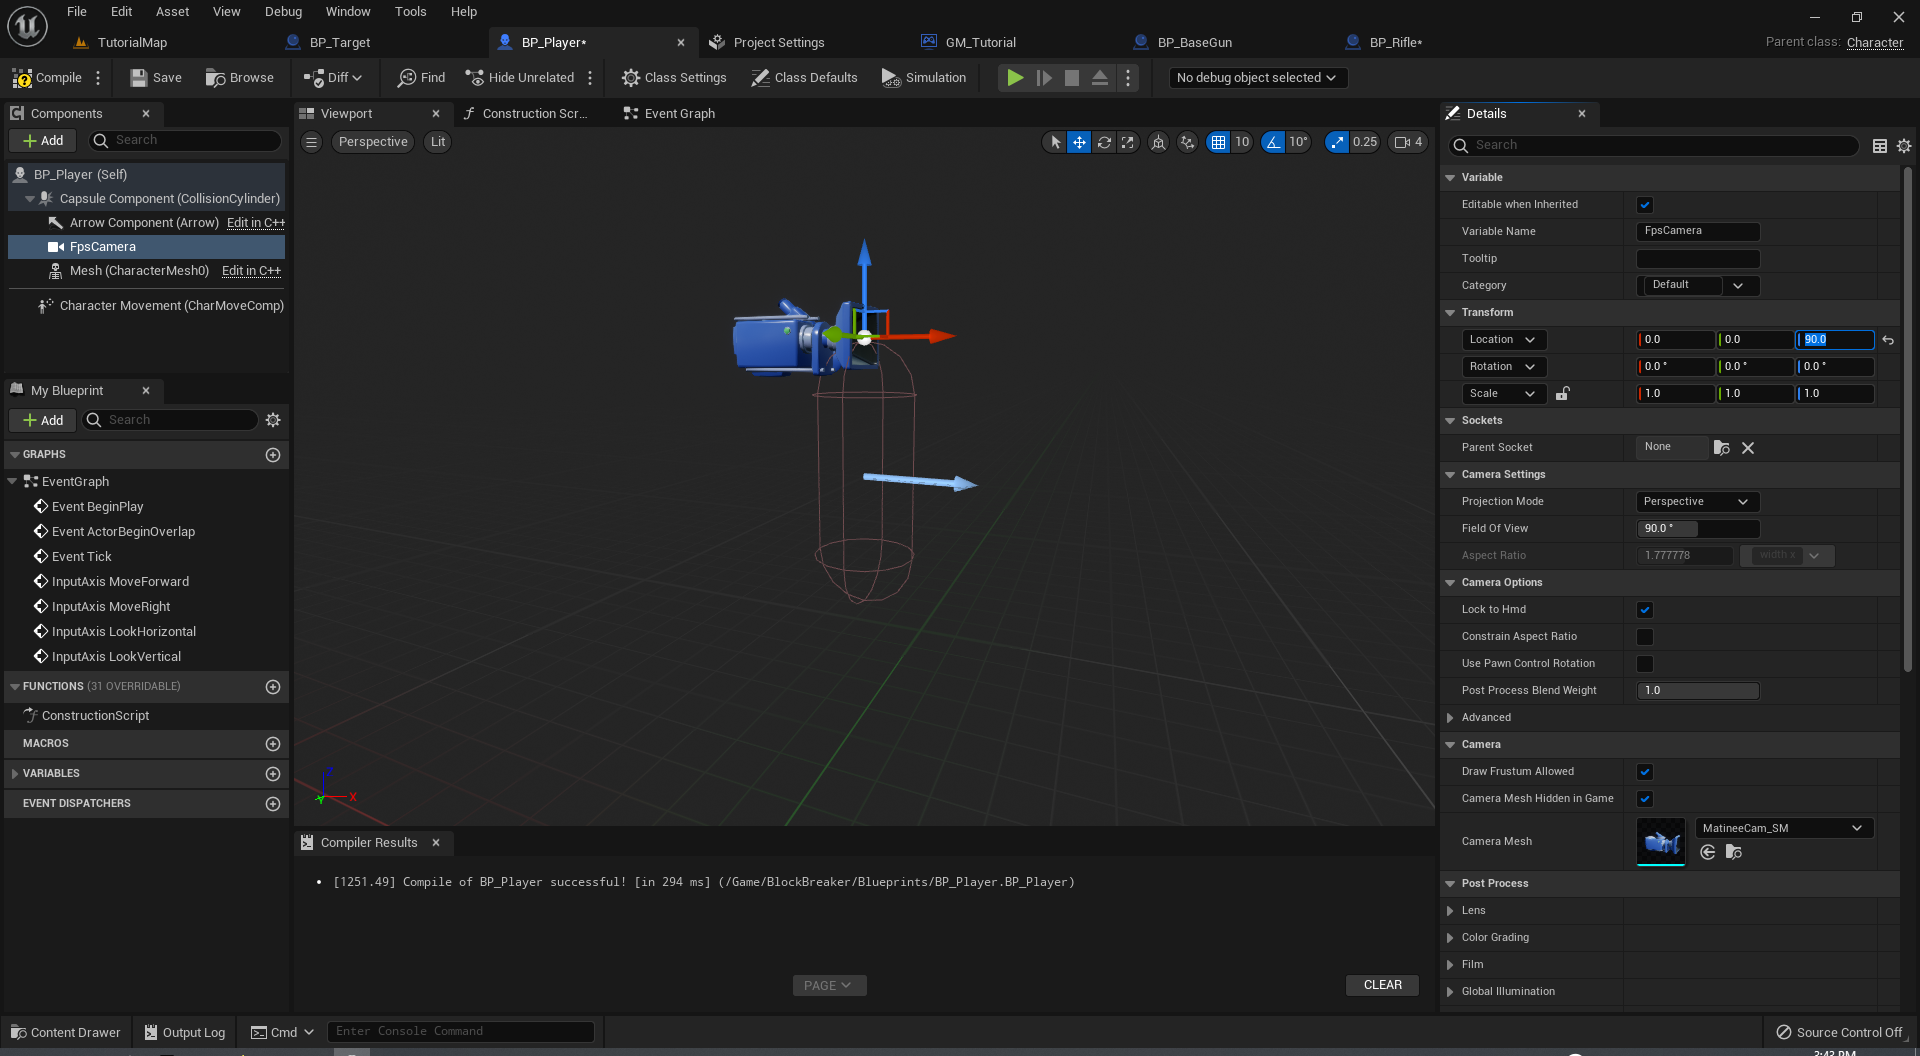
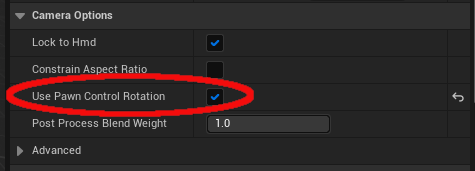
By default, Camera components don’t use the controller’s rotation. To fix this, go to the Details panel and enable Camera Options ▸ Use Pawn Control Rotation.
Next, you need to define the gun’s location.