SwiftUI Testing With ViewInspector for iOS
Learn how to use the ViewInspector framework to write UI tests for SwiftUI apps. By Warren Burton.
Understanding how ViewInspector Works
Now that you’ve used ViewInspector, you may be curious about the inner workings of the framework.
ViewInspector is the product of some smart generic coding and a lot of hard work by its developer to create a proxy for each supported SwiftUI type. The framework uses the reflection API Mirror to inspect a view while it’s being rendered in a window.
For every supported SwiftUI type, ViewInspector creates a corresponding proxy object by parsing the description tree generated by Mirror.
For example, take a simplified look at the test testAddRecipeAddsRecipe:

In this diagram:
-
RecipeListViewconforms toInspectableand has anInspection. Remember thatInspectionconforms toInspectionEmissaryin the test target. Therefore, you can callview.inspection.inspect, and in the callback sent to that function, you can now callinspect.find(button: "Add Recipe")onRecipeListView. - ViewInspector uses
Mirrorto describe the content tree inRecipeListView. - ViewInspector returns to you an
InspectableViewproxy object of typeViewType.Button. - You call
tap()on the proxy object to simulate a touch on the button. - ViewInspector uses
Mirrorto get a reference to the action closure attached to theButtoninRecipeListView. ViewInspector then calls that closure.
The source code for ViewInspector is available in the project navigator in the Package Dependencies section. You can add breakpoints and step through them in the debugger if you want to get a deeper view of how the framework works.
Testing With Style
When you build your app, you’ll want to keep common styles in a ViewModifier or a specialist type like ButtonStyle, which allows you to encapsulate many modifiers and make changes to the style when you touch a button. In this section, you’ll explore testing a ButtonStyle.
In the project navigator, open RecipeListView.swift. Display and refresh the preview canvas. You can see the Add Recipe button you tested in the previous section. You’ll add a ButtonStyle to that button to make it look nice, and then you’ll test that style.
Your design specifies a button with a capsule-style green background that expands by 10% when pressed.
In the project navigator, in the folder StepByStep ▸ Views, open the file StyleBook.swift. At the bottom of the file, add this modifier:
struct AdditiveButtonStyle: ButtonStyle {
  func makeBody(configuration: Configuration) -> some View {
    configuration.label
      .padding(8)
      .background(Color.green)
      .foregroundColor(.white)
      .clipShape(Capsule())
      .scaleEffect(configuration.isPressed ? 1.0 : 1.1)
      .animation(.easeOut(duration: 0.2), value: configuration.isPressed)
  }
}
Open RecipeListView.swift again and locate Button("Add Recipe"). Add this line at the comment // Add button style here:
.buttonStyle(AdditiveButtonStyle())
Refresh the preview, and make it interactive:

You’ll see your button has a capsule style that changes when you touch it. Next, you’ll add a test to check that this style conforms to the requested design and doesn’t change.
In the project navigator, open StepByStepTests.swift. Add these two tests to StepByStepTests:
func testAddRecipeButtonHasCorrectStyle() throws {
  let controller = RecipeController.previewController()
  let view = RecipeListView()
  let expectation = view.inspection.inspect { view in
    let button = try view.find(button: "Add Recipe")
    XCTAssertTrue(try button.buttonStyle() is AdditiveButtonStyle)
  }
  ViewHosting.host(view: view.environmentObject(controller))
  self.wait(for: [expectation], timeout: 1.0)
}

func testAdditiveButtonStylePressedState() throws {
  let style = AdditiveButtonStyle()
  XCTAssertEqual(try style.inspect(isPressed: true).scaleEffect().width, 1.1)
  XCTAssertEqual(try style.inspect(isPressed: false).scaleEffect().width, 1.0)
}
The first test checks that the button has AdditiveButtonStyle applied to it.
The second test verifies that AdditiveButtonStyle makes a button larger when pressed. ViewInspector provides a convenience initializer inspect(isPressed: Bool) to allow you to select the pressed state for testing.
Build and test to see the results:

testAdditiveButtonStylePressedState failed. It appears the ternary expression for the scaleFactor value is back to front. This sort of bug is why you write tests. You challenge your own assumptions about a piece of code when you write a test for the code.
In the project navigator, open StyleBook.swift, and in AdditiveButtonStyle, find the line:
.scaleEffect(configuration.isPressed ? 1.0 : 1.1)
And change it to:
.scaleEffect(configuration.isPressed ? 1.1 : 1.0)
Build and test. Your test navigator is all green again:

Next, you’ll learn how test collection views where you have many identical elements.
Testing Collections
When you create a List, you usually have a collection of objects that you present in a vertical table. Each object uses an identical cell view. In this section, you’ll learn how to search List or any other collection view that SwiftUI provides.
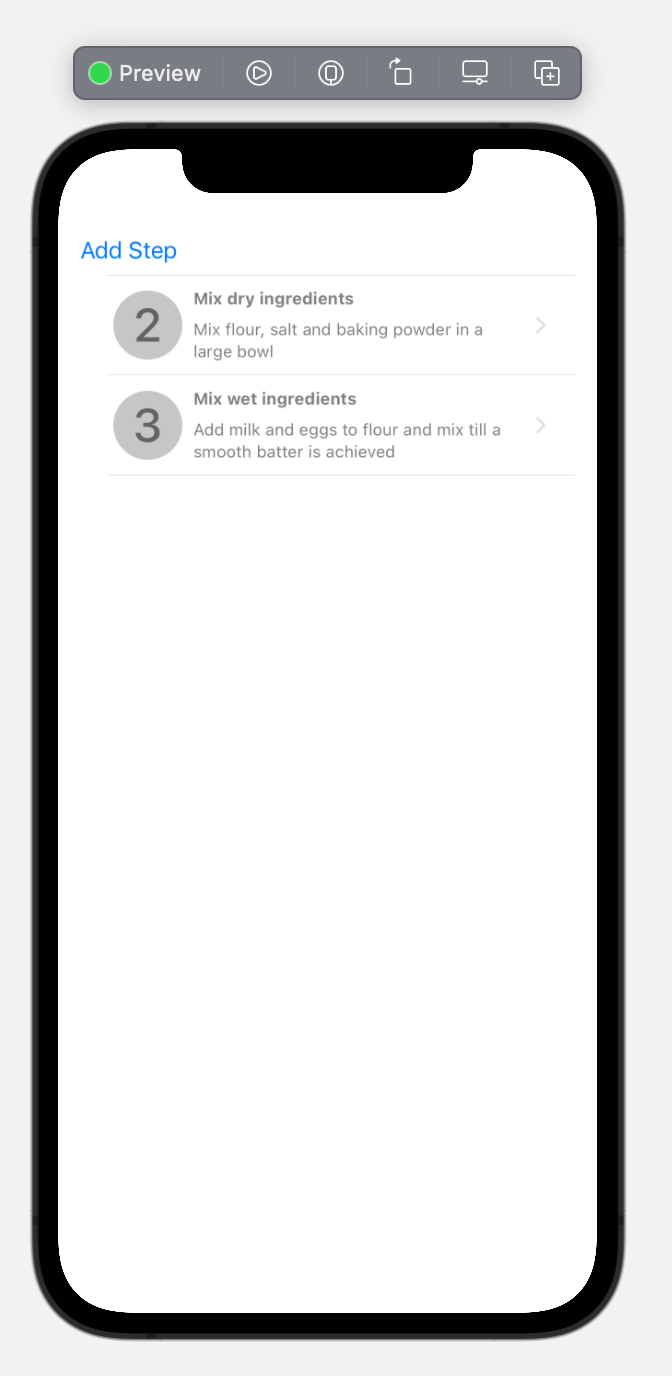
In the project navigator, in the folder StepByStep ▸ Views ▸ Steps, open StepListView.swift. Refresh the preview:
Configuring StepListView for Test
You have a button and a list. In StepListView, add this line to the top of the struct body to enable inspection:
internal let inspection = Inspection<Self>()
Next, you’ll dress up your button. Add the button style you created to Button("Add Step") at the comment // add style here:
.buttonStyle(AdditiveButtonStyle())
And lastly, add an observer to the VStack at the comment // add onReceive here:
.onReceive(inspection.notice) { self.inspection.visit(self, $0) }
In the project navigator, open Inspectable+Model.swift and add the conformance to Inspectable for all the views that make up the step list:
extension StepListView: Inspectable {}
extension StepLineView: Inspectable {}
extension StepEditorView: Inspectable {}
Testing StepListView
You’re now ready to write some tests. Open StepByStepTests.swift. Your first test confirms that the list has a cell for every step item. Add this code to the end of StepByStepTests:
func testStepName(_ index: Int) -> String {
  "Step -\(index)"
}

func makeStepController(_ count: Int) -> StepController {
  let recipeController = RecipeController.previewController()
  let recipe = recipeController.createRecipe()
  for idx in 1...count {
    let step = recipeController.createStep(for: recipe)
    step.name = testStepName(idx)
    step.orderingIndex = Int16(idx)
  }

  let stepController = StepController(
    recipe: recipe,
    dataStack: recipeController.dataStack
  )
  return stepController
}
This code creates a database that you can test against and a recipe with count steps. One of the secrets to a highly testable app is the ability to create a data model in your test environment:
Now, add this test function to StepByStepTests:
func testStepListCellCountSmall() throws {
  let expectedCount = 20
  let stepController = makeStepController(expectedCount)
  let view = StepListView(stepController: stepController)

  let expectation = view.inspection.inspect { view in
    let cells = view.findAll(StepLineView.self)
    XCTAssertEqual(cells.count, expectedCount)
  }
  ViewHosting.host(view: view)
  self.wait(for: [expectation], timeout: 1.0)
}
In this test, you check that StepListView has the same number of cells as steps in the recipe. You use the alternative search of findAll to locate all instances of StepLineView. findAll returns an empty array if there are no matches, unlike find, which throws when there’s no match.
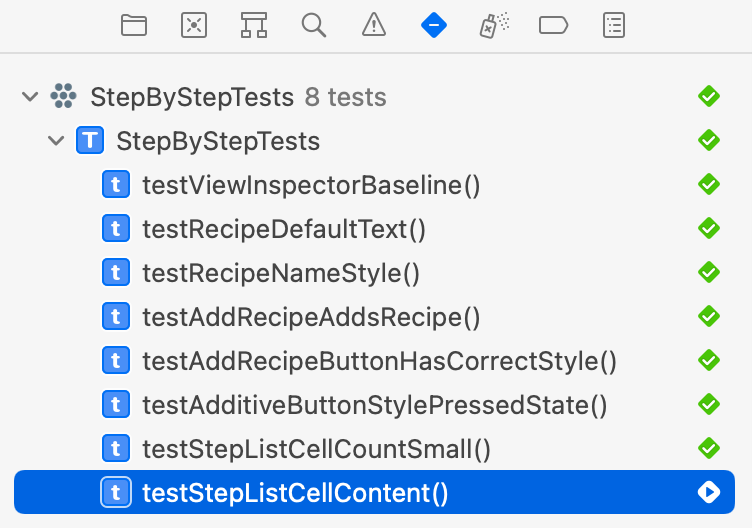
Build and test to check whether your test assumption is true:

Next, add this test to prove that the cells are displaying the name of the Step:
func testStepListCellContent() throws {
  let expectedCount = 10
  let stepController = makeStepController(expectedCount)
  let view = StepListView(stepController: stepController)

  let expectation = view.inspection.inspect { view in
    for idx in 1...expectedCount {
      _ = try view.find(StepLineView.self, containing: self.testStepName(idx))
    }
  }
  ViewHosting.host(view: view)
  self.wait(for: [expectation], timeout: 1.0)
}
This test uses find(_:containing:) to locate a StepLineView with the specified name. Build and test to check that all tests pass:
When you make unit tests, try to test one thing per test. Don’t try to squish multiple tests into one test just because the setup process is long.
Your test code should be as readable and maintainable as your production code.
Your next test checks that a cell has a NavigationLink to StepEditorView. Add this test to StepByStepTests:
func testStepCellNavigationLink() throws {
  let expectedCount = 1
  let stepController = makeStepController(expectedCount)
  let view = StepListView(stepController: stepController)

  let expectation = view.inspection.inspect { view in
    let navLink = try view.find(ViewType.NavigationLink.self)
    _ = try navLink.view(StepEditorView.self)
  }
  ViewHosting.host(view: view)
  self.wait(for: [expectation], timeout: 1.0)
}
You verify the test case that a cell has a NavigationLink that takes you to StepEditorView. You don’t need a call to XCTAssert, as the call to view will throw if StepEditorView can’t be found.
Build and test to check this works:

Very nice! You now have a comprehensive test suite to help you as you proceed with your recipe app.