Using TimelineView and Canvas in SwiftUI
Learn how to use TimelineView and Canvas in SwiftUI and combine them to produce animated graphics. By Bill Morefield.
Drawing Tick Marks
Tick marks show twelve equal intervals around the clock face to indicate hours and five-minute increments. These help the user better tell the time displayed on the clock.
You’ll need a lot of trigonometry here, but thou shalt not be afraid! You’ll walk through all the steps required.
Go back to AnalogClock.swift and add the following new method above the body of the view:
func drawTickMarks(context: CGContext, size: Double, offset: Double) {
  // 1
  let clockCenter = size / 2.0 + offset
  let clockRadius = size / 2.0
  // 2
  for hourMark in 0..<12 {
    // 3
    let angle = Double(hourMark) / 12.0 * 2.0 * Double.pi
    // 4
    let startX = cos(angle) * clockRadius + clockCenter
    let startY = sin(angle) * clockRadius + clockCenter
    // 5
    let endX = cos(angle) * clockRadius * 0.9 + clockCenter
    let endY = sin(angle) * clockRadius * 0.9 + clockCenter
    // 6
    context.move(to: CGPoint(x: startX, y: startY))
    // 7
    context.addLine(to: CGPoint(x: endX, y: endY))
    // 8
    context.strokePath()
  }
}
Separating the components of the clock into different methods helps reduce clutter. You'll pass in the Core Graphics context to the method along with the size and offset you calculated in the view's body. Here are the steps for the rest of the method:
- You calculate the clock face's center position by dividing the size of the clock face by two and then adding the offset you passed in.
- Next, set up a loop through the integers from zero to 11, one for each tick mark. Notice, again, you use a standard
for-inloop instead ofForEachsince you're not in a view builder. - You divide the clock face into twelve equal segments. For each segment, you calculate the fraction of the full circle's diameter the current
hourMarkrepresents. Trigonometric calculations in Swift use radians. The conventional 360 degrees of a circle equals 2π radians. To determine the number of radians equivalent to the current fraction of the circle, multiply the fraction by two and by theDouble.piconstant.Note: Technically, you must now subtract π/2 to shift the angle a quarter-circle counterclockwise. Without this adjustment, the zero angle will be to the right and not upward. For these marks, it doesn't make a difference, but if you change it to display numbers, then they would appear in the wrong positions. - You use trigonometry here, but don't panic. All you need to know is that the cosine of an angle gives you the position of the horizontal part of the full radius for a point at a given angle. Sine provides the same information for the vertical position. Since you want the points positioned at an equal distance around the center of the clock face, you add the offset calculated in step one. This gives you the x and y points for the angle calculated in step three.
- This is the same as step four, except you multiply the radius by 0.9 to bring the point inside the clock face. The resulting tick mark runs in from the edge of the face inside to this point.
- With the points calculated, you move the context to the start point from step four.
- Next, add a line to the endpoint from step five.
- Draw a line along the path on the canvas.
Now, add the call to the method at the bottom of the closure, where you got the Core Graphics context:
drawTickMarks(
  context: cgContext,
  size: clockSize,
  offset: centerOffset)
Run the app, and tap any city to see the clock face with tick marks:
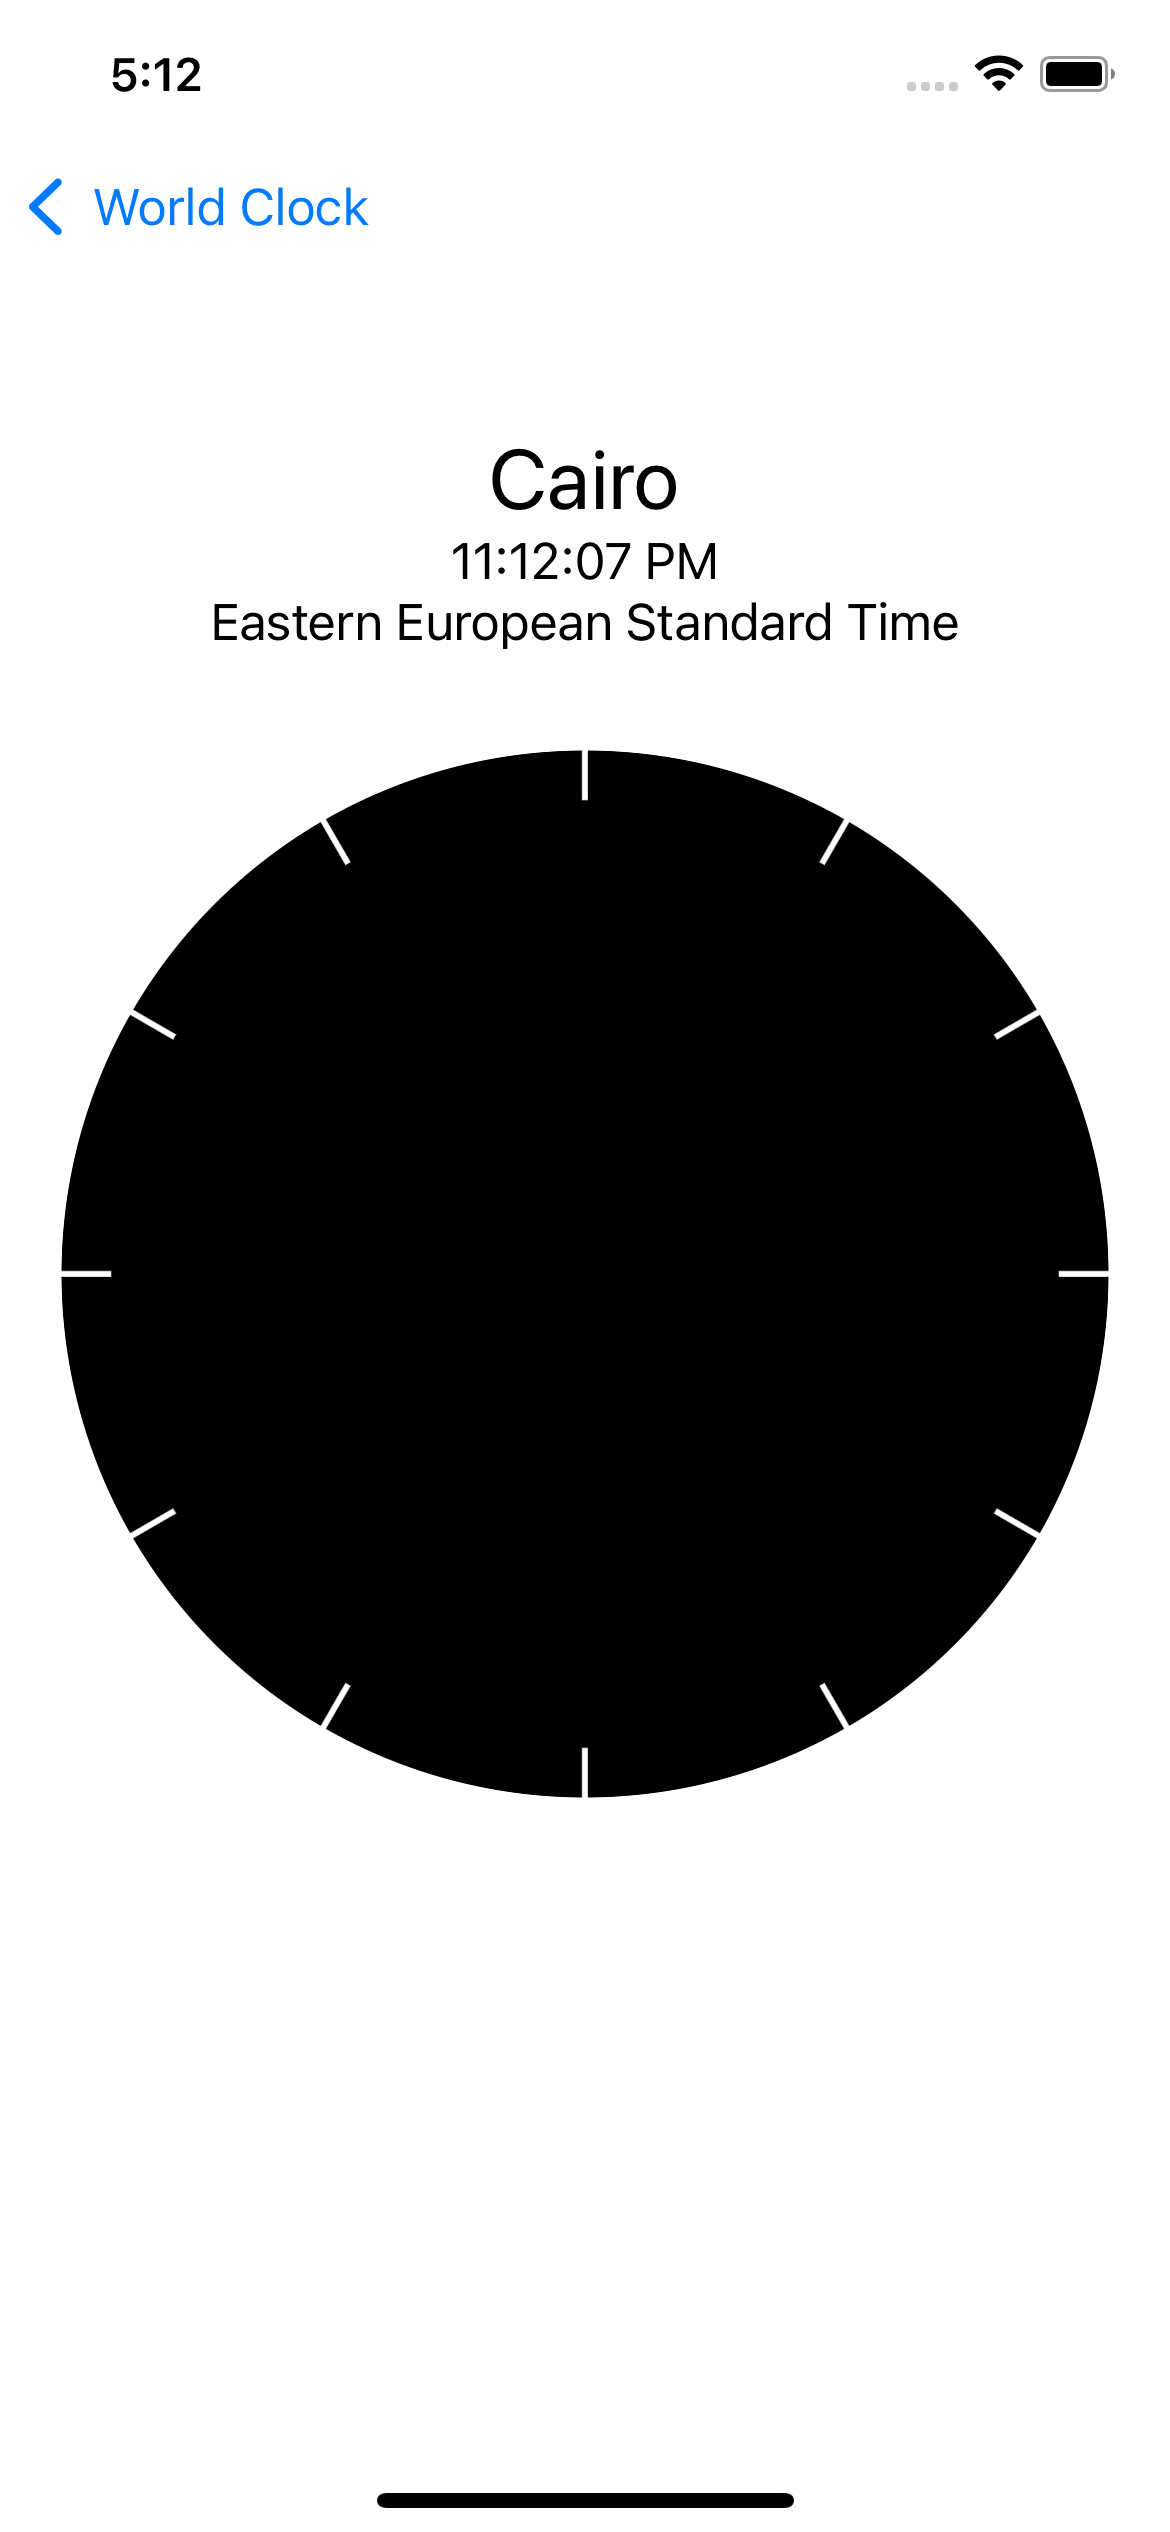
With the tick marks in place, you can now add the hands for the clock.
Drawing Clock Hands
You'll first create a reusable method that draws all three clock hands. Add the following code after drawTickMarks(context:size:offset:):
func drawClockHand(
  context: CGContext,
  angle: Double,
  width: Double,
  length: Double
) {
  // 1
  context.saveGState()
  // 2
  context.rotate(by: angle)
  // 3
  context.move(to: CGPoint(x: 0, y: 0))
  context.addLine(to: CGPoint(x: -width, y: -length * 0.67))
  context.addLine(to: CGPoint(x: 0, y: -length))
  context.addLine(to: CGPoint(x: width, y: -length * 0.67))
  context.closePath()
  // 4
  context.fillPath()
  // 5
  context.restoreGState()
}
This method draws a clock hand at the angle, width and length specified. Make the hour, minute and second hands different by changing the width and length. Here's how the method works:
-
saveGState()pushes a copy of the current graphics state onto a stack. You can restore the current state at a later time from the stack. Saving the state lets you easily undo the changes made during this method. - When creating the tick marks, you calculated the positions of lines using trigonometry. For situations where you want to show multiple lines or shapes, this can get tedious.
rotate(by:)rotates every path that follows by a specified angle in radians. Using this method, you can now draw the clock hand vertically and let this rotation handle the math to make it appear at the desired angle. Let computers do the hard work! - These lines move to the center of the canvas — hold that question for a moment. It then draws a line of the specified width to the left and upward two-thirds of the full length. It continues back to the center the full length upward before mirroring the first line to the right of the center.
closePath()adds a line back to the initial point at the center. - You fill the shape you just defined with the current fill color.
- This restores the graphics state you stored in step one. It undoes the change to the angle from the rotation in step two.
Now that you have a method to draw a hand, you can draw the hour hand. Add the following code to the end of the Core Graphics closure just after the call to drawTickMarks(context:size:offset:):
// 1
cgContext.setFillColor(location.isDaytime(at: time) ?
  UIColor.black.cgColor : UIColor.white.cgColor)
// 2
cgContext.translateBy(x: clockCenter, y: clockCenter)
// 3
let angle = clockDecimalHourInLocalTz / 12.0 * 2 * Double.pi
let hourRadius = clockSize * 0.65 / 2.0
// 4
drawClockHand(
  context: cgContext,
  angle: angle,
  width: 7.5,
  length: hourRadius)
You change the fill color and calculate the information needed for the hand. Here are the details:
- Change the fill color to match the current line color — black for daytime and white for night.
- When drawing before, you added an offset for the tick marks and clock face to center them on the canvas. As with
rotate(by:)above, you can also change the graphics state.translateBy(x:y:)shifts the origin of the drawing surface to the point you want to be the center of the clock. This change affects all drawing operations that follow. This shift lets you use the origin indrawClockHand(context:angle:width:length:). - Calculate the angle for the given hour. Note that
clockDecimalHourInLocalTzincludes a fraction, so 1:30 would be 1.5. Including fractions supports the smooth motion of the clock's hands. Usingrotate(by:)while drawing the hand vertically before the rotation means you don't need the shift by π/2 like you did when manually calculating angles. - Call the method that draws the clock hand.
Run the app, and you see your clock hand on the clock face:

Now, use the same process to draw the other hands. After the code to draw the hour hand, add:
let minuteRadius = clockSize * 0.75 / 2.0
let minuteAngle = clockMinuteInLocalTz / 60.0 * 2 * Double.pi
drawClockHand(
  context: cgContext,
  angle: minuteAngle,
  width: 5.0,
  length: minuteRadius)

cgContext.saveGState()
cgContext.setFillColor(UIColor.red.cgColor)
let secondRadius = clockSize * 0.85 / 2.0
let secondAngle = clockSecondInLocalTz / 60.0 * 2 * Double.pi
drawClockHand(
  context: cgContext,
  angle: secondAngle,
  width: 2.0,
  length: secondRadius)
cgContext.restoreGState()
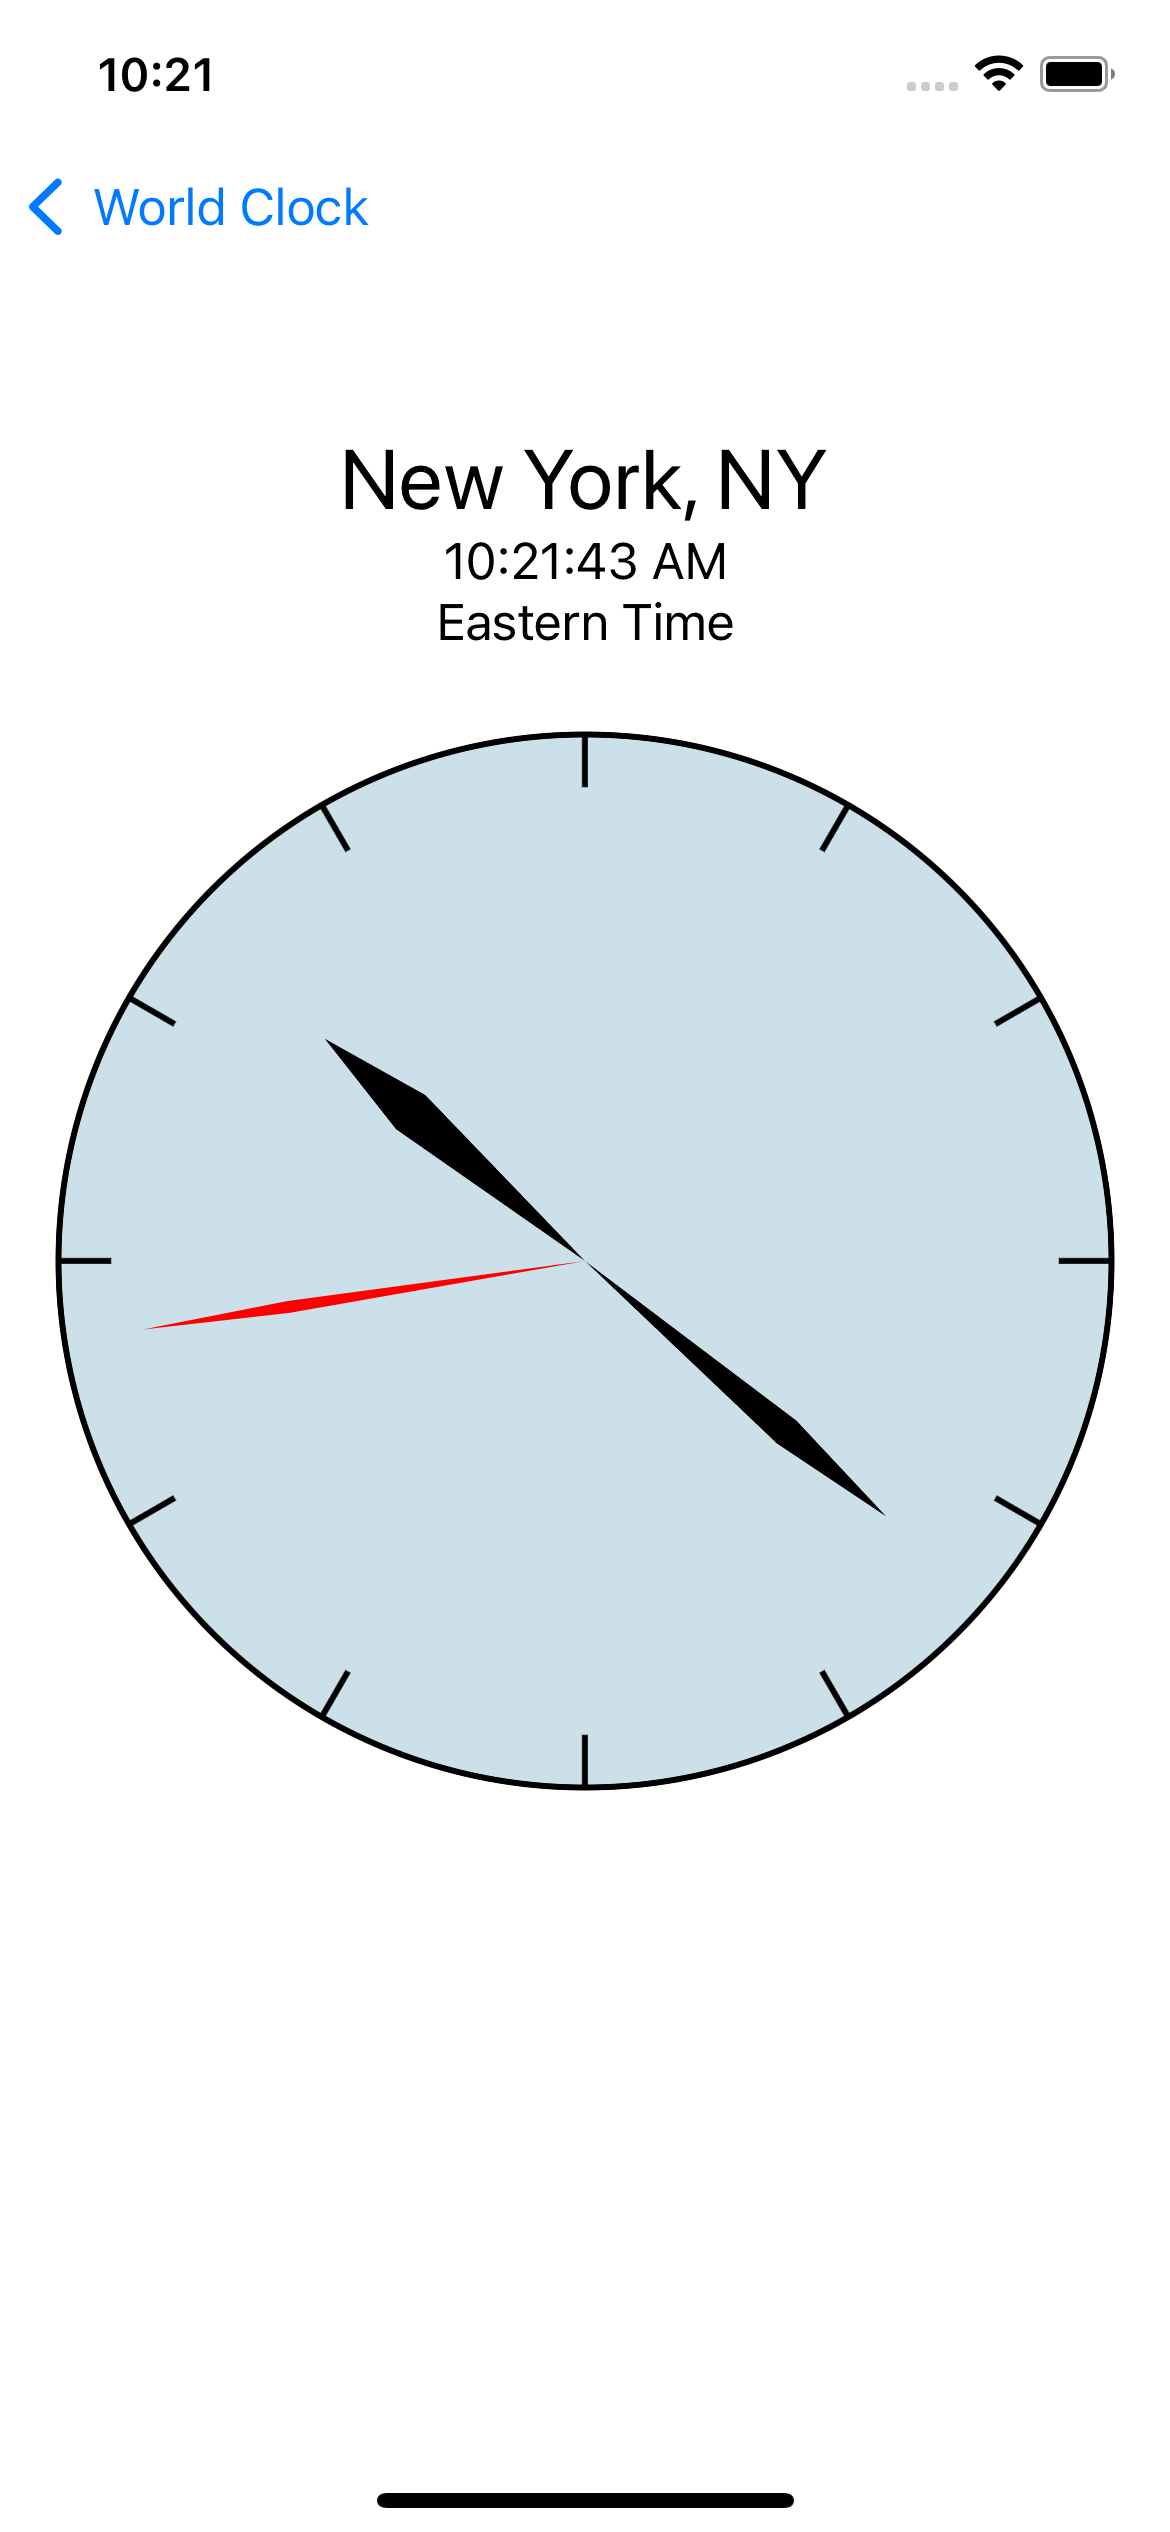
You use a larger radius multiplier and narrower width to draw the minute hand. Then, you change the fill color to red and draw a longer, narrower second hand. Save and restore the graphics state around drawing the second hand to restore the original fill color.
Run the app, and you'll see the minute and second hands along with the hour hand: