OpenGL ES Particle System Tutorial: Part 1/3
Learn how to develop a particle system using OpenGL ES 2.0 and GLKit! This three-part tutorial covers point sprites, particle effects, and game integration. By Ricardo Rendon Cepeda.
Sending Shader Data to the GPU
Time to send your shaders some meaningful data from your rendering loop.
Open up MainViewController.m and add the following code just below the other #import statements:
#import "EmitterShader.h"

@interface MainViewController ()

// Properties
@property (strong) EmitterShader* emitterShader;

@end
This gives your class access to an instance of the new EmitterShader class you just wrote.
Add the following method to MainViewController.m, just above the @end line:
#pragma mark - Load Shader

- (void)loadShader
{
    self.emitterShader = [[EmitterShader alloc] init];
    [self.emitterShader loadShader];
    glUseProgram(self.emitterShader.program);
}
Here you load your newly created shaders from your bridge class, then you tell the GPU to use the resulting program for future rendering. You'll have to tell the GPU every time it should switch shaders, but it's a relatively fast operation.
Now add the following code to MainViewController.m, inside viewDidLoad just before the call to loadParticles:
// Load Shader
[self loadShader];
This simply calls the loadShader method you implemented above.
Add the following code to the end of loadParticles in MainViewController.m:
// Create Vertex Buffer Object (VBO)
GLuint particleBuffer = 0;
glGenBuffers(1, &particleBuffer);                   // Generate particle buffer
glBindBuffer(GL_ARRAY_BUFFER, particleBuffer);      // Bind particle buffer
glBufferData(                                       // Fill bound buffer with particles
             GL_ARRAY_BUFFER,                       // Buffer target
             sizeof(emitter.particles),             // Buffer data size
             emitter.particles,                     // Buffer data pointer
             GL_STATIC_DRAW);                       // Usage - Data never changes; used for drawing
In the code above, the particle vertices are sent to the GPU so that the GPU knows what geometry it needs to render. The most efficient way to do this is through the use of a Vertex Buffer Object (VBO) — data storage units — which you create for your particles.
Note: For a more detailed overview of VBOs, or for a quick refresher, check out the “Creating Vertex Buffer Objects” section in the OpenGL ES 2.0 for iPhone tutorial.
Add the following to the end of glkView:drawInRect: in MainViewController.m:
// 1
// Create Projection Matrix
float aspectRatio = view.frame.size.width / view.frame.size.height;
GLKMatrix4 projectionMatrix = GLKMatrix4MakeScale(1.0f, aspectRatio, 1.0f);

// 2
// Uniforms
glUniformMatrix4fv(self.emitterShader.uProjectionMatrix, 1, 0, projectionMatrix.m);
glUniform1f(self.emitterShader.uK, emitter.k);

// 3
// Attributes
glEnableVertexAttribArray(self.emitterShader.aTheta);
glVertexAttribPointer(self.emitterShader.aTheta,                // Set pointer
                      1,                                        // One component per particle
                      GL_FLOAT,                                 // Data is floating point type
                      GL_FALSE,                                 // No fixed point scaling
                      sizeof(Particle),                         // No gaps in data
                      (void*)(offsetof(Particle, theta)));      // Start from "theta" offset within bound buffer

// 4
// Draw particles
glDrawArrays(GL_POINTS, 0, NUM_PARTICLES);
glDisableVertexAttribArray(self.emitterShader.aTheta);
The above code may look a bit complex, but here's what it's doing:
- By default, your OpenGL ES 2.0 screen coordinates range from -1 to +1 for x and y. The iPhone screen is not square, so a Projection Matrix calculated from the
GLKViewaspect ratio is used to scale the view to the right proportions. - Here, you send your Uniform data to the shader program. For all the
glUniformcalls, the first parameter tells OpenGL ES 2.0 where to find the shader handle to your data, and the last parameter sends the actual data. - In a similar fashion, you send your attribute data. This is a slightly more complicated process since you are pointing to a larger batch of data. The parameters of
glVertexAttribPointerare as follows: - index: pointer to the shader variable (using your bridge object)
-
size: 1 component per particle (
θis a single float) - type: floating point
- normalized: false
-
stride: no gaps in your
Particlestructure (single block of data) -
pointer: start from the theta offset within the bound particle buffer (useful once you expand your
Particlestructure) - Finally, you tell the GPU how many points to draw: all of your particles!
- index: pointer to the shader variable (using your bridge object)
-
size: 1 component per particle (
θis a single float) - type: floating point
- normalized: false
-
stride: no gaps in your
Particlestructure (single block of data) -
pointer: start from the theta offset within the bound particle buffer (useful once you expand your
Particlestructure)
The last line of code to glDisableVertexAttribArray is basically a closing tag to the function you called a few lines up, glEnableVertexAttribArray. By default, the glDrawArrays function has no access to this vertex attribute array; this function pair enables access for this call. In OpenGL, you set up the rendering state when you need it, and it's good practice to clean up your settings when you're done.
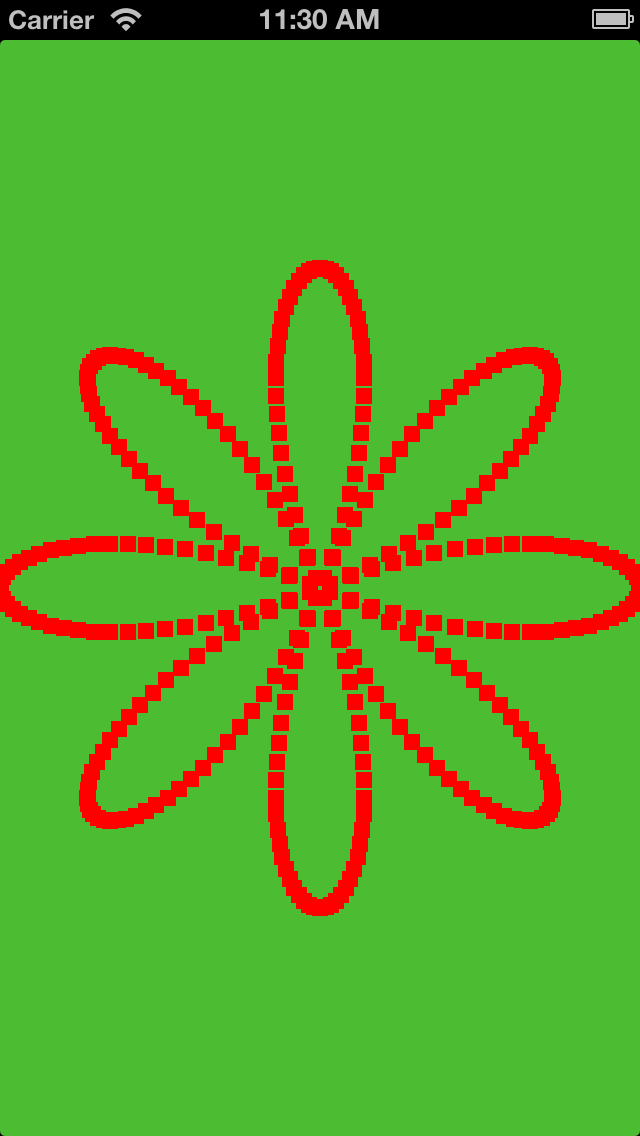
Build and run your app — you should now be rewarded for your patience with an 8-petal polar rose made up of small red squares, as shown below:
Adding Particle Shader Variances
It's really rewarding to see something on the screen in that last build and run step, but it looks a little plain. Particle systems are meant to be exciting, dynamic organisms, so adding some color should bring a little more life to your rose.
Open up EmitterTemplate.h and add the following line to your Particle structure:
float shade[3];
Again in EmitterTemplate.h, add the following line to your Emitter structure:
float color[3];
In your particle-emitter hierarchy, the emitter's color will determine the overall RGB color of the rose, while the particle's shade will determine its own individual RGB color shade. Think of is as a tree in Autumn; you could say its overall color is orange, but in fact it’s a mix of leaves with tones ranging from yellow to red.
Now you will complete the shader-side implementation of these new properties.
Open Emitter.vsh and add the following attribute just under the aTheta attribute:
attribute vec3 aShade;
Still in Emitter.vsh, add the following code just below your uniforms and before main:
// Output to Fragment Shader
varying vec3 vShade;
This is a new type of variable called a varying. All coloring is carried out by the fragment shader but the attributes you defined (like aShade) aren't accessible to the shader. Therefore, a varying acts as an output from the vertex shader into the fragment shader and creates an outlet for attributes to be passed along the OpenGL ES 2.0 pipeline.
Again in Emitter.vhs, add the following line to the very end of main:
vShade = aShade;
Each particle’s shade is now passed straight through to the fragment shader.
Open Emitter.fsh and replace its contents with the following code:
// Fragment Shader

static const char* EmitterFS = STRINGIFY
(

// Input from Vertex Shader
varying highp vec3 vShade;

// Uniforms
uniform highp vec3 uColor;

void main(void)
{
    highp vec4 color = vec4((uColor+vShade), 1.0);
    color.rgb = clamp(color.rgb, vec3(0.0), vec3(1.0));
    gl_FragColor = color;
}

);
The code above simply adds or subtracts the particle’s shade from the emitter color. The result then uses the clamp function to stay within the bounds of 0.0 (black) and 1.0 (white).
You'll notice another new term above: highp. Variables in the fragment shader require precision qualifiers because they process a lot more data than the vertex shaders do. Choosing the correct modifiers is very important when optimizing large programs, but since the app in this tutorial series is rather lightweight, you’ll be using highp all the way.
Note: Take a look at the Best Practices for Shaders section of Apple's OpenGL ES Programming Guide for iOS for more details about writing well behaved, high-performance shaders.
With your shaders all set, it’s time to complete the obligatory bridge.
Open up EmitterShader.h and add the following properties to your list of attributes and uniforms:
// with other attribute handles
@property (readwrite) GLint aShade;

// with other uniform handles
@property (readwrite) GLint uColor;
Then, open up EmitterShader.m and add the two lines of code below to loadShader; add the first line as indicated with the other attributes, and add the second line the other uniforms, as indicated:
// with the other attributes
self.aShade = glGetAttribLocation(self.program, "aShade");

// with the other uniforms
self.uColor = glGetUniformLocation(self.program, "uColor");
Finally, you need to create the actual data for the shaders.
Open MainViewController.m and add the following method above the @end line:
- (float)randomFloatBetween:(float)min and:(float)max
{
    float range = max - min;
    return (((float) (arc4random() % ((unsigned)RAND_MAX + 1)) / RAND_MAX) * range) + min;
}
This is a random float generator which creates a unique shade for each particle.
Still inside MainViewController.m, add the following code within loadParticles, inside the for loop:
// Assign a random shade offset to each particle, for each RGB channel
emitter.particles[i].shade[0] = [self randomFloatBetween:-0.25f and:0.25f];
emitter.particles[i].shade[1] = [self randomFloatBetween:-0.25f and:0.25f];
emitter.particles[i].shade[2] = [self randomFloatBetween:-0.25f and:0.25f];
As you can see, each particle will have a shade offset between -0.25 and +0.25 for each channel.
With that, your particles are all ready to go — now onto the emitter!
Add the following code to MainViewController.m inside loadEmitter:
emitter.color[0] = 0.76f;   // Color: R
emitter.color[1] = 0.12f;   // Color: G
emitter.color[2] = 0.34f;   // Color: B
This sets the base color of the particles generated by the emitter which will later be modified by each particle's unique shade.
Still inside MainViewController.m, add the following line to glkView:drawInRect:, with the other glUniform... calls:
glUniform3f(self.emitterShader.uColor, emitter.color[0], emitter.color[1], emitter.color[2]);
Once again, you're passing uniform data to the shader program — this time, for the emitter color.
Still in glkView:drawInRect:, add the following code just after the existing call to glVertexAttribPointer:
glEnableVertexAttribArray(self.emitterShader.aShade);
glVertexAttribPointer(self.emitterShader.aShade,                // Set pointer
                      3,                                        // Three components per particle
                      GL_FLOAT,                                 // Data is floating point type
                      GL_FALSE,                                 // No fixed point scaling
                      sizeof(Particle),                         // No gaps in data
                      (void*)(offsetof(Particle, shade)));      // Start from "shade" offset within bound buffer
Here you pass the shade values to the particles, just as when you passed the theta values to the individual particles.
Finally, add the following line to the end of glkView:drawInRect: to close off the glEnable/glDisable pair:
glDisableVertexAttribArray(self.emitterShader.aShade);
Build and run — your rose should now be made up of small pink-toned squares, as shown in the screenshot below:
