Introduction to the TestFlight SDK
Learn how to distribute ad-hoc builds and integrate the TestFlight SDK into your iOS apps. By Dani Arnaout.
Integrating the TestFlight SDK
Now that you have the archiving and distribution process in your toolbox, it’s time to cover the features of the TestFlight SDK itself.
First download the TestFlight SDK.

Make sure to download the latest SDK for iOS, which at the time of writing is version 2.0. Unzip the file by double-clicking on it.

Now drag this folder into your Xcode project and place it in the Libraries folder.

Make sure to check the first option for copying items.

Now you need to add two frameworks. Select the project file from the navigator and switch to the Build Phases tab. Expand the Link Binary With Libraries option and click the + button.
The TestFlight SDK needs the libz.dylib library and the AdSupport framework. Find these in the list and add them.

Now without further ado, let’s jump into coding.
Start by importing TestFlight.h into MotivateMe-Prefix.pch.
Modify it to look like this:
#ifdef __OBJC__
    #import <UIKit/UIKit.h>
    #import <Foundation/Foundation.h>
    #import "MMAppDelegate.h"
    #import "TestFlight.h"
#endif
Now go to MMAppDelegate.m and add an import for the AdSupport framework:
#import <AdSupport/AdSupport.h>
To initialize TestFlight, add these lines to MMAppDelegate.m:
- (BOOL)application:(UIApplication *)application didFinishLaunchingWithOptions:(NSDictionary *)launchOptions
{
    // Setup TestFlight
    [TestFlight setDeviceIdentifier:[[[ASIdentifierManager sharedManager] advertisingIdentifier] UUIDString]];
    [TestFlight takeOff:@"<YOUR_APP_TOKEN>"];

    // Use this option to notifiy beta users of any updates
    [TestFlight setOptions:@{ TFOptionDisableInAppUpdates : @YES }];

    // Override point for customization after application launch.
    return YES;
}
The first line sets a unique identifier for your device. Apple has removed direct access to the UDID in the iOS 7 SDK so you can use the advertising identifier instead as a unique device identifier.
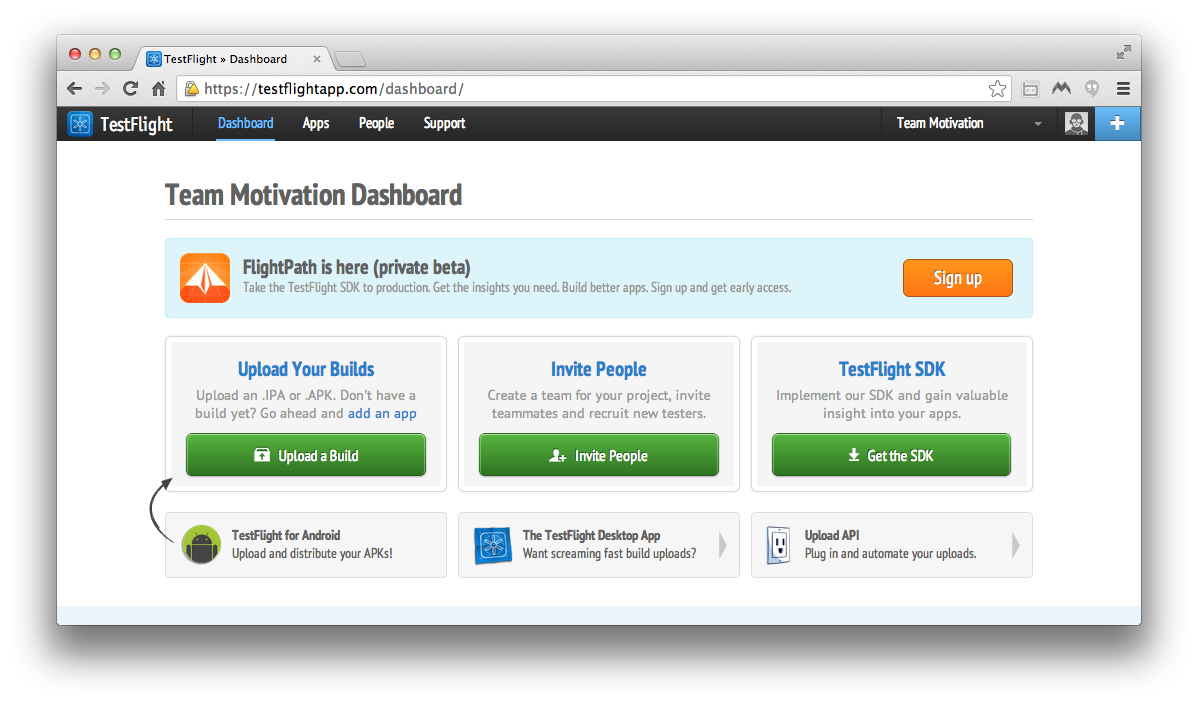
The second line uses your app’s token to start TestFlight. Each app has a unique token. To get yours, log in to testflightapp.com:
Choose the Apps tab from the upper tab bar.

Click on the MotivateMe app.

Navigate to the App Token section, and there it is.

Copy it and in the takeoff string in the code above, replace
Now build your project to make sure there are no errors.
Congratulations, you have integrated TestFlight into your app. That one call to takeOff: will automatically log app launches and basic analytics. But you’re not happy with the basics – tt’s time to start using the APIs.
TestFlight APIs
There’s one important thing to note before you begin integrating some of TestFlight’s APIs. Testing an API requires a new build, archive, upload to TestFlight, and download to the device. For this tutorial, you’re going to integrate the APIs one at a time and then generate a single archive at the end to test them out on device.
Integrating Remote Logging
First up: the remote logging API. This one allows you to see the logging output af your app from the TestFlight website. You can see logs for beta sessions and for most production sessions.
To integrate remote logging, simply replace all of your NSLog calls with TFLog calls. An easy way to do this without rewriting is to add the following macro to your .pch file. Make the bottom part of your .pch file look like this:
#ifdef __OBJC__
    #import <UIKit/UIKit.h>
    #import <Foundation/Foundation.h>
    #import "MMAppDelegate.h"
    #import "TestFlight.h"
#endif

#define NSLog(__FORMAT__, ...) TFLog((@"%s [Line %d] " __FORMAT__), __PRETTY_FUNCTION__, __LINE__, ##__VA_ARGS__)
To add remote logging to a certain point in your application, you have to add a simple NSLog(). Open MMFullNameViewController.m and find prepareForSegue:sender:. Add a regular NSLog for the fullNameTextField text, so the method looks like this:
-(void) prepareForSegue:(UIStoryboardSegue *)segue sender:(id)sender
{
    // Remote logging
    NSLog(@"Full name entered: %@",self.fullNameTextField.text);

    // Save full name in user default for later use
    [[NSUserDefaults standardUserDefaults] setObject:self.fullNameTextField.text forKey:USERNAME_KEY];
    [[NSUserDefaults standardUserDefaults] synchronize];
}
Build your app by hitting Command-B to ensure that it is error-free. That’s it for the remote logging API – for now. Testing will come later, after you’ve generated the archive and uploaded it to TestFlight.
Integrating the Feedback API
You can use the Feedback API to get feedback from your testers. This can be as simple as a text view or you can design an elaborate form. In any case, you simply pass an NSString with the feedback text, and the API will do the job in background to send the text to TestFlight. You’ll be able to review any submitted feedback on the web.
In your Xcode project, go to Main.Storyboard and check out the settings screen. There is a Send Feedback button that navigates to MMFeedbackViewController when the user taps it.

Add this one line to sendButtonEventTouchUpInside to make it look like this:
- (IBAction)sendButtonEventTouchUpInside:(UIBarButtonItem *)sender
{
    // Send feedback
    [TestFlight submitFeedback:self.feedbackTextView.text];

    // Alert user for successful sending
    [[[UIAlertView alloc] initWithTitle:@"Sent" message:@"Feedback sent successfully!" delegate:self cancelButtonTitle:@"OK" otherButtonTitles:nil] show];
}
This is a built-in method in the TestFlight SDK that submits a string and adds it to the feedback section of your app.
Once again, build your app to make sure that everything is working fine and dandy.

If all’s well, move on to the next API.
Integrating the Checkpoint API
The Checkpoint API lets you know if your testers are hitting all corners of the app – wherever you’ve put a checkpoint – or if they have missed anything. It thus helps you track your testers’ behavior.
You can use checkpoints to track progress through levels in a game, or to check how many times a certain screen is opened. If you want to make sure a certain view is displayed or that a certain piece of code is reached, checkpoints are for you!
For this tutorial, you’ll be adding checkpoints at the following events:
- Upon the app’s first launch.
- When the user is done with the configuration steps.
- When the user taps the start button for the first time.
This requires modifying three methods in three different classes by adding a single line of code:
[TestFlight passCheckpoint:<NSString>];
Go to viewDidLoad in MMFullNameViewController.m and make it look like this:
- (void)viewDidLoad
{
    [super viewDidLoad];

    // Checkpoint for first time app launch
    [TestFlight passCheckpoint:@"First-App-Launch"];

}
After that, go to motivateMeButtonEvenTouchUpInside in MMDoneConfigurationViewController.m and change it to look like this:
- (IBAction)motivateMeButtonEvenTouchUpInside
{
    // Checkpoint for first time app launch
    [TestFlight passCheckpoint:@"Configuration-Done-Successfully"];

    // Proceed to main screen
    [self dismissViewControllerAnimated:YES completion:NULL];
}
Finally, find startButtonEventTouchUpInside in MMMotivatorViewController.m and modify it to the following:
- (IBAction)startButtonEventTouchUpInside
{
    self.timer = [NSTimer scheduledTimerWithTimeInterval:1.0f target:self selector:@selector(updateUI) userInfo:nil repeats:YES];

    self.startButton.enabled = NO;
    self.pauseButton.enabled = YES;
    self.stopButton.enabled = YES;

    if (![[NSUserDefaults standardUserDefaults] objectForKey:FIRST_TIME_LAUNCH_KEY])
    {
        // Checkpoint for first time app launch
        [TestFlight passCheckpoint:@"Start-Button-Pressed-For-First-Time"];

        // Save that in your defaults
        [[NSUserDefaults standardUserDefaults] setObject:@"Activated" forKey:FIRST_TIME_LAUNCH_KEY];
        [[NSUserDefaults standardUserDefaults] synchronize];
    }

}
Build your app.

One more left to go before testing can commence!