Introduction to the TestFlight SDK
Learn how to distribute ad-hoc builds and integrate the TestFlight SDK into your iOS apps. By Dani Arnaout.
Obtain an App ID
Your third challenge is to find an App ID for MotivateMe. Every app needs a unique key to differentiate it from other apps in the App Store. To generate an App ID, click the Identifiers button on the left sidebar of your Apple developer page.
Now click the plus (+) button to add a new identifier.

Give your app a name, choosing something descriptive like Motivate Me.
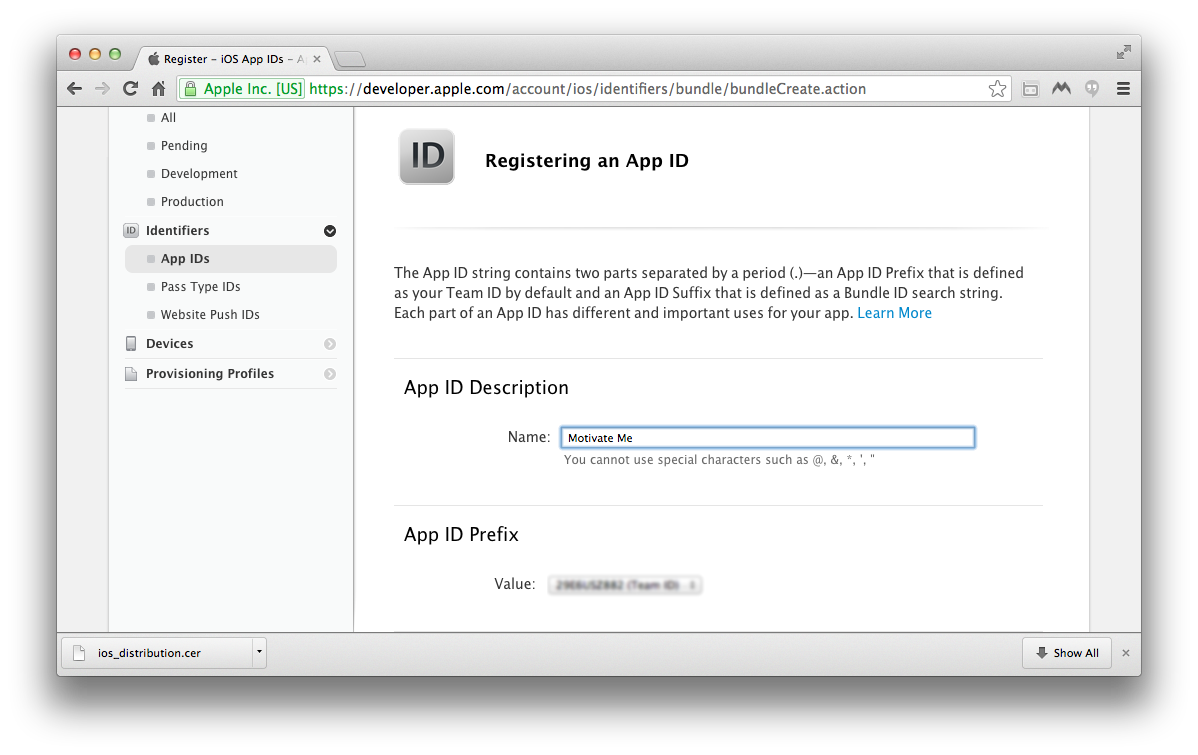
Scroll down and add an explicit App ID, which is a reverse domain name. Generally this looks something like “com.yourcompanyname.mygreatapp” with your name and the app name in the ID.

Finally, click Continue.

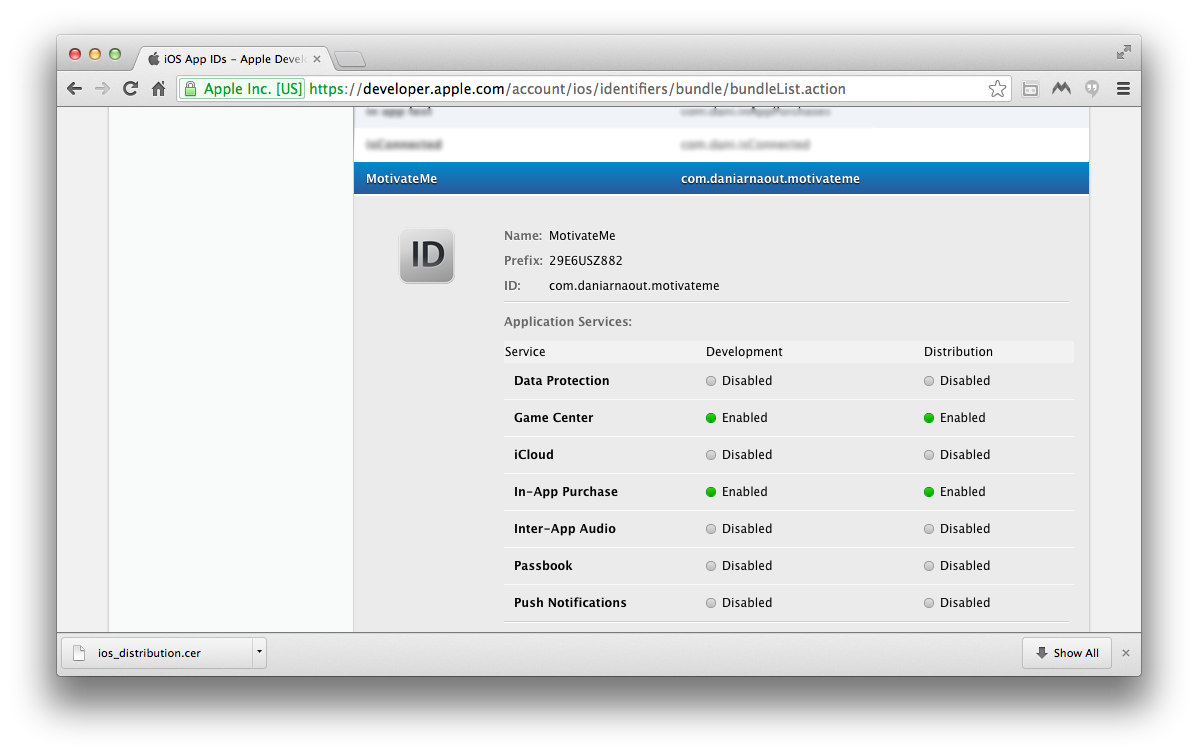
Here’s your new App ID!
*ACHIEVEMENT UNLOCKED*
Get Your Device’s UDID
It’s time to unleash your weapon. No, not your zombie-slaying katana blade – all you need is your iOS device and its UDID.
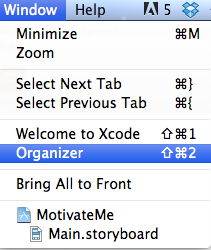
To get your device’s UDID, plug it in and open the Organizer in Xcode by choosing Windows->Organizer.
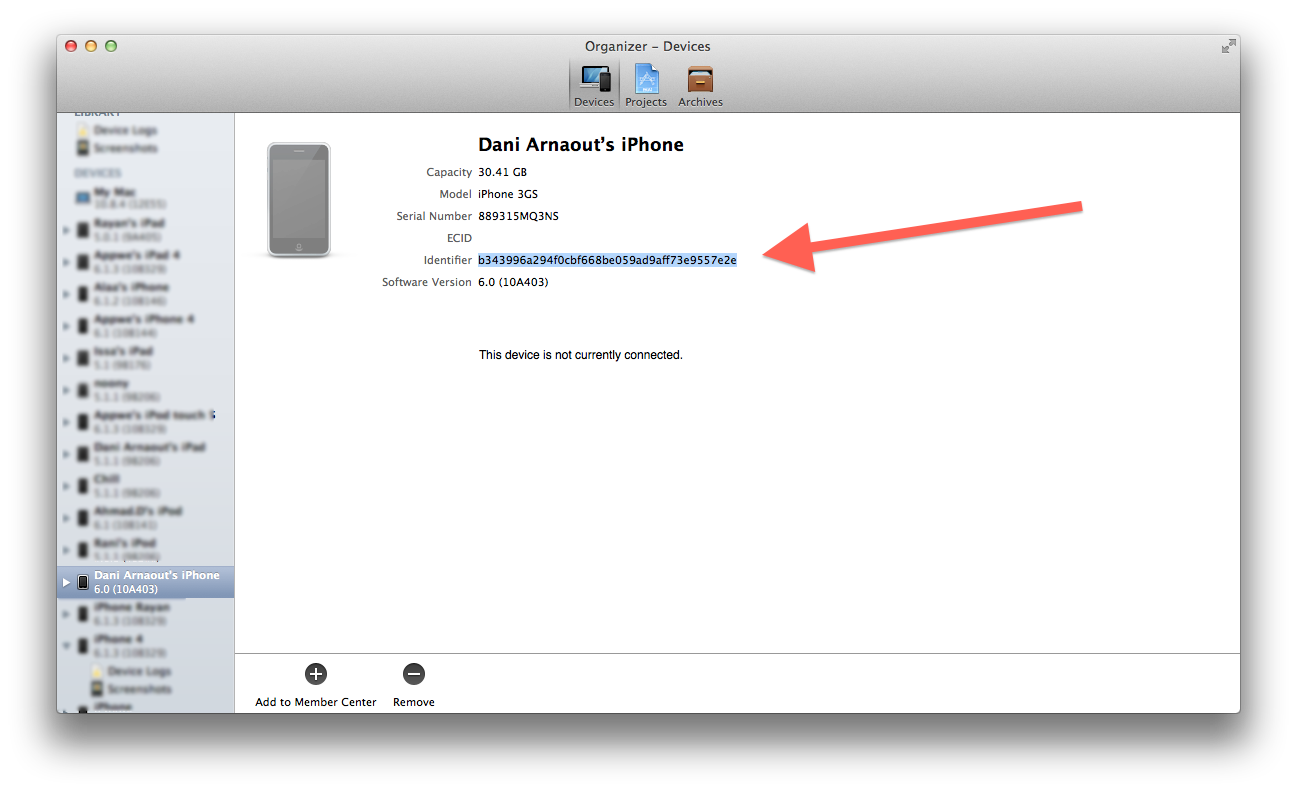
Select your device and copy the UDID, making sure to get all 40 characters.
Back on the developer portal, choose Devices from the left-side menu and click the plus (+) button to add a new device.

You’ll be prompted to fill in the UDID and to give the device a name. Paste in your UDID and enter a name that will let you identify the device later. Here’s a good approach to take when naming devices: [Your Name] [Device Type] [Device Model] ([Storage]). For example: Dani iPhone 5 (16 GB).

Once you’re done, click Continue.
*ACHIEVEMENT UNLOCKED*
Create a Provisioning Profile
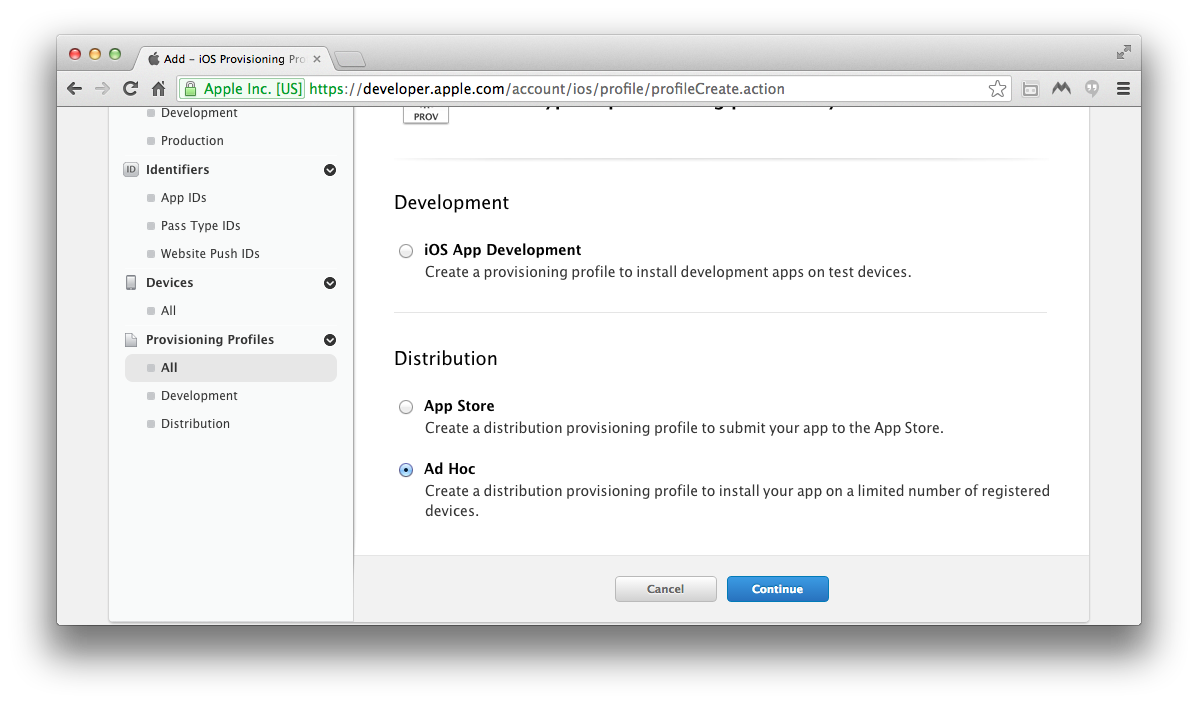
The final challenge is to allow your device to run the Motivate Me app. To do this, you need to create a provisioning profile. There are three types:
- Development Provisioning Profile: When you install this type of profile, you’ll be able to run the app on your plugged-in device through Xcode.
- Ad Hoc Provisioning Profile: This profile allows you to distribute your app to a select group of testers. How select? Their device UDIDs have to be added to your account, just like you did in the previous section. This is the type of profile you need to install apps through TestFlight.
- App Store Provisioning Profile: This type is exactly what it sounds like – you use it to submit your app to the App Store.
Click on the Provisioning Profile tab.

Since you need to create an ad hoc provisioning profile, choose the – wait for it! – Ad Hoc option.
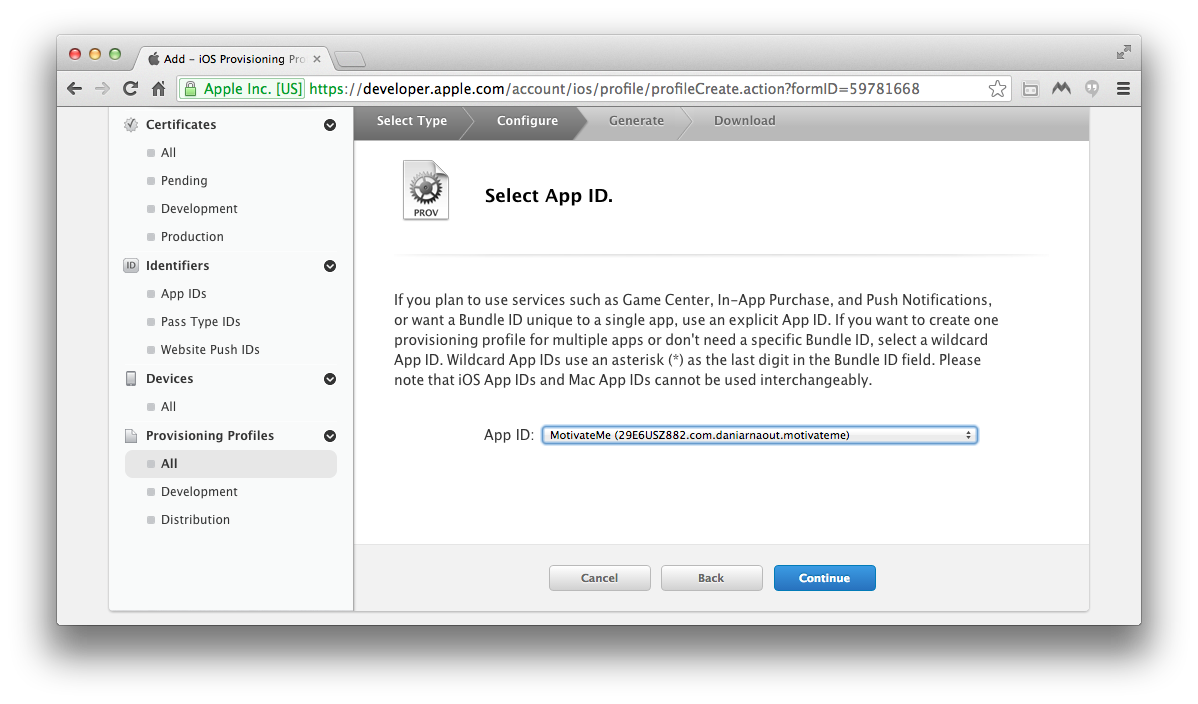
Now choose the corresponding App ID.
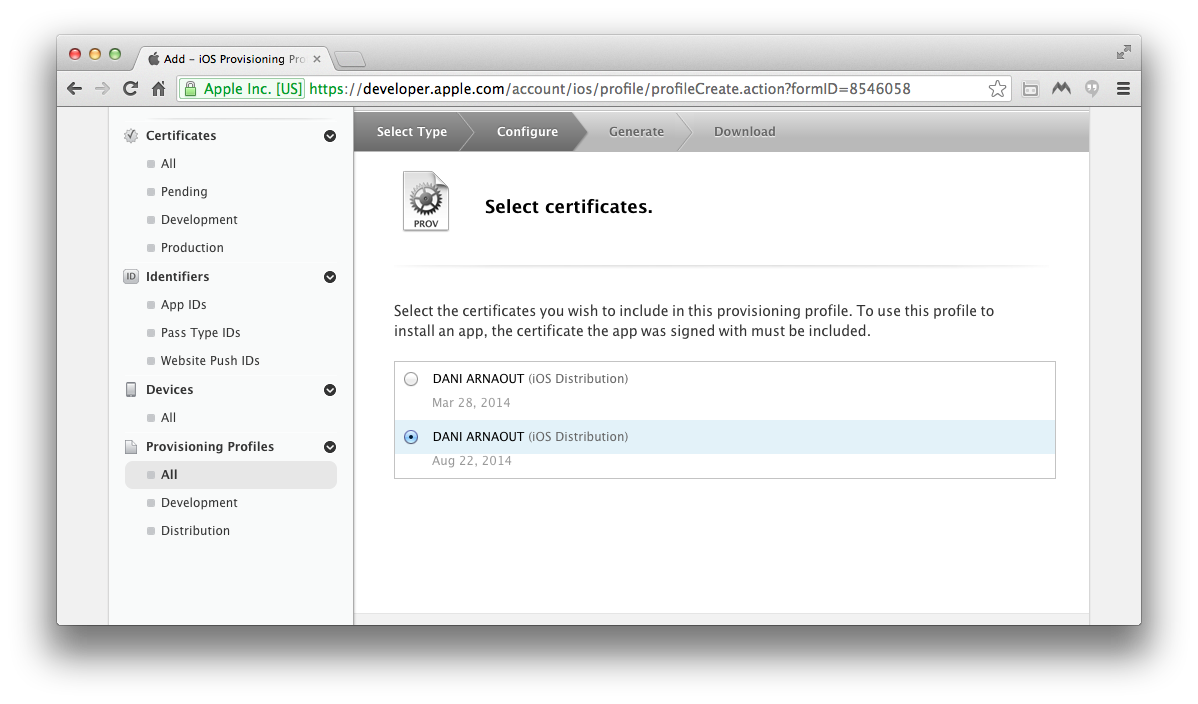
After that, choose the distribution certificate.
Then choose the devices on which you want to run this app.

Finally, enter a name for the profile. My approach is: [App name] [Profile type]. In this case, that’s: MotivateMe Ad-Hoc Provisioning Profile.
Once you’re done, click Continue.

Download your profile and double-click it. Xcode will open the profile and add it to its list, making it available for you to select when building and signing your app.

But you haven’t won the game yet. Remember, you need to export a build of your MotivateMe app. To do this, read on.
Exporting a Build
Now that you have the environment set up and ready, all you have to do is to export an .ipa file so that later on, you can upload it to TestFlight.
First go to your Xcode project and select the MotivateMe project on the left. Select the Info tab and set the Bundle Identifier to match your App ID that you set up in the developer portal. In my case it’s com.daniarnaout.motivateme.

Next go to Build Settings. Scroll down to the Code Signing category and expand Provisioning Profile. Under Release, choose your Motivate Me Distribution Provisioning Profile.

Make sure that your build destination choice is iOS Device. If you have a device plugged in, you’ll see its name (e.g. “Dani’s iPhone 5S”) listed there instead.

Go to Products and choose Archive.

The Archive command will bundle up your app together with its resources and symbol information. Once Xcode has created the archive, the Orgavizer window will appear with a list of archives.

Click the Distribute button to start the process of converting the archive to something you can send out to your testers. On the following screen, select Save for Enterprise or Ad Hoc Distribution.

Make sure you select the suitable provisioning profile and then click Export.

Save it to your desktop, and there it is: your MotivateMe build!

The game is over, but the tutorial isn’t. It’s time to set up TestFlight, upload your build, and finally run it on your device.
Setting up TestFlight
You’ve generated an ad-hoc build of the MotivateMe app and it’s on your desktop. Now you need to upload it to TestFlight to be able to run it on your device. Open your browser and navigate to testflightapp.com.

The steps before you are: create an account, create a team, upload your build and finally, install the app on your device. Sounds easy enough!
To create a TestFlight account, click the Sign Up button, fill out the form and then click the Sign Up button again.

Create a new testing team by clicking Create a new team.

Give your team a name and click Save.

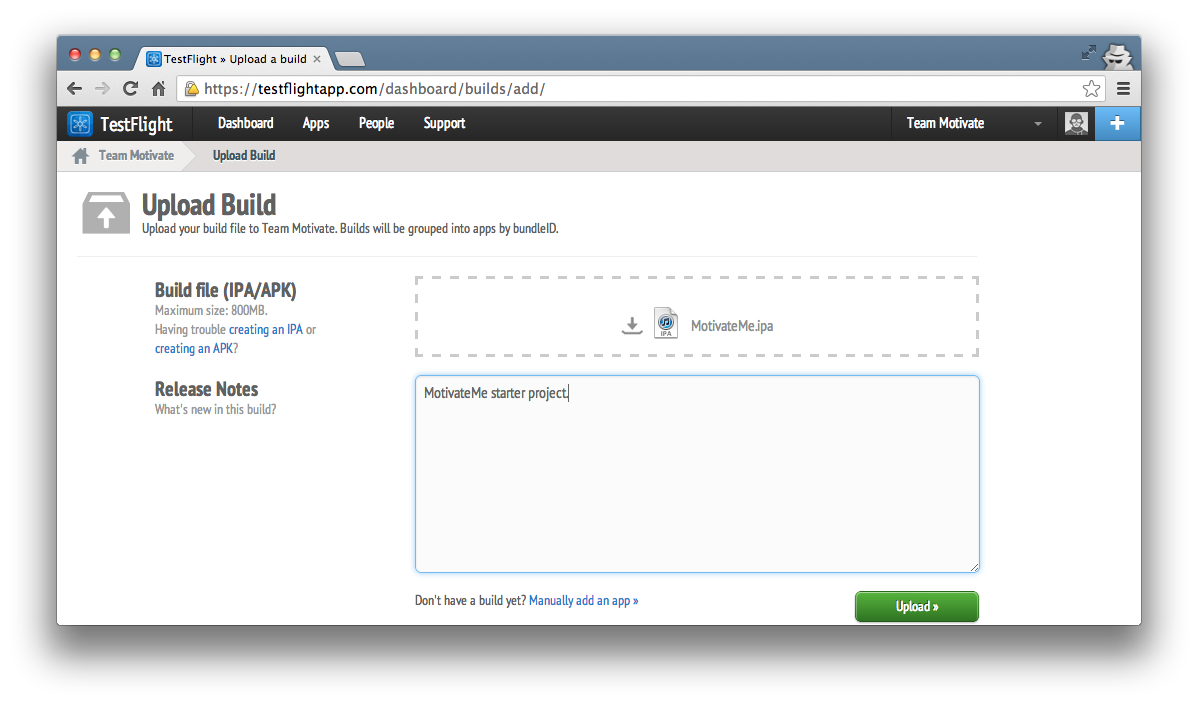
Now to upload your build. Press the blue plus (+) button and select Upload Build.

Drag your .ipa file to the browser window. Feel free to enter something in the release notes too. When you recruit some testers, this text will be emailed out to them with a link to the latest build of your app. Now click Upload and wait while the bits go over the wire.
That’s it! TestFlight has your build.
The Permissions screen lets you select which devices are allowed to install the build. For example, if the provisioning profile has 10 devices included, you could select just a subset of those 10.
As an extra convenience, TestFlight will link user accounts with UDIDs. If your testers already have accounts, you’ll see their names listed; otherwise, you’ll just see the UDID.

Note: If you’ve uploaded multiple versions of your app or the provisioning profile has changed, some users/devices might be missing from the list. If this happens, you can upload the distribution provisioning profile by clicking the green Update Profile button. If you followed the steps earlier in this tutorial, remember you saved the provisioning profile to the Desktop already.
Select all the test devices and click Update & Notify. That’s it! If your testers have accounts, they’ll receive an email telling them about the new build. Otherwise, you’ll need to tell them to visit testflightapp.com using Safari on their device.
Speaking of which, that’s the next step for you too. Open Safari on your test device (one that was included in the provisioning profile) and go to testflightapp.com.

Log in with your email and password. You’ll find the MotivateMe app ready to install.
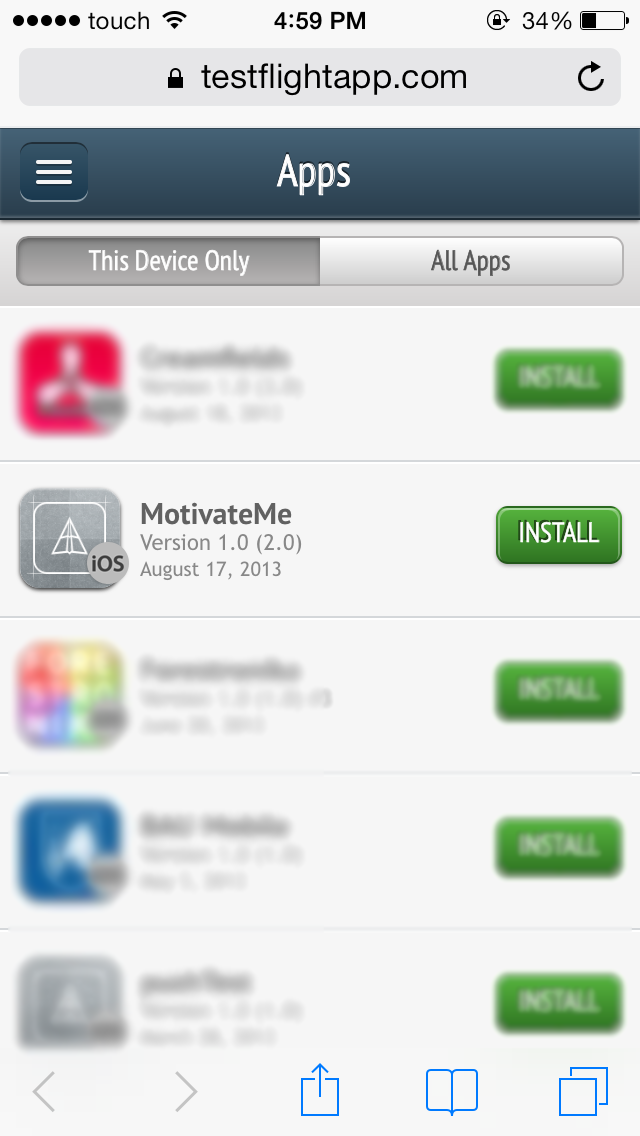
Install the app and wait for it to download.

There it is! You’ve successfully installed an app using an ad hoc build. That was a long journey from the developer portal to an installed app. Keep in mind that your testers will have an easier time of either clicking on a link in an email or going to testflightapp.com directly; the hard work of setting up the provisioning profile and archive is all you. :]