ShazamKit Tutorial for iOS: Getting Started
Learn how to use ShazamKit to find information about specific audio recordings by matching a segment of that audio against a reference catalog of audio signatures. By Saleh Albuga.
Displaying the Synchronized Annotations
Start by returning the right VideoAnnotation to VideoMatchView.
Open MatchingHelper.swift and add the following properties to the class:
typealias MatchWithContentHandler =
  ((SHMatchedMediaItem?, VideoAnnotation?, Error?) -> Void)
private var matchWithContentHandler: MatchWithContentHandler?
private var lastMatch: SHMatchedMediaItem?
private var lastAnnotationMatch: VideoAnnotation?
matchWithContentHandler is a handler block similar to matchHandler, but it takes an extra parameter for the VideoAnnotation. lastMatch stores the last matched audio metadata and lastAnnotationMatch stores the last matched annotation.
Then, below the class initializer, add:
init(matchWithContentHandler handler: MatchWithContentHandler?) {
  matchWithContentHandler = handler
}
This is another initializer that sets matchWithContentHandler.
matchHandler and matchWithContentHandler as private members and creating a separate class initializer for each, you make sure only one is set and called by the delegate methods.
Next, you need to update SHSessionDelegate to call matchWithContentHandler.
Append the following to the end of session(_:didFind:), inside the DispatchQueue block:
if let handler = self.matchWithContentHandler {
  let matchedAnnotation = VideoAnnotation
    .sampleAnnotations.last { annotation in
      (match.mediaItems.first?.predictedCurrentMatchOffset ?? 0) >
        annotation.offset
  }

  if match.mediaItems.first != self.lastMatch
    || matchedAnnotation != self.lastAnnotationMatch {
    handler(match.mediaItems.first, matchedAnnotation, nil)
    self.lastMatch = match.mediaItems.first
    self.lastAnnotationMatch = matchedAnnotation
  }
}
Whenever SHSession calls session(_:didFind:) you:
- Find the right annotation by comparing each annotation's offset to
SHMatchedMediaItem'spredictedCurrentMatchOffset, which is the predicted current playing position. - Whenever either the matched audio or the matched annotation has changed, call
matchWithContentHandlerand updatelastMatchandlastAnnotationMatchto the most recent matches.
According to the ShazamKit WWDC session on custom matching, ShazamKit can call session(_:didFind:) multiple times with the same match. Therefore, you only want to update your handler when you receive a new match.
That's because you only needed the song's metadata. Here you don't call stopListening() because you want ShazamKit to keep listening and matching which predictedCurrentMatchOffset the track is currently at.
MatchingHelper to match music in SongMatchView, you called stopListening() after calling the matchHandler, like this:
if let handler = self.matchHandler {
  handler(match.mediaItems.first, nil)
  self.stopListening()
}
if let handler = self.matchHandler {
  handler(match.mediaItems.first, nil)
  self.stopListening()
}
Next, append the following to session(_:didNotFindMatchFor:error:), again inside the DispatchQueue block:
if let handler = self.matchWithContentHandler {
  handler(nil, nil, error)
  self.stopListening()
}
When there isn't a match or if there's any other error, you call matchWithContentHandler passing the error. Then you call stopListening() to stop the matching process.
Finally, you'll update VideoMatchView to show the annotations.
In VideoMatchView.swift, replace the contents of onAppear(perform:) with:
if matcher == nil {
  matcher = MatchingHelper(matchWithContentHandler: videoMatched)
}
Here, you call MatchingHelper's new initializer to set matchWithContentHandler.
Now, replace VideoMatchView.videoMatched(result:error:) with:
func videoMatched(
  result: SHMatchedMediaItem?,
  annotation: VideoAnnotation?,
  error: Error?
) {
  if error != nil {
    status = "Cannot match the audio :("
    print(String(describing: error.debugDescription))
  } else {
    course = result?.title ?? course
    episode = result?.subtitle ?? episode
    author = result?.artist ?? author

    annotationImageName = annotation?.imageName ?? annotationImageName
    annotationContent = annotation?.content ?? annotationContent

    print("Match updated: \(String(describing: annotationContent))")
  }
}
Here, you add the annotation parameter. You also set annotationImageName and annotationContent to the annotation's image name and caption.
It's time to test the app.
Testing the App
You're finally ready to test the new feature. Build and run. Then switch to Video Content.
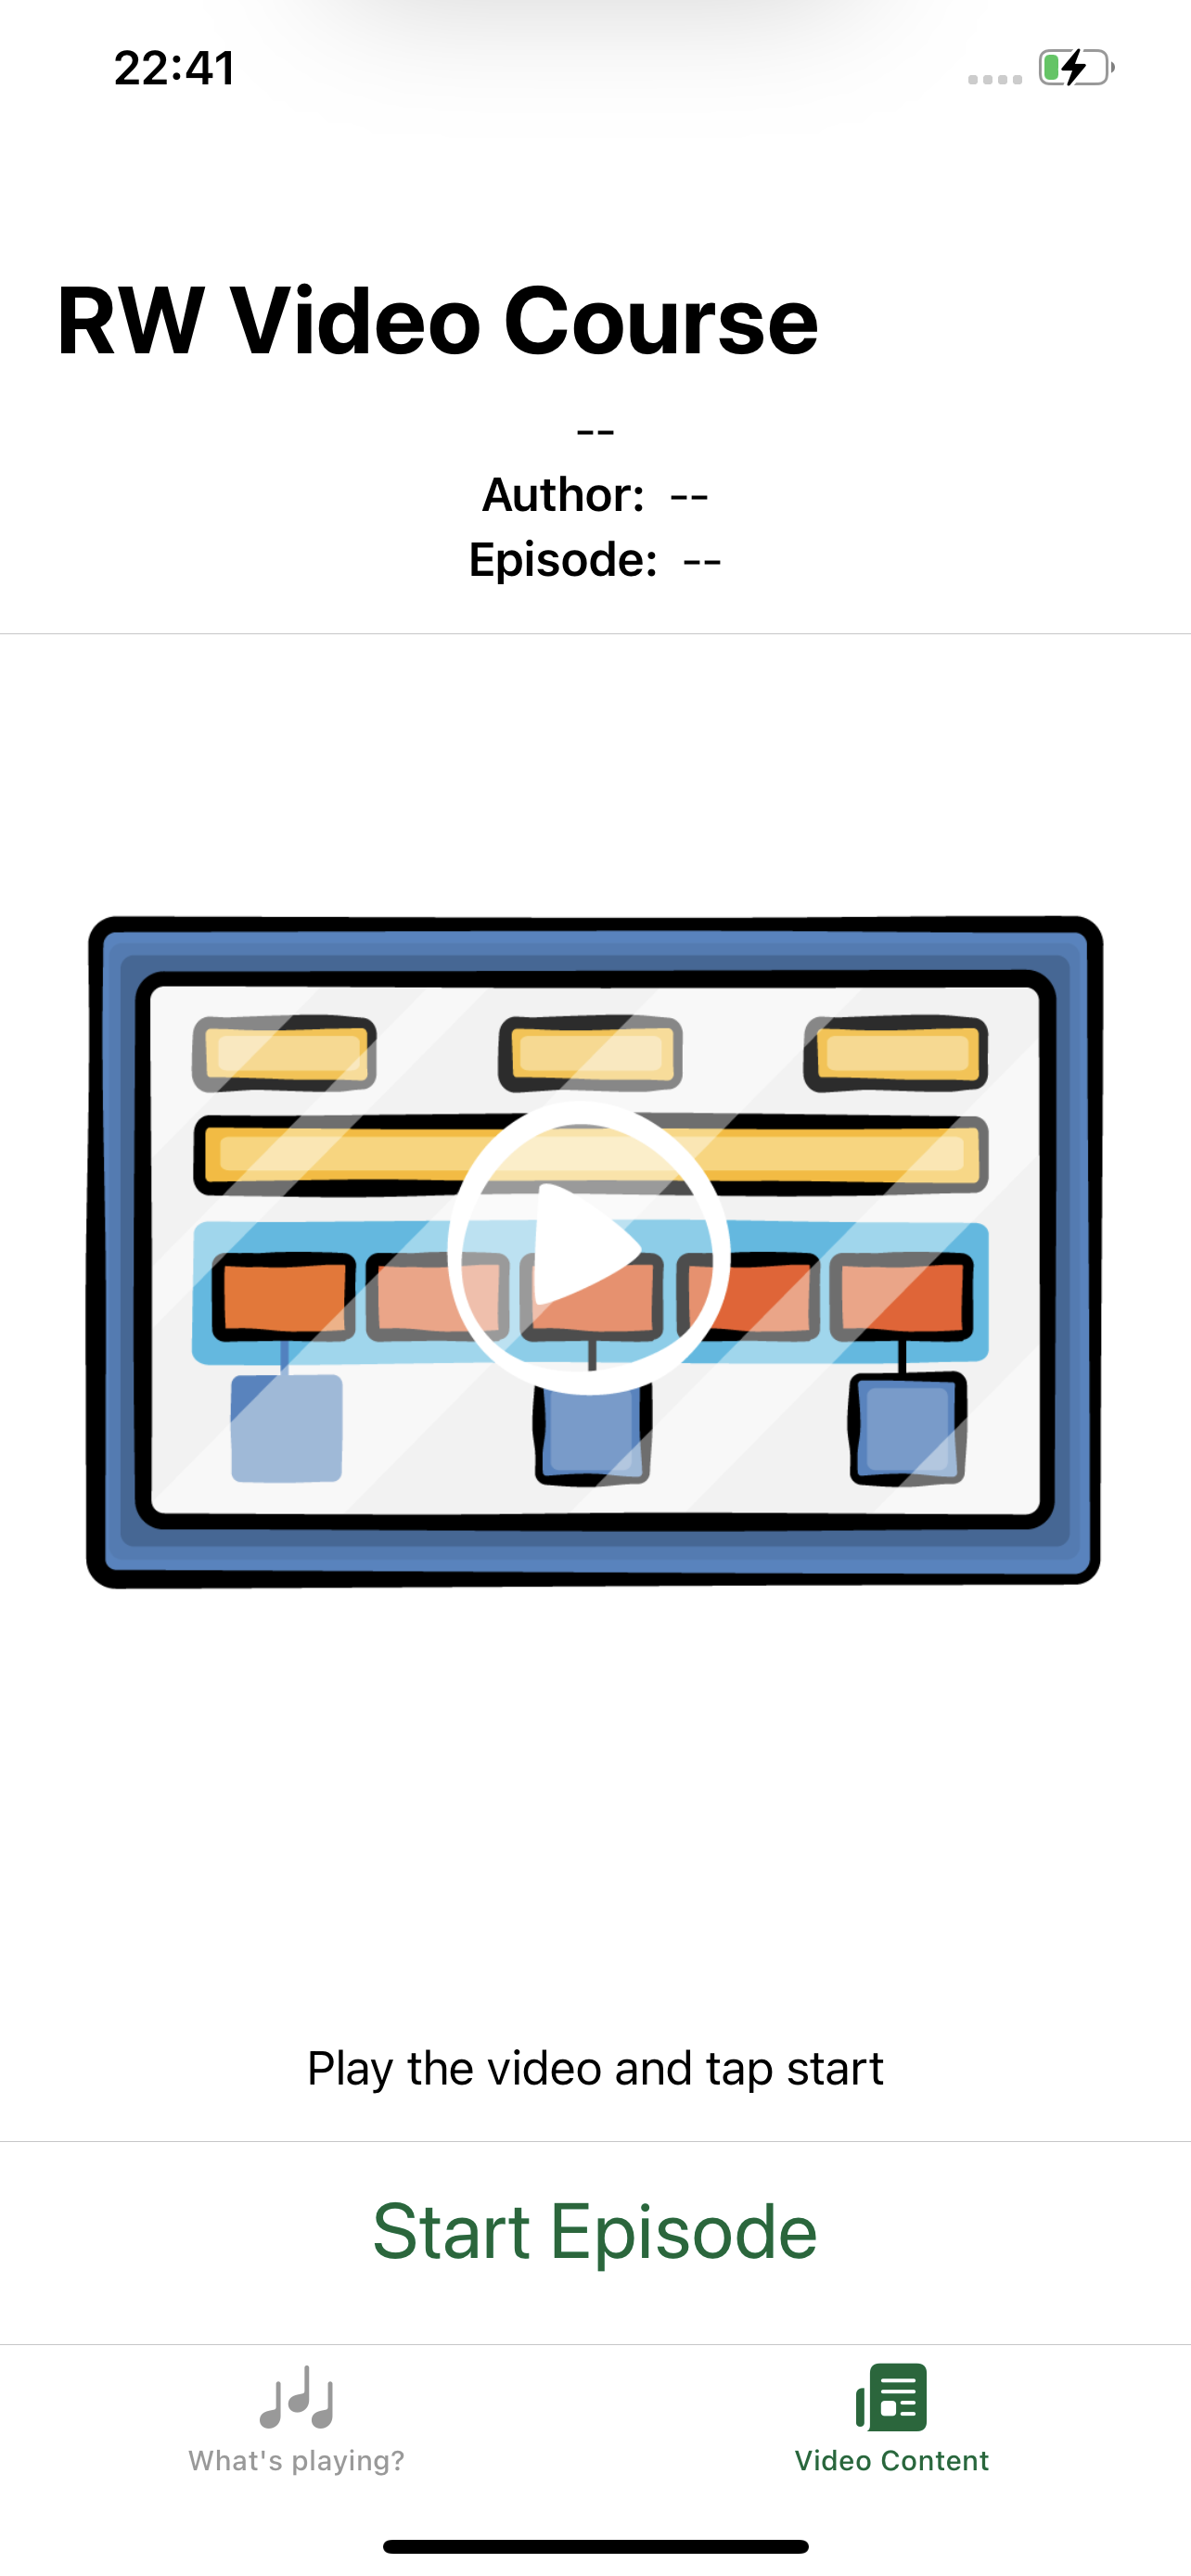
Play the SwiftUI course intro video and tap Start Episode.
First, the app will identify the video and show the first annotation:

Then, at 00:14 the app will show:

Next, at 00:47 the app will show:

Watch the whole video. No cheating! When you get to the end, scrub back to the middle and notice how the app displays the right annotation.
Where to Go From Here?
You can download the final project by clicking Download Materials at the top or bottom of this tutorial.
In this tutorial, you learned about ShazamKit and Shazam's audio matching process. Along the way, you also learned how to:
- Identify popular music using the Shazam catalog.
- Create custom catalogs and matching your own audio.
- Synchronize the app content with the played audio.
To learn more, checkout Apple's documentation on:
I hope you've enjoyed this tutorial. If you have any questions or comments, please join the forum discussion below.