ShazamKit Tutorial for iOS: Getting Started
Learn how to use ShazamKit to find information about specific audio recordings by matching a segment of that audio against a reference catalog of audio signatures. By Saleh Albuga.
Shazam Signature Files
As you saw earlier, Shazam catalogs are a collection of signatures and their metadata. But what does a Shazam Signature look like?
Shazam Signatures are stored in files with the .shazamsignature extension. They are opaque files that you can safely share or download from a remote server.
In the Project navigator, expand Signatures. You’ll find DevCompanion.shazamsignature, the SwiftUI course intro video’s Shazam signature file.
This signature file will be the reference signature in your custom catalog. ShazamKit will compare the query signature to this signature file to decide if you’re playing the intro video or something else.
Next, you’ll create a custom catalog.
Creating a Custom Catalog
Create a Swift file in Data. In the Project navigator, right-click the Data folder and choose New File….

Then, select Swift File and click Next.

Next, name it DevVideosCatalog.swift and click Create. Finally, open the file and add:
import ShazamKit

enum DevVideosCatalog {
  static func catalog() throws -> SHCustomCatalog? {
    // 1. Make sure the signature file exists
    guard let signaturePath = Bundle.main.url(
      forResource: "DevCompanion",
      withExtension: "shazamsignature") else {
      return nil
    }

    // 2. Read the signature file and instantiate an SHSignature
    let signatureData = try Data(contentsOf: signaturePath)
    let refSignature = try SHSignature(dataRepresentation: signatureData)

    // 3. Create an SHMediaItem with the metadata of this signature
    let videoMetadata = SHMediaItem(
      properties: [
        .title: "Your First iOS and SwiftUI App: An App From Scratch",
        .subtitle: "Introduction",
        .artist: "Ray Wenderlich"
      ])

    // 4. Create the custom catalog.
    let customCatalog = SHCustomCatalog()
    try customCatalog.addReferenceSignature(
      refSignature,
      representing: [videoMetadata])

    return customCatalog
  }
}
catalog() returns an object of type SHCustomCatalog, the type ShazamKit provides for custom catalogs. It’s a static method that initializes your custom catalog and returns it. Here, it:
- Checks the app’s bundle for the Shazam signature file DevCompanion.shazamsignature. If the file doesn’t exist, it returns nil.
- Reads the
Datacontents of the signature file and initializesrefSignature, which is anSHSignature, the container type ShazamKit uses to store signature data. - Defines
videoMetadata, the metadata of the SwiftUI course intro video. This is anSHMediaItemwith some pre-defined properties. - Initializes the catalog, then calls
SHCustomCatalog.addReferenceSignature(_:representing:)to set the reference signature of the catalog with your metadata.
Next, you’ll match audio against this new custom catalog.
Matching Audio Against a Custom Catalog
Open VideoMatchView.swift and take a look at the preview in the Canvas.

The view looks similar to SongMatchView.
Delete the whole current code of VideoMatchView and VideoMatchView_Previews. Then, uncomment the code at the end of file to replace them.
This implementation of VideoMatchView is now the same as SongMatchView, except there are different label names because you’re matching a development video not a song.
For example, take a look at VideoMatchView.videoMatched(result:error:):
func videoMatched(result: SHMatchedMediaItem?, error: Error?) {
  isListening = false
  if error != nil {
    status = "Cannot match the audio :("
    print(String(describing: error.debugDescription))
  } else {
    course = result?.title ?? course
    episode = result?.subtitle ?? episode
    author = result?.artist ?? author
  }
}
Here you set the course text to the SHMatchedMediaItem‘s title, the episode text to subtitle and the author text to artist. After all, aren’t developers and content creators artists?
Next, find the Start Episode button and take a look at its action code:
do {
  try matcher?.match()
  } catch {
    status = "Error matching the song"
}
As you saw earlier in the Matching Music Against Shazam’s Catalog section, MatchingHelper.match(catalog:) takes an optional parameter of type SHCustomCatalog to pass it to SHSession. If no custom catalog is passed, SHSession defaults to the Shazam catalog. You need to change that.
Replace this line:
try matcher?.match()
with:
try matcher?.match(catalog: DevVideosCatalog.catalog())
Here, you pass your custom catalog to MatchingHelper and, in turn, SHSession uses it in the next match. Now, you’re ready to test.
Open the SwiftUI course intro and play the video. Build and run. Switch to the Video Content tab and hold your phone near to your speakers so that it can hear the video’s soundtrack.
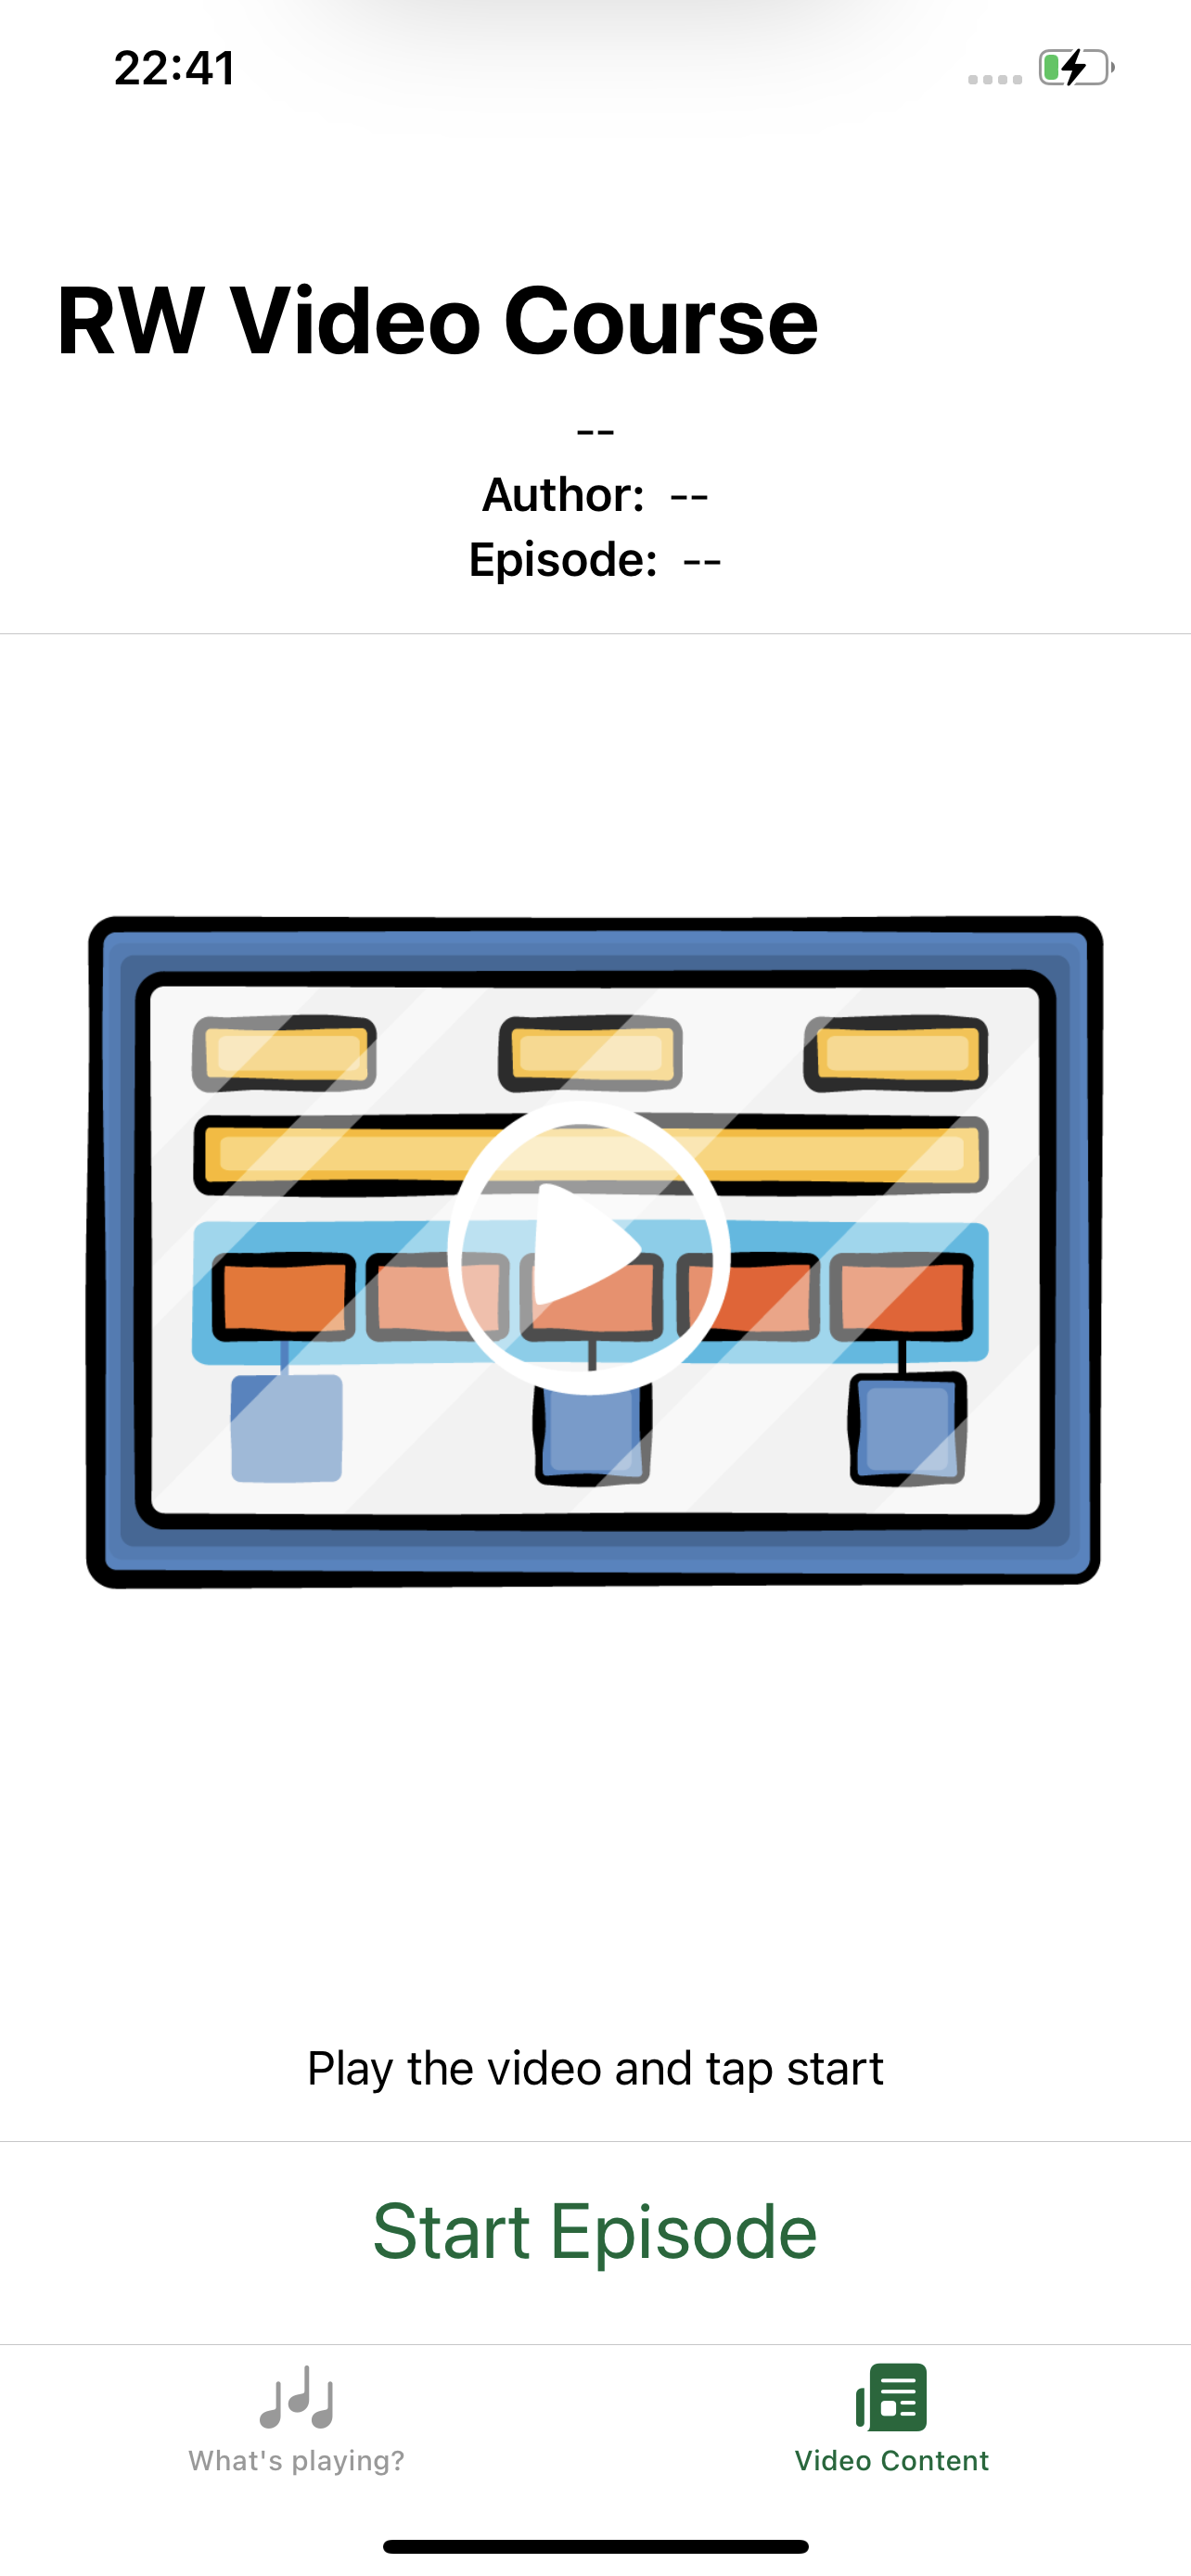
Now, tap Start Episode. After few seconds, you’ll see the video info at the top:

The app matched audio from your custom catalog!
You can also save a custom catalog as an opaque file just like Shazam signatures using SHCustomCatalog.write(to:). This file has the extension .shazamcatalog. To learn more, check out the Apple documentation.
Check out the ShazamSignatureGenerator project in the tutorial materials folder. It’s a sample app that lets you create Shazam signatures and export them to .shazamsignature files.
- Start capturing audio with
AVAudioEngine— the same the way you did earlier. - In the callback of
AVAudioNode.installTap(onBus:bufferSize:format:block:), callSHSignatureGenerator‘sappend(_:at:), passing thebufferandaudioTimefrom the callback parameters. This will generate a signature from the captured audio. - Stop recording when the track ends.
- Write
SHSignatureGenerator.signature().dataRepresentationto a file.
Next, you’ll create a custom audio experience.
Synchronizing App Content With Audio
The last feature you’ll add to DevCompanion shows users additional content while they watch the SwiftUI course intro. You’ll show them annotations describing what part of the course Ray is talking about while introducing it. Take a look at the illustration below:

The app will synchronize content with the video playing position. For example:
- At 00:05,
VideoMatchViewwill show Welcome! and an illustration. - At 00:14, when Ray describes the app you’ll build in the course, the view shows Your first SwiftUI App! and a screenshot of the app.
- At 00:47 when Ray talks about the first part of the course structure, the view shows Course Overview: SwiftUI vs UIKit, the title of that part along with an illustration.
Isn’t that cool? Next, you’ll implement these annotations.
Implementing the Annotations
You’ll create a simple struct with the caption, image to display and time to show them.
In Project navigator, expand Data and click VideoAnnotation.swift to open it. Add the following at the beginning of the file, before the commented extension:
struct VideoAnnotation: Comparable, Equatable {
  let content: String
  let imageName: String?
  let offset: TimeInterval

  init(content: String, offset: TimeInterval, imageName: String? = nil) {
    self.content = content
    self.offset = offset
    self.imageName = imageName
  }

  static func < (lhs: VideoAnnotation, rhs: VideoAnnotation) -> Bool {
    return lhs.offset < rhs.offset
  }

  static func == (lhs: VideoAnnotation, rhs: VideoAnnotation) -> Bool {
    return lhs.content == rhs.content && lhs.offset == rhs.offset
  }
}
VideoAnnotation has three properties:
-
contentis the string caption the user sees. -
imageNameis the annotation image name. It’s optional. -
offsetis theTimeIntervalin seconds when an annotation should display.
VideoAnnotation conforms to Comparable and Equatable because you need to compare the annotations to determine which one to show, as you’ll see later.
Finally, you implement the < operator from Comparable to use offset when comparing annotations. Additionally, you implement the == operator from Equatable, where you specify that two annotations are equal when their content and offset match.
Uncomment VideoAnnotation below the struct and take a look at sampleAnnotations, the pre-defined array of annotation you'll use.
Each definition is similar to this:
VideoAnnotation(content: "Welcome!", offset: 5, imageName: "an-1")
Next, you'll update VideoMatchView to show the annotations.