Contacts Framework Tutorial for iOS
In this Contacts Framework tutorial for iOS, learn how to select, display, save and edit contacts from the user’s device. By Andy Pereira.
Editing Contacts
In this final section, you’re going to edit a contact and save it back to the user’s device. Up to this point, you’ve been using the built in UI provided by the ContactsUI framework. Now, you are going to use a custom UI to edit or add a phone number to a contact and save it back to the device’s contact record.
To do this, you’re going to fetch the contact from the device and check if a phone number is already present, then display it in EditFriendTableViewController.
In FriendsViewController.swift, add the following code to prepare(for:sender:):
if segue.identifier == "EditFriendSegue",
  // 1
  let cell = sender as? FriendCell,
  let indexPath = tableView.indexPath(for: cell),
  let editViewController = segue.destination as? EditFriendTableViewController {
  let friend = friendsList[indexPath.row]
  // 2
  let store = CNContactStore()
  // 3
  let predicate = CNContact.predicateForContacts(matchingEmailAddress: friend.workEmail)
  // 4
  let keys = [CNContactPhoneNumbersKey as CNKeyDescriptor]
  // 5
  if let contacts = try? store.unifiedContacts(matching: predicate, keysToFetch: keys),
    let contact = contacts.first,
    let contactPhone = contact.phoneNumbers.first {
    // 6
    friend.storedContact = contact.mutableCopy() as? CNMutableContact
    friend.phoneNumberField = contactPhone
    friend.identifier = contact.identifier
  }
  editViewController.friend = friend
}
Here’s what you added:
- This gets the
FriendCellselected from the table view. - You create a
CNContactStore. This is the class that allows you to read and write contacts through fetch and save requests. - You use the class method available on
CNContactto make a predicate that will filter on the friend’s work email. - This creates an array of keys you want to fetch from the store. Since you are going to edit the phone number, this is the only key you’ll add.
- Next, you perform the fetch on the store. You can see
predicateandkeyspassed to the fetch here. - Last, if a contact matches the predicate, you create a mutable contact with the phone number added. You need to use an instance of
CNMutableContactwhen you want to edit contact information. You’ll also notice an identifier gets added to the contact— you’ll use this later on.
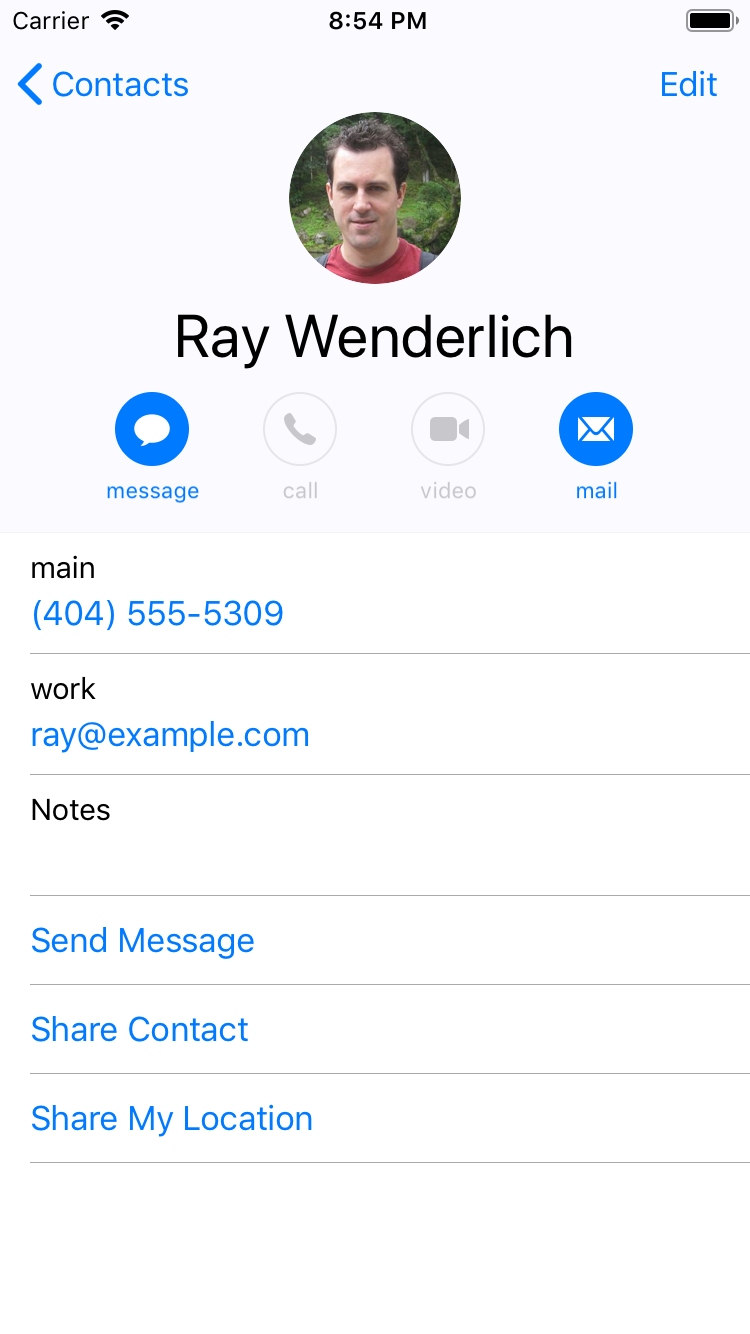
Build and run. Select the info accessory, the i button, on any of the contacts and see EditFriendTableViewController now has the contact information populated.

You may notice the phone number field is still empty. That’s because none of the default contacts have phone numbers on them – yet.
Add one of the device’s contacts to the friends list and then select the info accessory. You can see that a phone number is also populated.
In this last step, you’re going to save contact information to the device. Open EditFriendTableViewController.swift and add the following to the end of save(_:):
let store = CNContactStore()
guard
  let friend = friend,
  let phoneNumberText = phoneTextField.text
  else { return }
let phoneNumberValue = CNPhoneNumber(stringValue: phoneNumberText)
let saveRequest = CNSaveRequest()
Here, you created a CNContactStore and ensured that you have text that you can save to a phone number. When working with contacts, you can’t save a String type as the phone number so you need a CNPhoneNumber type.
Finally, since you’re going to be saving information, you need a CNSaveRequest. You’ll decide if a contact needs adding or updating with this request object.
Next, add the following after what you just added:
if let storedContact = friend.storedContact,
  let phoneNumberToEdit = storedContact.phoneNumbers.first(
    where: { $0 == friend.phoneNumberField }
  ),
  let index = storedContact.phoneNumbers.firstIndex(of: phoneNumberToEdit) {
  // 1
  let newPhoneNumberField = phoneNumberToEdit.settingValue(phoneNumberValue)
  storedContact.phoneNumbers.remove(at: index)
  storedContact.phoneNumbers.insert(newPhoneNumberField, at: index)
  friend.phoneNumberField = newPhoneNumberField
  // 2
  saveRequest.update(storedContact)
  friend.storedContact = nil
} else if let unsavedContact = friend.contactValue.mutableCopy() as? CNMutableContact {
  // 3
  let phoneNumberField = CNLabeledValue(label: CNLabelPhoneNumberMain,
                                        value: phoneNumberValue)
  unsavedContact.phoneNumbers = [phoneNumberField]
  friend.phoneNumberField = phoneNumberField
  // 4
  saveRequest.add(unsavedContact, toContainerWithIdentifier: nil)
}
It may look like a lot, but here’s what’s happening:
You can choose from a list of different phone number labels, but in this case, you’ll save the phone number as the main phone number.
- In the
ifcondition, you are checking if you are working with a contact already saved to the device. One gotcha when working with contacts is you cannot update the phone number field directly— you have to replace it.phoneNumberToEditis the old phone number that was initially displayed, and gets updated with the new phone number edited by the user, then swapped out on the contact. - Since this contact already exists and simply needs to update, you are going to pass it to
update(_:)on theCNSaveRequest. This is possible because of the identifier that was set in an earlier step. If the contact doesn’t already exist, trying to save would throw an error. - The
else ifcondition is for the default contacts that don’t already exist on device. Since they don’t already have phone numbers, you need to create a new phone number from scratch. You do this usingCNLabeledValue. - Like the case of updating a contact, you need to tell the save request that you are going to add this contact to the device.
You’re almost done! The final step is to execute the save. At the end of save(_:) add the final block of code:
do {
  try store.execute(saveRequest)
  let controller = UIAlertController(title: "Success",
                                     message: nil,
                                     preferredStyle: .alert)
  controller.addAction(UIAlertAction(title: "OK", style: .default))
  present(controller, animated: true)
  setup()
} catch {
  print(error)
}
Here, you attempt to execute the save request on the store. If it works, you’ll see a success message.
CNContactStore are synchronous and access the file system, so in production code you should actually run them on background threads.
Build and run and edit a default contact to have a phone number. After you save, open Contacts.app on the simulator or device and find the contact you saved. You’ll see the default information always present in the app and the phone number you added.
Next, in the app, add a contact from the device. Edit the phone number and save. Back in Contacts.app, find the contact to see the phone number you updated saved.
Where to Go From Here?
You did it! In this Contacts framework tutorial, you’ve successfully learned how to use both the Contacts and ContactsUI frameworks.
You can download the completed version of this project using the Download Materials button at the top or bottom of this tutorial.
By utilizing the Contacts framework, you can simplify tasks that require contact information or enhance the contacts experience without forcing your users to maintain separate copies of their contacts. If you’d like to learn more, you can read Apple’s documentation on the Contacts framework and ContactsUI.
There’s also a great video on Apps Privacy from Apple.
If you have any questions or comments, please join the forum discussion below.