fastlane Tutorial: Getting Started
In this fastlane tutorial, you’ll learn how to provision, screenshot, build and upload an app to the App Store using fastlane. By Lyndsey Scott.
Creating Your App
Open Terminal inside your project folder and enter:
fastlane create_app
This runs the create_app lane you just created.
You should see something like this:

At the top of that output, fastlane suggests that you precede your fastlane command with “bundle exec” in order to launch fastlane faster in the context of the gem bundle. Going forward, you can do so.
Enter your App Store Connect password if prompted. If your Developer Portal has multiple teams, enter the number corresponding to the team you’d like to use for your mZone Poker app.
Eventually, produce will ask you to enter your bundle ID. Time to create one!
The bundle identifier must be different from every other bundle identifier anyone’s ever used in App Store Connect. Try to enter a unique bundle identifier by using the following format:
com.mZone-Poker.[Insert your email address minus “@” and “.”]
![]()
If the bundle identifier’s already taken, edit it and try again until you’ve submitted a unique ID.
Then, when you’re prompted to submit an app name, it too will have to be unique. Try using the following format:
mZone Poker [Insert your email address minus “@” and “.”]
App names can’t be longer than 30 characters, though, so truncate as necessary.
If your App Store Connect account has multiple teams, enter the number corresponding to the team you’d like to use.
If you receive any errors stating that there’s a problem with your Apple Developer account (for example, if you need to accept a new program agreement), correct the issue then run produce again.
If the app name is unavailable, the process will end with an error. Run produce again, re-enter your Apple ID and the same Bundle ID you just created, then either flex your creative muscles to create a unique ID or return to the top of this paragraph and repeat. Frustrating we know, but we’re confident you’ll break the infinite loop!

Log in to Apple Developer Center and App Store Connect. Voilà! Your app has already been added to both. How cool is that? :]
Apple Developer (above), App Store Connect (below)

Reopen Appfile, uncomment the line starting with app_identifier, then replace [[APP_IDENTIFIER]] with the bundle ID you just created.
If you had to choose a team earlier, add the team’s name so you won’t have to enter it again when running your lanes. To specify your Developer Portal/App Store Connect team name, add:
team_name ("[[TEAM_NAME]]")
Replace [[TEAM_NAME]] with your team’s name.
Generating the Deliverfile
Back in Terminal, enter:
bundle exec fastlane deliver
When fastlane asks; “Do you want to setup deliver?” Enter y in response.
Next fastlane will ask, “Would you like to use Swift instead of Ruby?” Although, as an iOS developer, you’re probably more comfortable working in Swift, as of the writing of this tutorial, fastlane.swift is still in beta. So enter n to use Ruby in your fastlane files.

Once deliver successfully completes, navigate back to mZone/fastlane in your Finder and you’ll see some new things:
- The metadata directory, which will hold the majority of the app’s metadata.
- Deliverfile, which will hold a few remaining pieces of metadata.
- The screenshots directory, which will contain the app screenshots.
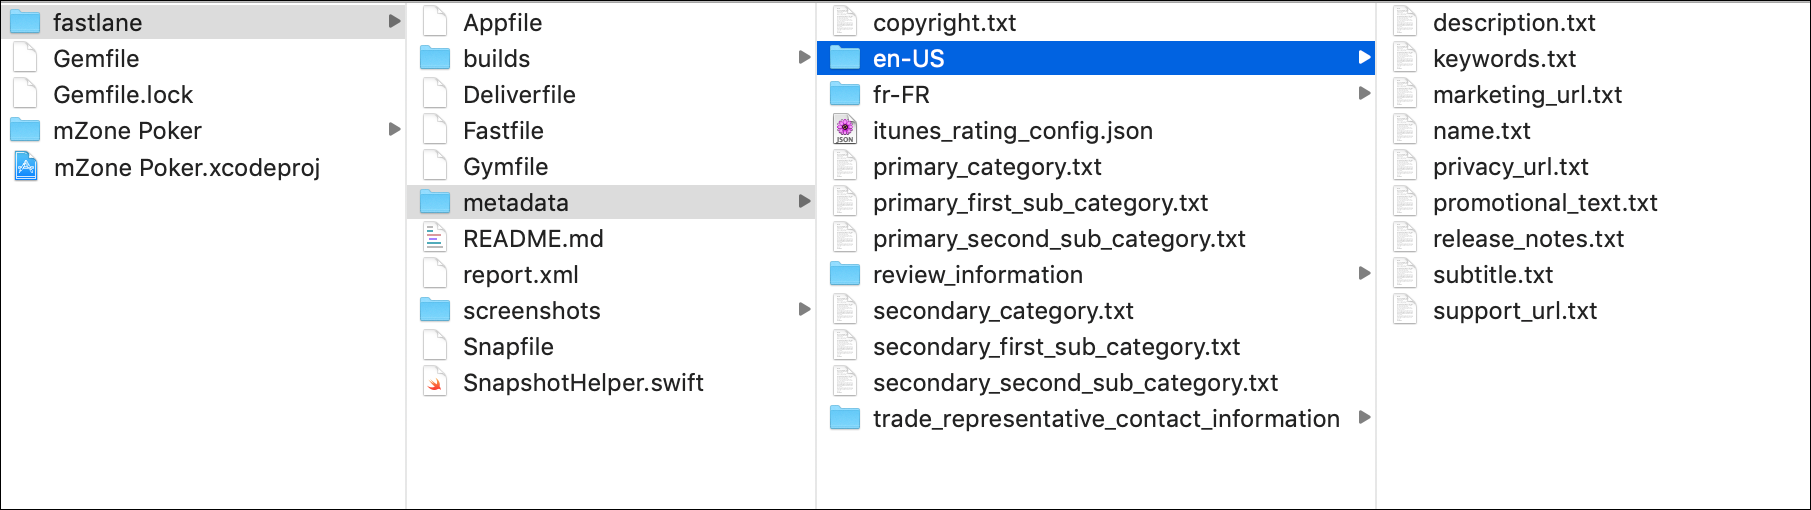
In the metadata directory, you’ll notice a bunch of text files named after common App Store items like the description, keywords, categories, etc. fastlane will use these files to submit your app’s metadata information to App Store Connect.
Open en-US/description.txt and add:
mZone is a simple poker calculator for No Limit Texas Hold 'Em tournaments that displays a recommended course of action based on your chip count and the current big blind level.
To keywords.txt add:
Poker, Cards, Gambling
Confirm that name.txt already contains the name of your app, then add https://www.raywenderlich.com to both privacy_url.txt and support_url.txt.
While this app supports both French and English, only the en-US folder exists. To fix this, make a copy of the en-US folder in its same directory and call it fr-FR. In the interest of keeping this fastlane tutorial short, you won’t have to translate the metadata into French… this time. ;]
Next, in the metadata folder:
- Add
Copyright (c) 2019 Razeware LLCto copyright.txt. - Add
Gamesto primary_category.txt. - Add
Cardto primary_first_sub_category.txt. - Add
Casinoto primary_second_sub_category.txt.
Then, in the same folder, use your favorite text/code editor to create a JSON file named app_store_rating_config.json containing:
{
  "CARTOON_FANTASY_VIOLENCE": 0,
  "REALISTIC_VIOLENCE": 0,
  "PROLONGED_GRAPHIC_SADISTIC_REALISTIC_VIOLENCE": 0,
  "PROFANITY_CRUDE_HUMOR": 0,
  "MATURE_SUGGESTIVE": 0,
  "HORROR": 0,
  "MEDICAL_TREATMENT_INFO": 0,
  "ALCOHOL_TOBACCO_DRUGS": 0,
  "GAMBLING": 2,
  "SEXUAL_CONTENT_NUDITY": 0,
  "GRAPHIC_SEXUAL_CONTENT_NUDITY": 0,
  "UNRESTRICTED_WEB_ACCESS": 0,
  "GAMBLING_CONTESTS": 0
}
This rating configuration indicates that the app has “frequent/intense” simulated gambling (i.e., value = 2) and none of the other listed content. This file gives Apple the information it needs to assign an appropriate age rating.
And, lastly, in the review_information folder, add your email address to email_address.txt, your first name to first_name.txt, your last name to last_name.txt and your phone number to phone_number.txt. Preface the phone number with ‘+’ followed by the country code, for example; +44 844 209 0611.
Congratulations! You’ve added all the metadata required for submission.
Automating Screenshots
Taking screenshots can be tedious. The more devices and languages your app supports, the more hours you’ll burn. Painful!
mZone Poker supports two languages and two iPhone screen aspect ratios. If you had to take five screenshots per device for each language and screen aspect ratio, that would be 20 screenshots! With fastlane, however, you can do all this by running a single command.
Set up the project for snapshot by entering in Terminal:
fastlane snapshot init
A Snapfile file will now appear in your fastlane folder. Open it and replace the contents of the file with:
# 1 - A list of devices you want to take the screenshots from
devices([
  "iPhone 8 Plus",
  "iPhone SE"
])

# 2 - A list of supported languages

languages([
  'en-US',
  'fr-FR'
])

# 3 - The name of the scheme which contains the UI Tests

scheme("mZone Poker UITests")

# 4 - Where should the resulting screenshots be stored?

output_directory "./fastlane/screenshots"

# 5 - Clears previous screenshots

clear_previous_screenshots(true)
Here, you specify:
- The devices from which you want fastlane to capture your screenshots.
- The localized languages you want to capture.
- The name of the Xcode scheme you’ll soon create to run screenshot automation.
- The screenshot output directory.
- That fastlane should clear any screenshots in the output directory before capturing new ones.
Save the file before closing.
Return to Terminal and note the instructions that appeared after running fastlane snapshot init:

That’s what you’ll do next.