Unlocking Your Flutter Widgets With Keys
Learn how using the right keys in your Flutter widgets can help you avoid UI bugs and improve the performance of your app. By Michael Malak.
Enabling Drag and Drop
Start by going to _TodosPageState and replacing buildTodoList with the following:
ReorderableListView buildTodoList() {
  // 1
  return ReorderableListView(
    padding: const EdgeInsets.only(bottom: 90),
    children: todos
        .map(
          (todo) => TodoItemWidget(
            todo: todo,
            isLast: todo == todos.last,
            todosRepository: widget.todosRepository,
          ),
        )
        .toList(),
    // 3
    onReorder: reorderTodos,
  );
}
Here's what's happening above:
- You replaced
ListViewwith Flutter'sReorderableListViewso you can drag and drop TODO items and change their positions in the list. - This function uses
reorderTodosforonReorder. You'll call this function whenever you drag and drop a TODO in the list.
Adding a Key
TodoItemWidget is a StatefulWidget that holds the state of the deletion of the TODO. Since you're working with a collection of StatefulWidgets, you'll add a key that identifies each TODO item.
There are two types of keys in Flutter: GlobalKeys and LocalKeys.
The different types of LocalKeys are:
- ValueKey: A key that uses a simple value such as a String.
- ObjectKey: A key that uses a more complex data format rather than a primitive data type like a String.
-
UniqueKey: A key that is unique only to itself. Use this type of key when you don't have any other data that makes a widget unique when using a
ValueKeyor anObjectKey.
Add the key from the following snippet to the line where you instantiate TodoItemWidget in buildTodoList in todos_page.dart:
(todo) => TodoItemWidget(
  key: ObjectKey(todo),
  ...
),
In this case, there are no unique IDs for TODOs. What makes a TODO unique is the data it holds: text, priority and due date. So using an ObjectKey is the most suitable option here, assuming the user would never add two TODOs containing the exact same information.
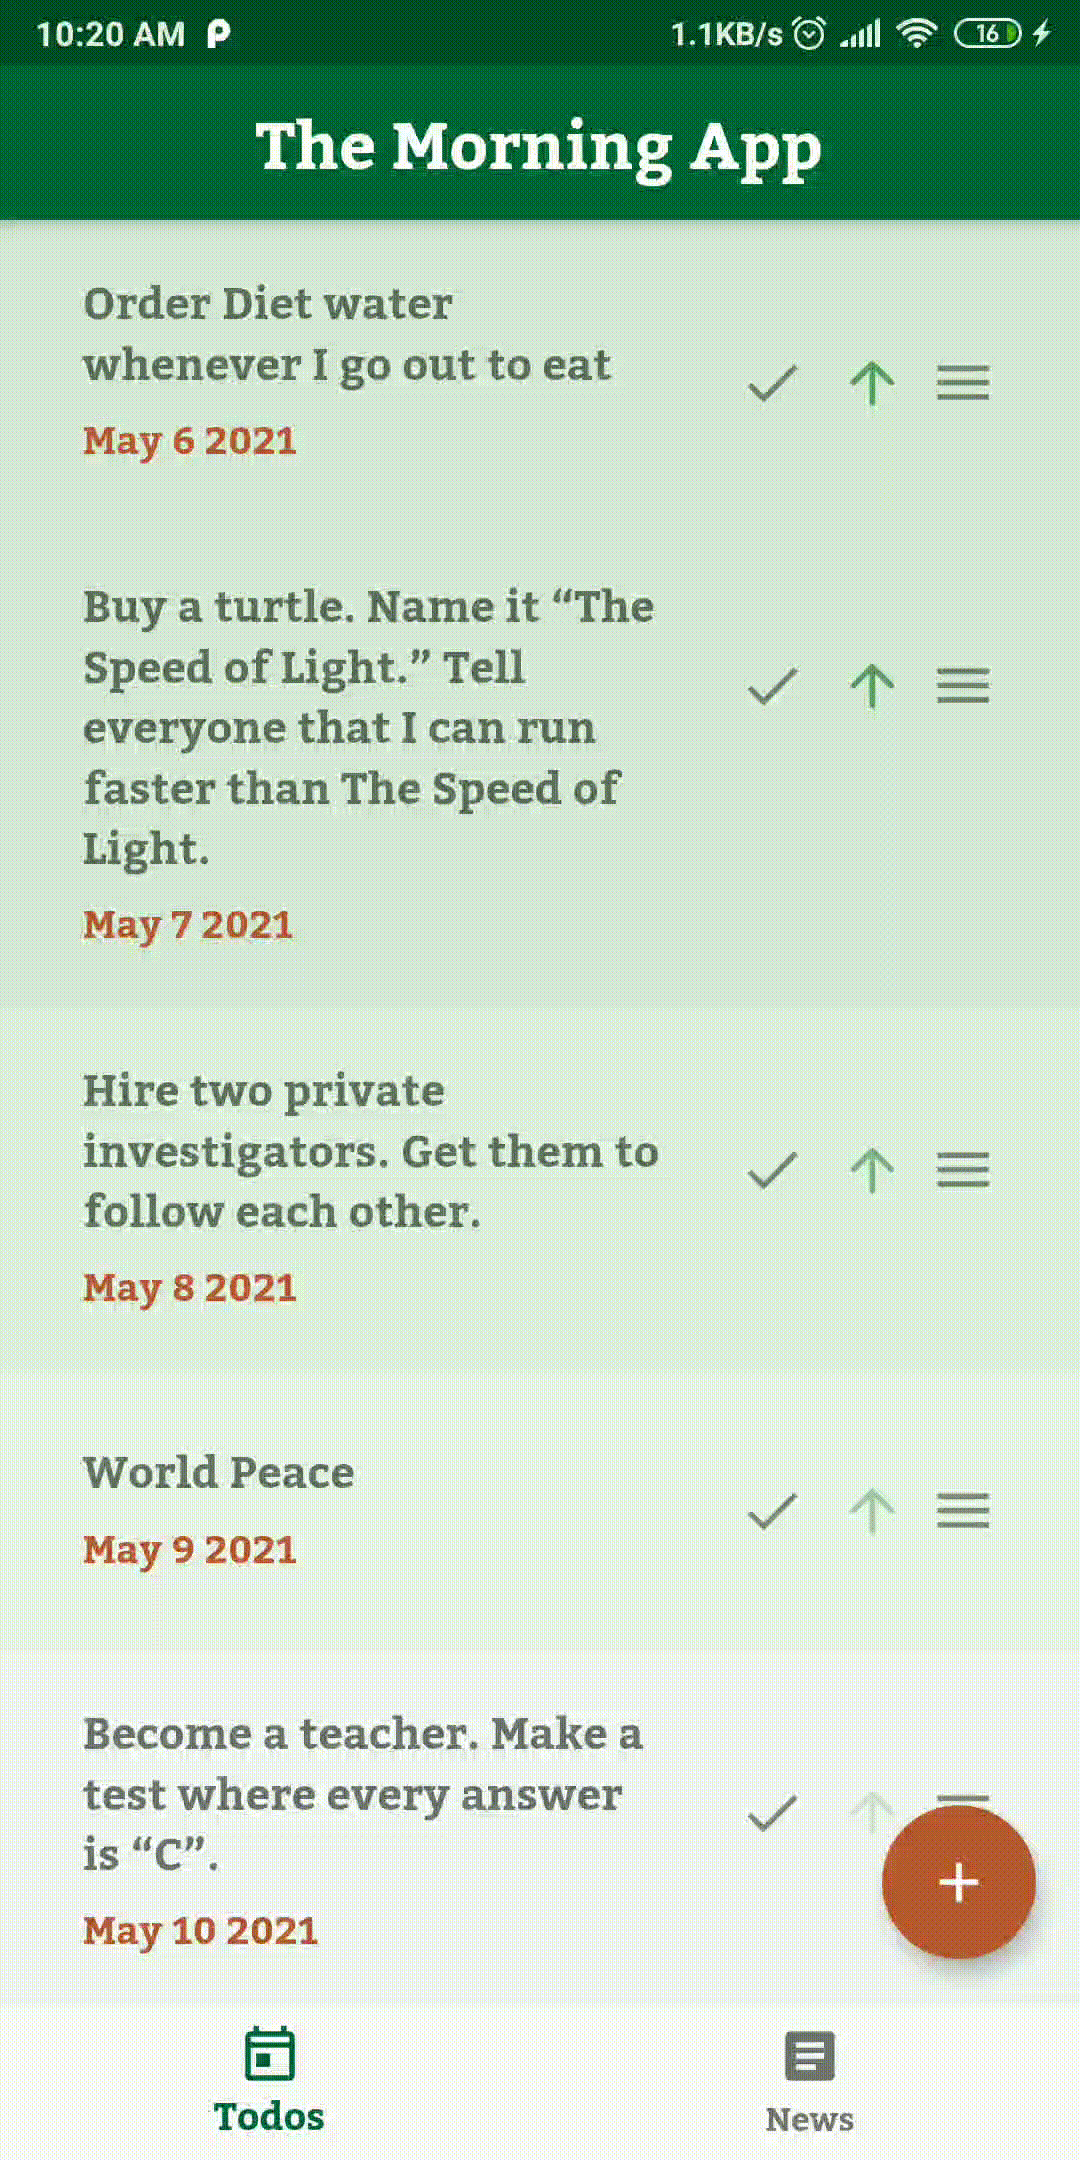
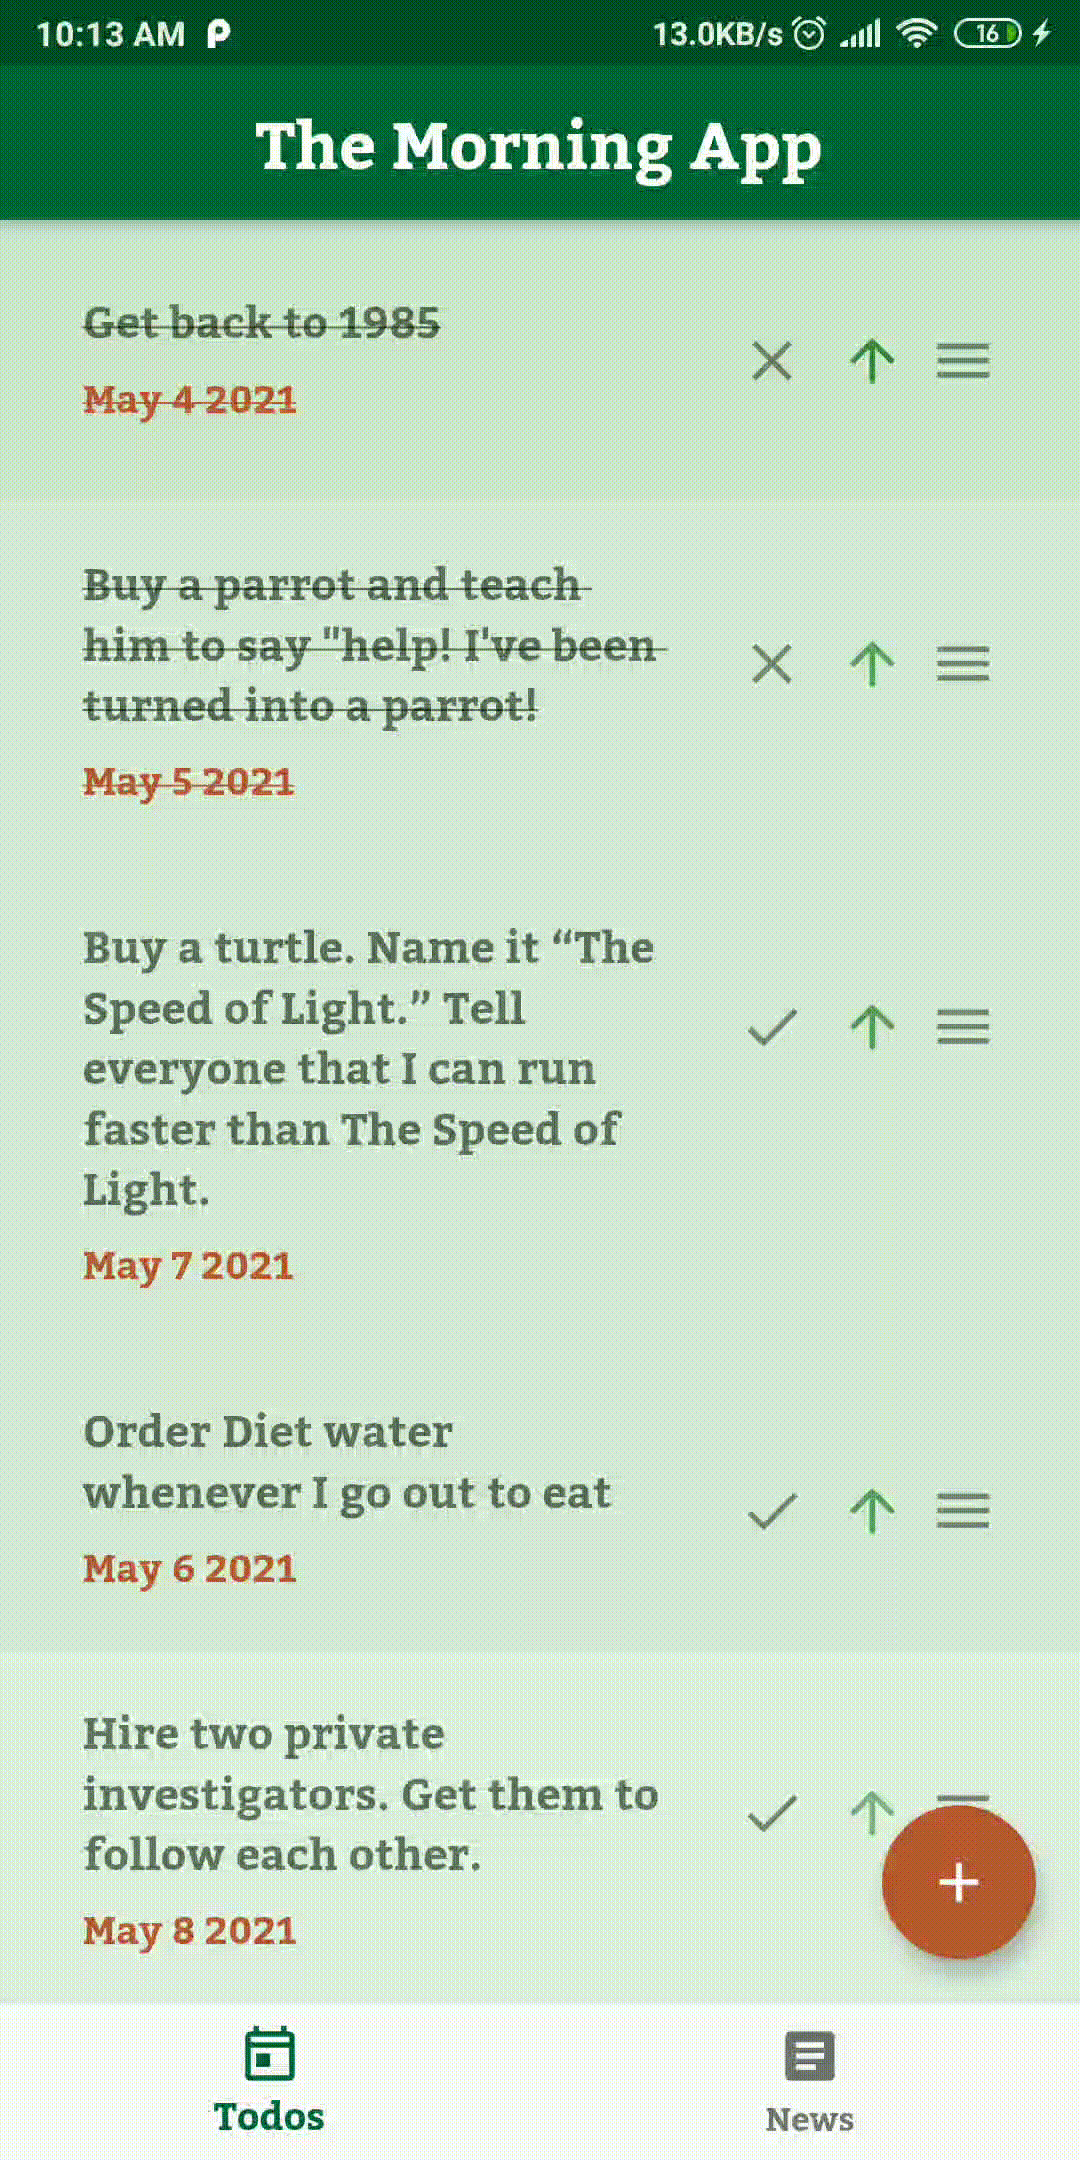
ObjectKey, make sure that it is comparable. If not, override the object's == operator and the hashCode getter to ensure that any two objects holding the same data are equal.Perform a hot restart. You can now drag and drop TODOs to change their positions in the TODO list while preserving their deleted state.
Using Global Keys
The Keys you saw above are LocalKeys, which aren't globally unique across the entire app's widget hierarchy. You can also use some keys as unique references across the entire app. This is a job for GlobalKeys.
GlobalKeys are rarely necessary. They allow widgets to change parents without losing state. They also let you access the widget's info from a different part of the widget tree.
Element using a global key is relatively expensive and could cause massive widget rebuilds.One of the most common ways to use a GlobalKey is with Form — as you'll see in the next section.
GlobalKeys are like global variables: Try not to overuse them. There are almost always better ways to preserve the state globally using the right state management solution.Adding a TODO
Even though you can view the TODOs in the app at this point, you can't add any. It's time to fix that.
Go to lib/ui/todos/add_todo_widget.dart and replace TODO: Adding GlobalKey for FormState with:
// 1
final formKey = GlobalKey<FormState>();

// 2
void addTodo() {
  // 3
  if (formKey.currentState!.validate()) {
    // 4
    formKey.currentState!.save();
    // 5
    return widget.onSubmitTap(todo);
  }
}
Here's a detailed breakdown of the code snippet above:
- You added a new
GlobalKeyto use with the form you'll create. This ensures that the focus of the input elements is unique across the app. -
addTodotriggers when you click the Submit button to add a new TODO. - Here, you check if
currentStateis valid for all the input fields. This triggers avalidatorin eachTextFormFieldin the form. If all thevalidators inTextFormFields returnnullinstead of an error String, it means that all the fields have valid input. Therefore,formKey.currentState!.validate()will returntrue. Notice that you use the globalformKeyhere to get the state of the form. - You call a
saveof the form'scurrentState. This triggersonSavedin eachTextFormFieldin the form. - Since the parent widget holds the list of TODOs, you need to make the newly created TODO available to the list of TODOs. For this, you pass the new TODO to
onSubmitTapso the parent widget adds it to the list.
At this point, you've already created a formKey in _AddTodoWidgetState. However, you haven't assigned this key to a Form yet.
Next, you'll use the following snippet in lib/ui/todos/add_todo_widget.dart to wrap the Padding in the build inside _AddTodoWidgetState:
@override
Widget build(BuildContext context) {
  ...
  // 1
  return Form(
    // 2
    key: formKey,
    child: Padding(
      padding: const EdgeInsets.all(15),
      child: ...
    ),
  );
}
In the code above, you:
- Wrap all text fields in a
Formto link them with one another as a single entity. - Set the already created
formKeyas the key for thisForm.
Adding a TODO to the List
Next, to add a TODO, you need to call addTodo when the user clicks the Submit button at the bottom of the form.
To implement this, go to buildSubmitButton and add addTodo as the onPressed callback function:
return ElevatedButton(
  style: ...,
  onPressed: addTodo,
  child: ...
);
Hot reload. You can now add new TODOs!

Preserving the Scroll Position
The app has two lists stacked next to each other on different tabs: a Todo list and a News list. It would be nice to preserve the scroll position in both lists when you navigate back and forth between them.
To persist the widget's state even after its destruction, Flutter suggests using PageStorageKeys. These keys, in combination with PageStorageBucket, allow you to use the key to store and restore the state.
Go to lib/ui/home/home_page.dart and replace //TODO: Preserve Scroll Position on tab change with:
final PageStorageBucket _bucket = PageStorageBucket();
PageStorageBucket stores state per page and persists it when the user navigates between pages.
Now that you've created the bucket, add a unique PageStorageKey to each page in _HomePageState, as follows:
final pages = <Widget>[
  TodosPage(
    key: const PageStorageKey('todos'),
    ...
  ),
  NewsPage(
    key: const PageStorageKey('news'),
    ...
  ),
];
Here, you want to ensure that the Todos page and the News page have unique identifiers. To do this, provide two hard-coded values for the PageStorageKeys: 'todos' and 'news'.
Next, to link these two keys with PageStorageBucket, wrap the body of the HomePage's Scaffold with PageStorage:
return Scaffold(
  appBar: ...,
  body: PageStorage(
    child: pages[currentTab],
    bucket: _bucket,
  ),
  bottomNavigationBar: ...,
);
Here, PageStorage links PageStorageBucket to PageStorageKeys.
Now perform a hot restart. You can see that the app now preserves the scroll position of both lists.