AVAudioEngine Tutorial for iOS: Getting Started
Learn how to use AVAudioEngine to build the next greatest podcasting app! Implement audio features to pause, skip, speed up, slow down and change the pitch of audio in your app.
Version
- Swift 5, iOS 14, Xcode 12

Mention audio processing to most iOS developers, and they’ll give you a look of fear and trepidation. That’s because, prior to iOS 8, it meant diving into the depths of the low-level Core Audio framework — a trip only a few brave souls dared to make. Thankfully, that all changed in 2014 with the release of iOS 8 and AVAudioEngine. This AVAudioEngine tutorial will show you how to use Apple’s new, higher-level audio toolkit to make audio processing apps without the need to dive into Core Audio.
That’s right! No longer do you need to search through obscure pointer-based C/C++ structures and memory buffers to gather your raw audio data. If you understand basic Swift code, this tutorial will guide you through the adding audio features to an app.
In this tutorial, you’ll use AVAudioEngine to build the next great podcasting app: Raycast. :]
The features you’ll implement in this app are:
- Play a local audio file.
- View the playback progress.
- Observe the audio signal level with a VU meter.
- Skip forward or backward.
- Change the playback rate and pitch.
When you’re done, you’ll have a fantastic app for listening to podcasts and audio files.
Getting Started
Download the starter project by clicking the Download Materials button at the top or bottom of the tutorial.
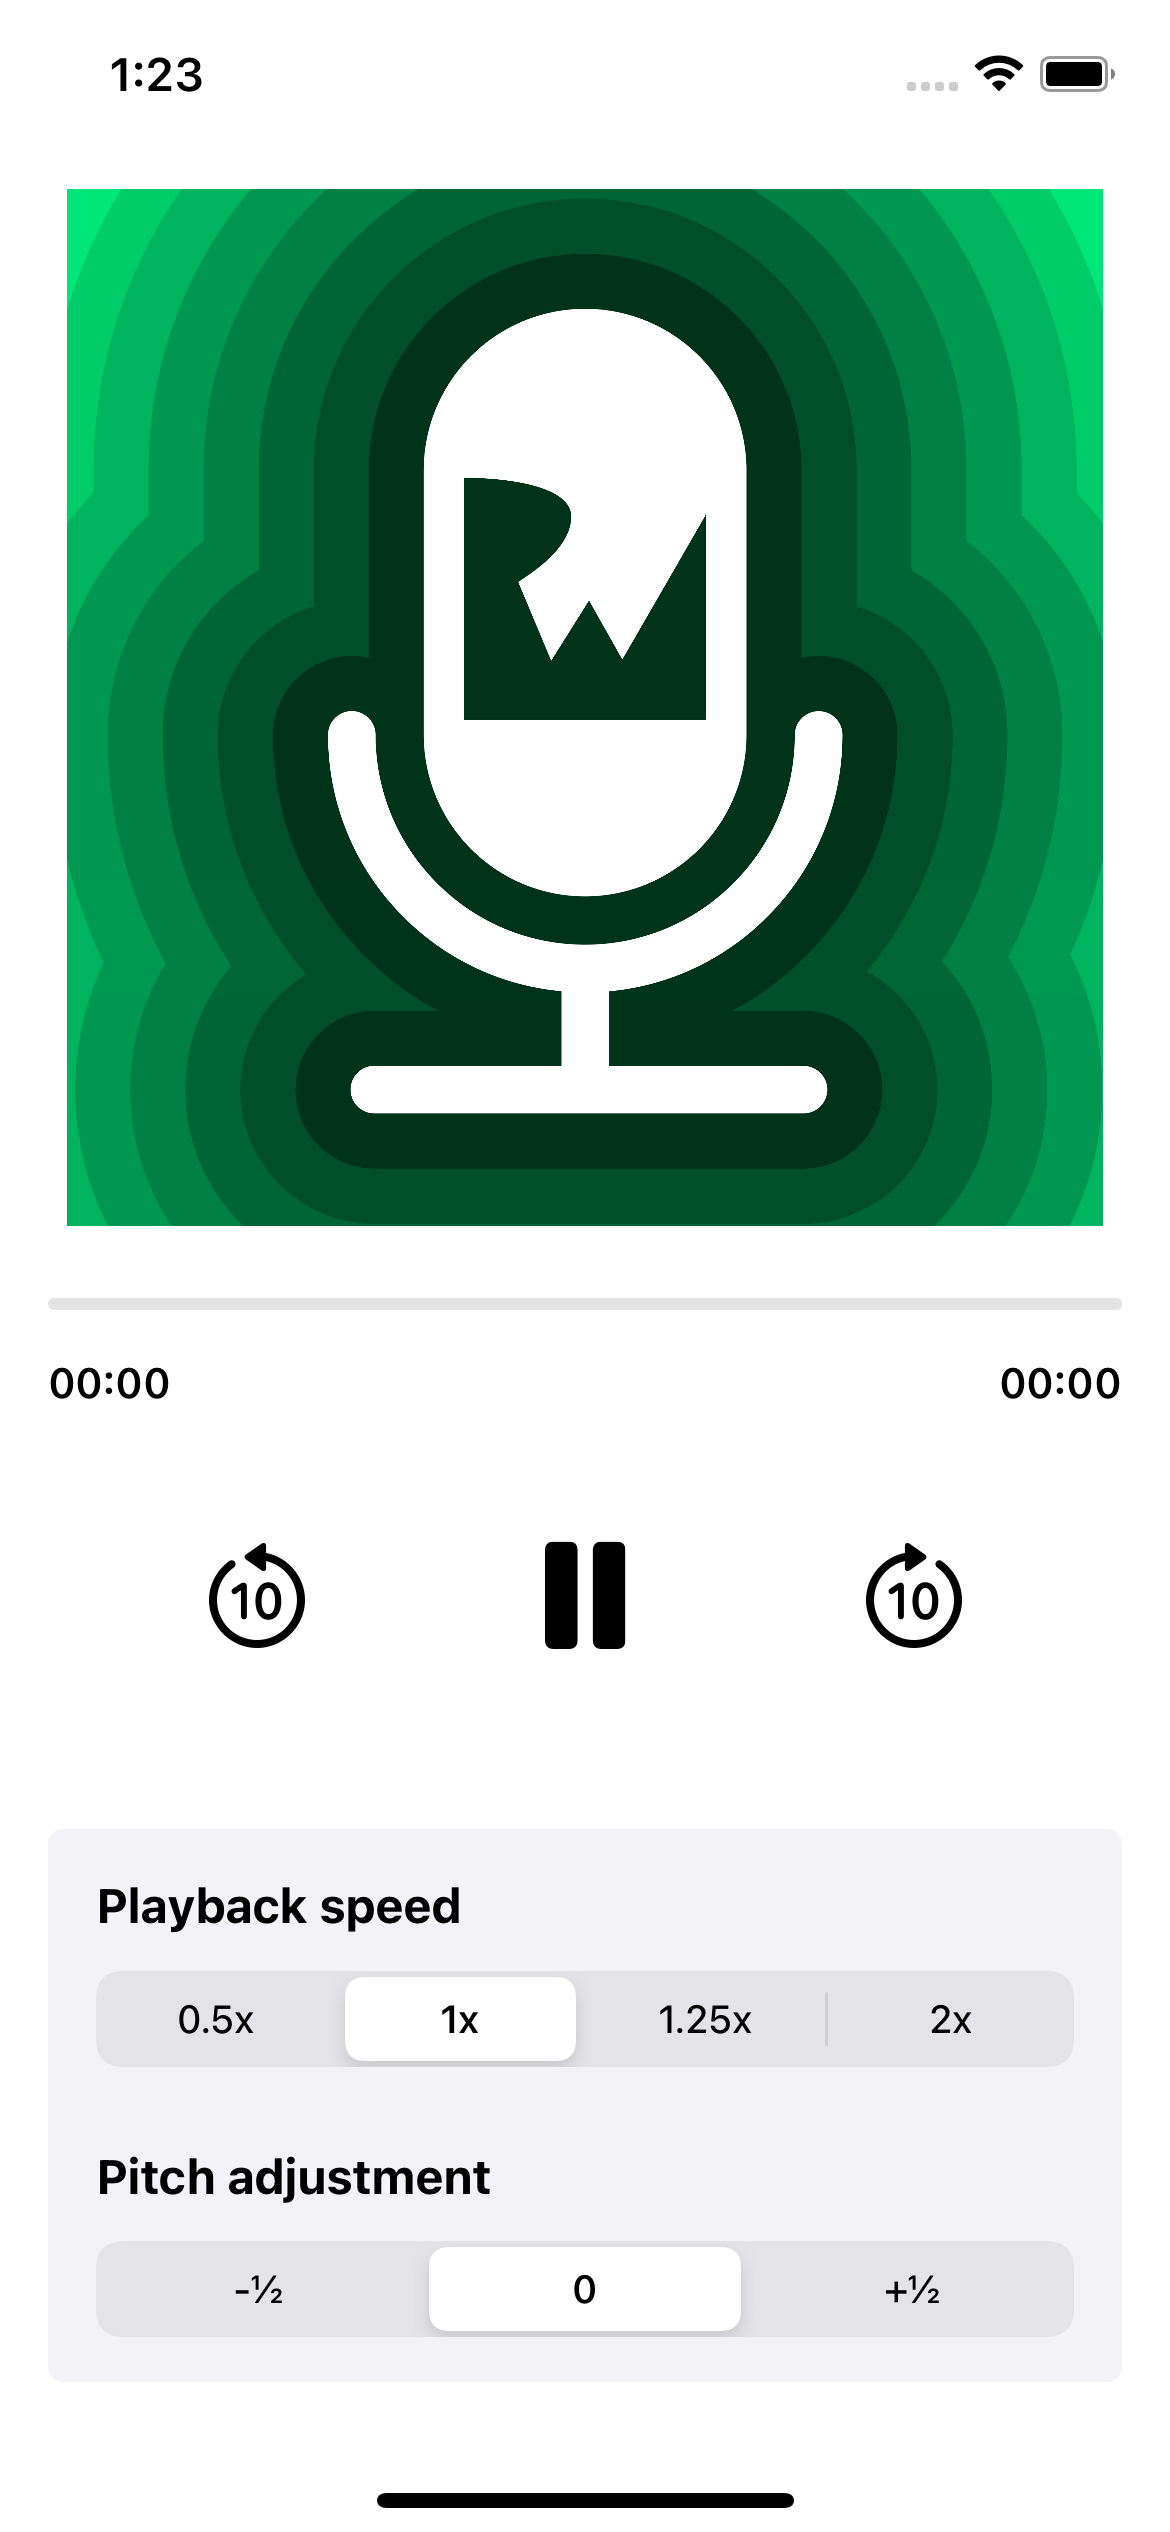
Build and run your project in Xcode, and you’ll see the basic UI:
The controls don’t do anything yet. In fact, they’re disabled for now since the audio isn’t ready to play. However, the controls are set up to call their respective view model methods that you’ll implement.
Understanding iOS Audio Frameworks
Before jumping into the project, here’s a quick overview of the iOS Audio frameworks:
- CoreAudio and AudioToolbox are the low-level C frameworks.
- AVFoundation is an Objective-C/Swift framework.
- AVAudioEngine is a part of AVFoundation.
-
AVAudioEngine is a class that defines a group of connected audio nodes. You’ll add two nodes to the project:
AVAudioPlayerNode
andAVAudioUnitTimePitch
.
By utilizing these frameworks, you can avoid delving into the low-level processing of audio information and focus on the higher-level features you want to add to your app.
Setting up Audio
Open Models/PlayerViewModel.swift and look inside. At the top, under Public properties, you’ll see all the properties used in the view to lay out the audio player. The methods used to make the player are provided for you to fill out.
Add the following code to setupAudio()
:
// 1
guard let fileURL = Bundle.main.url(
forResource: "Intro",
withExtension: "mp3")
else {
return
}
do {
// 2
let file = try AVAudioFile(forReading: fileURL)
let format = file.processingFormat
audioLengthSamples = file.length
audioSampleRate = format.sampleRate
audioLengthSeconds = Double(audioLengthSamples) / audioSampleRate
audioFile = file
// 3
configureEngine(with: format)
} catch {
print("Error reading the audio file: \(error.localizedDescription)")
}
Take a closer look at what’s happening:
- This gets the URL of the audio file included in the app bundle.
- The audio file is transformed into an
AVAudioFile
and a few properties are extracted from the file’s metadata. - The final step to prepare an audio file for playback is to set up the audio engine.
Add this code to configureEngine(with:)
:
// 1
engine.attach(player)
engine.attach(timeEffect)
// 2
engine.connect(
player,
to: timeEffect,
format: format)
engine.connect(
timeEffect,
to: engine.mainMixerNode,
format: format)
engine.prepare()
do {
// 3
try engine.start()
scheduleAudioFile()
isPlayerReady = true
} catch {
print("Error starting the player: \(error.localizedDescription)")
}
Going through this:
- Attach the player node to the engine, which you must do before connecting other nodes. These nodes will either produce, process or output audio. The audio engine provides a main mixer node that you connect to the player node. By default, the main mixer connects to the engine default output node, the iOS device speaker.
- Connect the player and time effect to the engine.
prepare()
preallocates needed resources. - Start the engine, which prepares the device to play audio. The state is also updated to prepare the visual interface.
Next, add the following to scheduleAudioFile()
:
guard
let file = audioFile,
needsFileScheduled
else {
return
}
needsFileScheduled = false
seekFrame = 0
player.scheduleFile(file, at: nil) {
self.needsFileScheduled = true
}
This schedules the playing of the entire audio file. The parameter at:
is the time — AVAudioTime — in the future you want the audio to play. Setting it to nil
starts playback immediately. The file is only scheduled to play once. Tapping play again doesn’t restart it from the beginning. You’ll need to reschedule to play it again. When the audio file finishes playing, the flag, needsFileScheduled
, is set in the completion block.
Other variants of scheduling audio for playback include:
- scheduleBuffer(_:completionHandler:): This provides a buffer preloaded with the audio data.
-
scheduleSegment(_:startingFrame:frameCount:at:completionHandler:): This is like
scheduleFile(_:at:)
, except you specify which audio frame to start playing from and how many frames to play.
Next, you’ll address user interaction. Add the following to playOrPause()
:
// 1
isPlaying.toggle()
if player.isPlaying {
// 2
player.pause()
} else {
// 3
if needsFileScheduled {
scheduleAudioFile()
}
player.play()
}
Here’s what this is doing:
- The
isPlaying
property toggles to the next state which changes the Play/Pause button icon. - If the player is currently playing, it’s paused.
- It resumes playback if the player is already paused. If
needsFileScheduled
istrue
, the audio needs to be rescheduled.
Build and run.
Tap play, and you should hear Ray’s lovely intro to The raywenderlich.com Podcast. :] But, there’s no UI feedback — you have no idea how long the file is or where you are in it.
Adding Progress Feedback
Now that you can hear the audio, how do you go about seeing it? Well, transcriptions aren’t covered in this tutorial. However, you certainly can view the progress of the audio file!
Toward the bottom of Models/PlayerViewModel.swift, add the following to setupDisplayLink()
:
displayLink = CADisplayLink(target: self, selector: #selector(updateDisplay))
displayLink?.add(to: .current, forMode: .default)
displayLink?.isPaused = true
CADisplayLink is a timer object that synchronizes with the display’s refresh rate. You instantiate it with the selector updateDisplay
. Then, you add it to a run loop — in this case, the default run loop. Finally, it doesn’t need to start running yet, so set isPaused
to true
.
Replace the implementation of playOrPause()
with the following:
isPlaying.toggle()
if player.isPlaying {
displayLink?.isPaused = true
disconnectVolumeTap()
player.pause()
} else {
displayLink?.isPaused = false
connectVolumeTap()
if needsFileScheduled {
scheduleAudioFile()
}
player.play()
}
The key here is to pause or start the display link by setting displayLink?.isPaused
when the player state changes. You’ll learn about connectVolumeTap()
and disconnectVolumeTap()
in the VU Meter section below.
Now, you need to implement the associated UI updates. Add the following to updateDisplay()
:
// 1
currentPosition = currentFrame + seekFrame
currentPosition = max(currentPosition, 0)
currentPosition = min(currentPosition, audioLengthSamples)
// 2
if currentPosition >= audioLengthSamples {
player.stop()
seekFrame = 0
currentPosition = 0
isPlaying = false
displayLink?.isPaused = true
disconnectVolumeTap()
}
// 3
playerProgress = Double(currentPosition) / Double(audioLengthSamples)
let time = Double(currentPosition) / audioSampleRate
playerTime = PlayerTime(
elapsedTime: time,
remainingTime: audioLengthSeconds - time
)
Here’s what’s going on:
- The property
seekFrame
is an offset, which is initially set to zero, added to or subtracted fromcurrentFrame
. Make surecurrentPosition
doesn’t fall outside the range of the file. - If
currentPosition
is at the end of the file, then:- Stop the player.
- Reset the seek and current position properties.
- Pause the display link and reset
isPlaying
. - Disconnect the volume tap.
- Update
playerProgress
to the current position within the audio file. Compute time by dividingcurrentPosition
byaudioSampleRate
of the audio file. UpdateplayerTime
, which is a struct that takes the two progress values as input.
The interface is already wired up to display playerProgress
, elapsedTime
, and remainingTime
.
Build and run, then tap play/pause. Once again, you’ll hear Ray’s intro, but this time the progress bar and timer labels supply the missing status information.
Implementing the VU Meter
Now it’s time to add the VU Meter functionality. VU Meters indicate live audio by depicting a bouncing graphic according to the volume of the audio.
You’ll use a View positioned to fit between the pause icon’s bars. The average power of the playing audio determines the height of the view. This is your first opportunity for some audio processing.
You’ll compute the average power on a 1k buffer of audio samples. A common way to determine the average power of a buffer of audio samples is to calculate the Root Mean Square (RMS) of the samples.
Average power is the representation, in decibels, of the average value of a range of audio sample data. You should also be aware of peak power, which is the max value in a range of sample data.
Replace the code in scaledPower(power:)
with the following:
// 1
guard power.isFinite else {
return 0.0
}
let minDb: Float = -80
// 2
if power < minDb {
return 0.0
} else if power >= 1.0 {
return 1.0
} else {
// 3
return (abs(minDb) - abs(power)) / abs(minDb)
}
scaledPower(power:)
converts the negative power decibel value to a positive value that adjusts the meterLevel
value. Here’s what it does:
-
power.isFinite
checks to make sure power is a valid value — i.e., not NaN — returning 0.0 if it isn’t. - This sets the dynamic range of the VU meter to 80db. For any value below -80.0, return 0.0. Decibel values on iOS have a range of -160db, near silent, to 0db, maximum power.
minDb
is set to -80.0, which provides a dynamic range of 80db. 80 provides sufficient resolution to draw the interface in pixels. Alter this value to see how it affects the VU meter. - Compute the scaled value between 0.0 and 1.0.
Now, add the following to connectVolumeTap()
:
// 1
let format = engine.mainMixerNode.outputFormat(forBus: 0)
// 2
engine.mainMixerNode.installTap(
onBus: 0,
bufferSize: 1024,
format: format
) { buffer, _ in
// 3
guard let channelData = buffer.floatChannelData else {
return
}
let channelDataValue = channelData.pointee
// 4
let channelDataValueArray = stride(
from: 0,
to: Int(buffer.frameLength),
by: buffer.stride)
.map { channelDataValue[$0] }
// 5
let rms = sqrt(channelDataValueArray.map {
return $0 * $0
}
.reduce(0, +) / Float(buffer.frameLength))
// 6
let avgPower = 20 * log10(rms)
// 7
let meterLevel = self.scaledPower(power: avgPower)
DispatchQueue.main.async {
self.meterLevel = self.isPlaying ? meterLevel : 0
}
}
There’s a lot going on here, so here’s the breakdown:
- Get the data format for
mainMixerNode
‘s output. -
installTap(onBus: 0, bufferSize: 1024, format: format)
gives you access to the audio data on themainMixerNode
‘s output bus. You request a buffer size of 1024 bytes, but the requested size isn’t guaranteed, especially if you request a buffer that’s too small or large. Apple’s documentation doesn’t specify what those limits are. The completion block receives an AVAudioPCMBuffer and AVAudioTime as parameters. You can checkbuffer.frameLength
to determine the actual buffer size. -
buffer.floatChannelData
gives you an array of pointers to each sample’s data.channelDataValue
is an array ofUnsafeMutablePointer<Float>
. - Converting from an array of
UnsafeMutablePointer<Float>
to an array ofFloat
makes later calculations easier. To do that, usestride(from:to:by:)
to create an array of indexes intochannelDataValue
. Then,map{ channelDataValue[$0] }
to access and store the data values inchannelDataValueArray
. - Computing the power with Root Mean Square involves a map/reduce/divide operation. First, the map operation squares all the values in the array, which the reduce operation sums. Divide the sum of the squares by the buffer size, then take the square root, producing the RMS of the audio sample data in the buffer. This should be a value between 0.0 and 1.0, but there could be some edge cases where it’s a negative value.
- Convert the RMS to decibels. Here’s an acoustic decibel reference, if you need it. The decibel value should be between -160 and 0, but if RMS is negative, this decibel value would be
NaN
. - Scale the decibels into a value suitable for your VU meter.
Finally, add the following to disconnectVolumeTap()
:
engine.mainMixerNode.removeTap(onBus: 0)
meterLevel = 0
AVAudioEngine allows only a single tap per bus. It’s a good practice to remove it when not in use.
Build and run, then tap play/pause:
The VU meter is now active, providing average power feedback of the audio data. Your app’s users will be able to easily discern visually when audio is playing.
Implementing Skip
Time to implement the skip forward and back buttons. In this app, each button seeks forward or backward by 10 seconds.
Add the following to seek(to:)
:
guard let audioFile = audioFile else {
return
}
// 1
let offset = AVAudioFramePosition(time * audioSampleRate)
seekFrame = currentPosition + offset
seekFrame = max(seekFrame, 0)
seekFrame = min(seekFrame, audioLengthSamples)
currentPosition = seekFrame
// 2
let wasPlaying = player.isPlaying
player.stop()
if currentPosition < audioLengthSamples {
updateDisplay()
needsFileScheduled = false
let frameCount = AVAudioFrameCount(audioLengthSamples - seekFrame)
// 3
player.scheduleSegment(
audioFile,
startingFrame: seekFrame,
frameCount: frameCount,
at: nil
) {
self.needsFileScheduled = true
}
// 4
if wasPlaying {
player.play()
}
}
Here's the play-by-play:
- Convert time, which is in seconds, to frame position by multiplying it by
audioSampleRate
, and add it tocurrentPosition
. Then, make sureseekFrame
is not before the start of the file nor past the end of the file. -
player.stop()
not only stops playback, but also clears all previously scheduled events. CallupdateDisplay()
to set the UI to the newcurrentPosition
value. -
player.scheduleSegment(_:startingFrame:frameCount:at:)
schedules playback starting atseekFrame
's position of the audio file.frameCount
is the number of frames to play. You want to play to the end of file, so set it toaudioLengthSamples - seekFrame
. Finally,at: nil
specifies to start playback immediately instead of at some time in the future. - If the audio was playing before skip was called, then call
player.play()
to resume playback.
Time to use this method to seek. Add the following to skip(forwards:)
:
let timeToSeek: Double
if forwards {
timeToSeek = 10
} else {
timeToSeek = -10
}
seek(to: timeToSeek)
Both of the skip buttons in the view call this method. The audio skips ahead by 10 seconds if the forwards
parameter is true
. In contrast, the audio jumps backward if the parameter is false
.
Build and run, then tap play/pause. Tap the skip forward and skip backward buttons to skip forward and back. Watch as the progressBar
and count labels change.
Implementing Rate Change
The next feature to add is a nice quality-of-life addition to any audio app. Listening to podcasts at higher than 1× speeds is a popular feature these days.
Add the following to updateForRateSelection()
:
let selectedRate = allPlaybackRates[playbackRateIndex]
timeEffect.rate = Float(selectedRate.value)
In the interface, users will tap on a segmented picker to choose the playback speed. You translate the selected option into a multiplier to send to the audio player.
Build and run, then play the audio. Adjust rate control to hear what Ray and Dru sound like when they've had too much or too little coffee.
Implementing Pitch Change
The last thing to implement is changing the pitch of playback. Although pitch control isn't as practical as changing the rate, it's still fun to hear chipmunk voices. :]
Add the following to updateForPitchSelection()
:
let selectedPitch = allPlaybackPitches[playbackPitchIndex]
timeEffect.pitch = 1200 * Float(selectedPitch.value)
According to the docs for AVAudioUnitTimePitch.pitch, the value is measured in cents. An octave is equal to 1200 cents. The values for allPlaybackPitches
, declared at the top of the file, are -0.5, 0, 0.5
. Changing the pitch by half an octave keeps the audio intact so you can still hear each word. Feel free to play with this amount to distort the voices more or less.
Build and run. Adjust pitch to hear creepy and/or squirrelly voices.
Where to Go From Here?
Download the completed project files by clicking the Download Materials button at the top or bottom of the tutorial.
To recap this introduction to AVAudioEngine, the main points of interest are:
- Create an AVAudioFile from a file.
- Connect an AVAudioPlayer to an AVAudioEngine.
- Schedule the AVAudioFile for playback via AVAudioPlayer.
With those ingredients you can play audio on a device. The other key topics that are useful in creating your own player are:
- Add an effect to the engine using audio units, such as AVAudioUnitTimePitch.
- Connect a volume tap to create a VU meter using data from AVAudioPCMBuffer.
- Seek to a position in the audio file using AVAudioFramePosition.
To learn more about AVAudioEngine and related iOS audio topics, check out:
- What's New in AVAudioEngine - WWDC 2019 - Videos - Apple Developer
- Apple's "Working with Audio"
- Beginning Audio with AVFoundation: Audio Effects
- Audio Tutorial for iOS: File and Data Formats
For more information on media playback, refer to Apple's documentation on AVFoundation.
Hopefully, you enjoyed this tutorial. If you have any questions or comments, please join the discussion below!
Comments