Building Your App Using Build Configurations and .xcconfig
Use Xcode build settings and .xcconfig files to change your app’s settings and icon with different build configurations. By Saleh Albuga.
Referencing Values of Other Settings
Now that your environments are ready, it’s time to add more settings. Add the following to Base.xcconfig. Be sure to substitute your bundle identifier:
BASE_BUNDLE_IDENTIFIER = <your bundle identifier>

PRODUCT_BUNDLE_IDENTIFIER = $(BASE_BUNDLE_IDENTIFIER)
BASE_BUNDLE_IDENTIFIER is a user-defined setting that contains the project’s base bundle identifier, while PRODUCT_BUNDLE_IDENTIFIER is an Xcode build setting that specifies the bundle identifier.
Here, you’ve referenced BASE_BUNDLE_IDENTIFIER‘s value. The reference syntax is: $(OTHER_BUILD_SETTING_NAME).
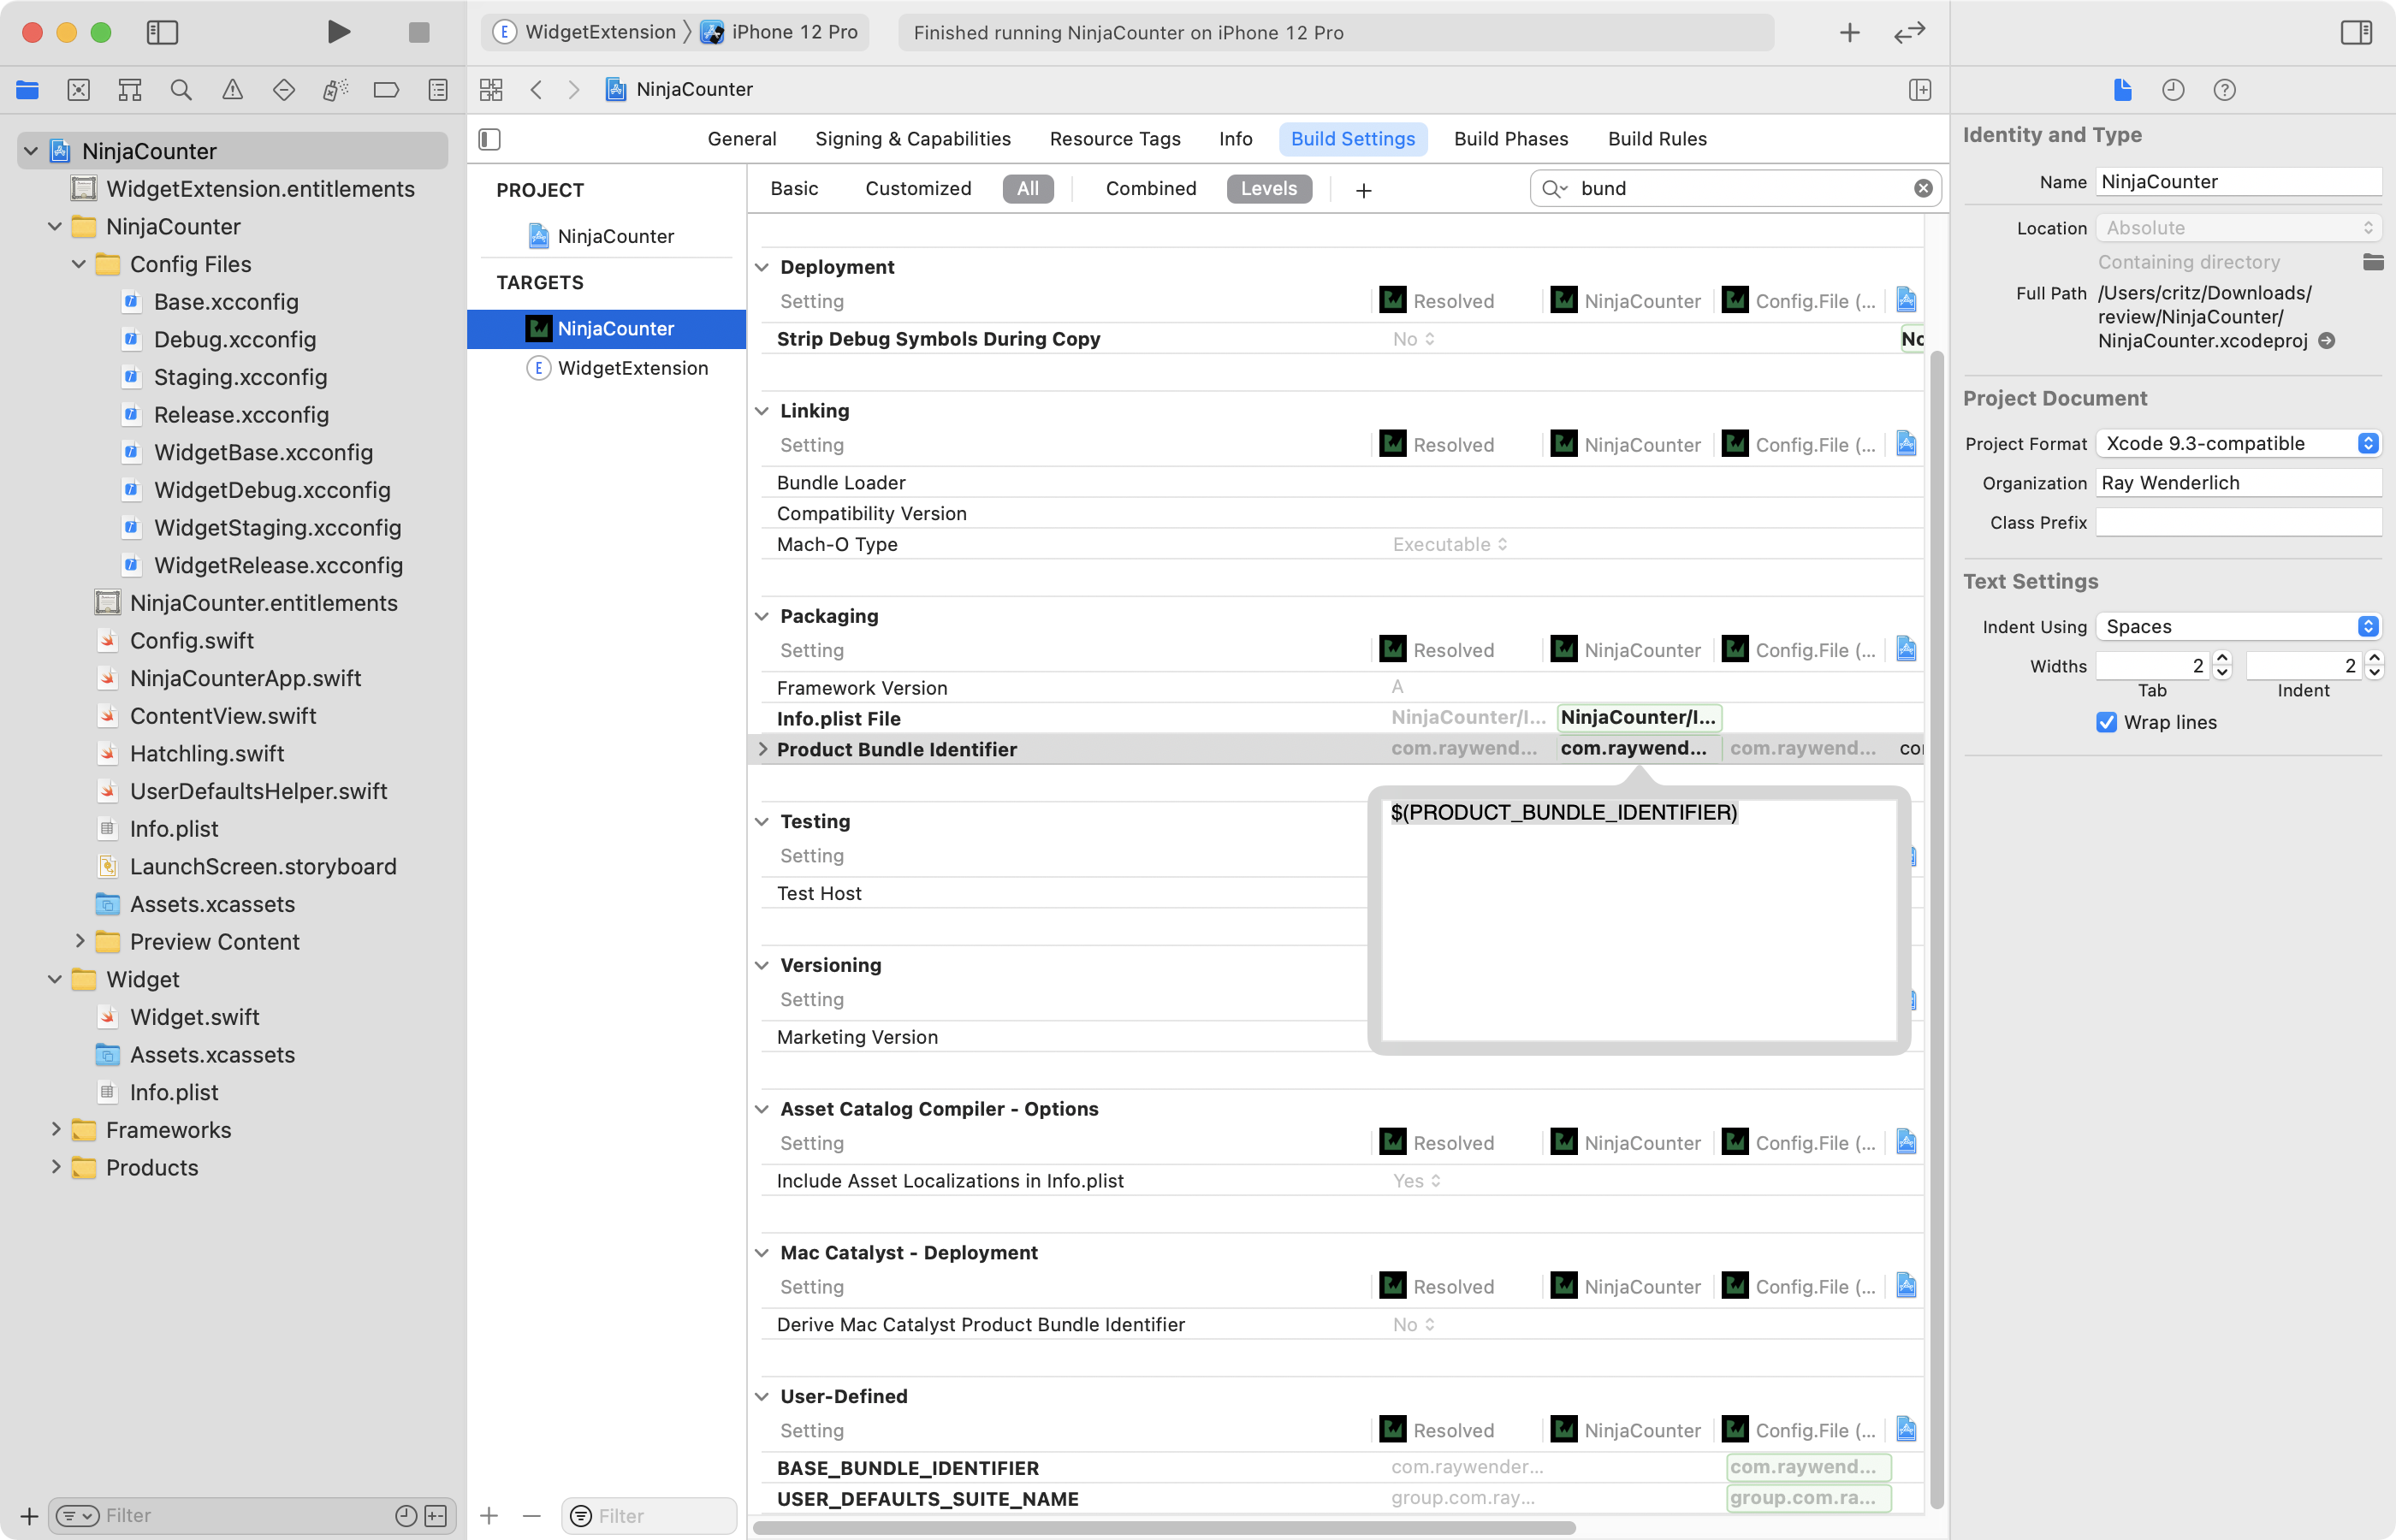
Now, if you were to change the value of BASE_BUNDLE_IDENTIFIER in Base.xcconfig, you wouldn’t see the change reflected in the build settings. That’s because the bundle identifier is currently hard-coded in the target’s settings. To fix this, return to the Project Editor and select the NinjaCounter target. In the search field, type bundle to narrow down the number of settings show. Double-click the target build setting and change it’s value to:
$(inherited)
Previously, you changed the code in UserDefaultsHelper.swift to use the app group identifier as the UserDefaults suite name, as below.
UserDefaults(suiteName: "group.<your bundle identifier>")
To avoid hard coding values like the suite name, add the following setting below PRODUCT_BUNDLE_IDENTIFIER in Base.xcconfig:
USER_DEFAULTS_SUITE_NAME = group.$(BASE_BUNDLE_IDENTIFIER)
Since the app group identifier in NinjaCounter depends on the bundle identifier, you created USER_DEFAULTS_SUITE_NAME. It references BASE_BUNDLE_IDENTIFIER inline and appends the “group.” prefix. In a moment, you’ll update your code to use this new setting but first you must update the app to use the setting. In the Project navigator, you’ll find two .entitlements files. Open WidgetExtension.entitlements and click the disclosure arrows to open the settings. Change the value of Item 0 to:
$(USER_DEFAULTS_SUITE_NAME)
Next, open NinjaCounter.entitlements and do the same thing.
You ensured consistency of build settings that depend on other settings by referencing their values. Next, you’ll use that setting in your code and remove the hard-coded one.
Accessing Settings From Code
To access a build setting from code, you first need to add a reference property in Info.plist. Open NinjaCounter’s Info.plist and add a custom property named:
USER_DEFAULTS_SUITE_NAME
With the value:
$(USER_DEFAULTS_SUITE_NAME)
Do the same to the widget’s Info.plist because the widget needs to access the settings as well.

Next, create a new Swift file in the NinjaCounter group and name it Config.swift. Open the file and add the following code:
enum Config {
  static func stringValue(forKey key: String) -> String {
    guard let value = Bundle.main.object(forInfoDictionaryKey: key) as? String
    else {
      fatalError("Invalid value or undefined key")
    }
    return value
  }
}
stringValue(forKey:) is a helper method that simplifies retrieving values from Info.plist. It calls Bundle‘s object(forInfoDictionaryKey:) to obtain a string value.
Then, in the File inspector, select WidgetExtension as a target in addition to NinjaCounter.
Open UserDefaultsHelper.swift and again replace the declaration of defaults with:
static private let defaults = UserDefaults(
  suiteName: Config.stringValue(forKey: "USER_DEFAULTS_SUITE_NAME"))
  ?? .standard
Here, you changed UserDefaultsHelper‘s code to get the suite name from the build setting. You used Config‘s method, stringValue(forKey:), to fetch the value.
Next, you’ll add conditional settings.
Adding Conditions
You can add conditions to build settings to target a specific SDK, architecture or build configuration. This is especially useful when adding project-wide settings that aren’t specific to a target.
In Base.xcconfig, add the following line:
ONLY_ACTIVE_ARCH[config=Debug][sdk=*][arch=*] = YES
Here, you set ONLY_ACTIVE_ARCH to YES when the app builds in Debug configuration. As a result, it speeds up build times by building only the active architecture.
Conditional settings follows the following syntax:
BUILD_SETTING_NAME[condition=value] = VALUE.
Setting the conditional value to an asterisk means any value. The setting you added above applies for any sdk and any architecture, but only for the Debug configuration.
In the next section, you’ll customize the app’s behaviors across the different environments.
Creating Record Stores for Each Environment
Now that your environments are ready, you’ll store the hatchlings’ records in different UserDefaults keys — one per environment. Since the app stores data locally, UserDefaults here is the app’s “back end”.
Time to add the UserDefaults key in your environment’s configuration files.
In Debug.xcconfig, add:
USER_DEFAULTS_RECORDS_KEY = HatchlingsRecords-Debug
In Staging.xcconfig, add:
USER_DEFAULTS_RECORDS_KEY = HatchlingsRecords-Staging
In Release.xcconfig, add:
USER_DEFAULTS_RECORDS_KEY = HatchlingsRecords
The key name changes in each environment.
Next, add the following property below to the Info.plist of NinjaCounter and extension.
Key:
USER_DEFAULTS_RECORDS_KEY
Value:
$(USER_DEFAULTS_RECORDS_KEY)

After that, open UserDefaultsHelper.swift and replace the declaration of recordsKey with:
static private let recordsKey = Config
  .stringValue(forKey: "USER_DEFAULTS_RECORDS_KEY")
Just as you obtained the UserDefaults suite name from the build settings, here, in the changes above, you replaced the hard-coded UserDefaults key with the corresponding build settings values using stringValue(forKey:).
Finally, you’re ready to test your changes! Change the active scheme’s Build Configuration to Debug.
Build and run. Add a Donatello record.

Next, change the Build Configuration to Release. Build and run.

You don’t see Donatello‘s record because you stored it in the Debug store. Change the Build Configuration back to Debug. Build and run.

The record you stored while running with the debug build configuration is there. Now, you know your environments work as intended.
Does this remind you of a different approach? Look at the code below.
#if DEBUG
let recordsKey = "HatchlingsRecords-Debug"
#elseif STAGING
let recordsKey = "HatchlingsRecords-Staging"
#else
let recordsKey = "HatchlingsRecords"
#endif
Conditional compilation is a popular practice. However, using it to manage constants across environments has a downside where you mix configurable constants with the code. Using build settings to store these values and use them in code is a good alternative.
That was easy! Having settings in configuration files not only simplifies managing build settings, but also lets you externalize settings from Xcode. This makes them portable and makes tracking changes in source control more convenient.
In the next section, you’ll create configuration files for each target.