Google Maps iOS SDK Tutorial: Getting Started
Learn how to use the Google Maps iOS SDK to retrieve the user’s current location and search for nearby points of interest, such as bars and restaurants. By Ron Kliffer.
Getting the Location
Feed Me is all about finding places near the user, and you can’t do that without getting the user’s location.
First, open MapViewController.swift and add the following property:
private let locationManager = CLLocationManager()
This will add and instantiate a CLLocationManager property named locationManager.
Next, find viewDidLoad() and add these two lines to the bottom:
locationManager.delegate = self
locationManager.requestWhenInUseAuthorization()
This will make MapViewController the delegate of locationManager and request access to the user’s location.
Next, open the Feed Me project at the top of the Project navigator, select the Feed Me target and go to the Info tab, select the first line in the Custom iOS Target Properties section and click the + icon to add a new row.
Choose Privacy – Location When In Use Usage Description as the key, choose String for the type, and enter the following text as the value:
By accessing your location, this app can find you a good place to eat.
When you’re finished, it should look something like this:

Before you can run the app, you need to make MapViewController conform to the CLLocationManagerDelegate protocol.
Add the following extension to the bottom of MapViewController.Swift:
// MARK: - CLLocationManagerDelegate
//1
extension MapViewController: CLLocationManagerDelegate {
  // 2
  func locationManager(_ manager: CLLocationManager, didChangeAuthorization status: CLAuthorizationStatus) {
    // 3
    guard status == .authorizedWhenInUse else {
      return
    }
    // 4
    locationManager.startUpdatingLocation()

    //5
    mapView.isMyLocationEnabled = true
    mapView.settings.myLocationButton = true
  }

  // 6
  func locationManager(_ manager: CLLocationManager, didUpdateLocations locations: [CLLocation]) {
    guard let location = locations.first else {
      return
    }

    // 7
    mapView.camera = GMSCameraPosition(target: location.coordinate, zoom: 15, bearing: 0, viewingAngle: 0)

    // 8
    locationManager.stopUpdatingLocation()
  }
}
Taking each numbered comment in turn:
- You create a
MapViewControllerextension that conforms toCLLocationManagerDelegate. -
locationManager(_:didChangeAuthorization:)is called when the user grants or revokes location permissions. - Here you verify the user has granted you permission while the app is in use.
- Once permissions have been established, ask the location manager for updates on the user’s location.
-
GMSMapViewhas two features concerning the user’s location:myLocationEnableddraws a light blue dot where the user is located, whilemyLocationButton, when set totrue, adds a button to the map that, when tapped, centers the map on the user’s location. -
locationManager(_:didUpdateLocations:)executes when the location manager receives new location data. - This updates the map’s camera to center around the user’s current location. The
GMSCameraPositionclass aggregates all camera position parameters and passes them to the map for display. - Tell
locationManageryou’re no longer interested in updates; you don’t want to follow a user around as their initial location is enough for you to work with.
Build and run your app; once it loads you’ll be prompted with an alert, asking for location permissions. Tap on Allow:

You should now see a map centering around your location. Scroll the map and tap the Locate button and the map will center back to your location like so:

Implementing Geocoding
Now that you have the user’s location, it would be nice if you could show the street address of that location. Google Maps has an object that does exactly that: GMSGeocoder. This takes a simple coordinate and returns a readable street address.
First, you’ll need to add some UI to present the address to the user.
Open Main.storyboard and add a UILabel to the MapViewController scene. Make sure you add the label to the MapViewController view, and not the GMSMapView.
Next, open the Attributes inspector, and give the label the following attributes:
- Set Alignment to center.
- Set Lines to 0. Surprisingly, this lets the label take up as many lines as it needs to fit the text. Go figure! :]
- Set Background to white with 85% opacity.
The label’s Attributes inspector and the scene’s Object Tree should look like this when done:


Finally, add to the label left, bottom and right constraints of 0 as shown below:

This pins the label to the bottom of the screen and stretches it over the entire width of the screen.
Your storyboard scene should look like the following:

Next, create an outlet for the label. Select the Assistant Editor, and ctrl+drag from the label in the Document Outline to MapViewController.swift. Set the connection type to Outlet, the name to addressLabel and click Connect.
This adds a property to your MapViewController that you can use in your code:
@IBOutlet weak var addressLabel: UILabel!
Add the method below to MapViewController:
private func reverseGeocodeCoordinate(_ coordinate: CLLocationCoordinate2D) {

  // 1
  let geocoder = GMSGeocoder()

  // 2
  geocoder.reverseGeocodeCoordinate(coordinate) { response, error in
    guard let address = response?.firstResult(), let lines = address.lines else {
      return
    }

    // 3
    self.addressLabel.text = lines.joined(separator: "\n")

    // 4
    UIView.animate(withDuration: 0.25) {
      self.view.layoutIfNeeded()
    }
  }
}
Once again, here’s what each commented section does:
- Creates a
GMSGeocoderobject to turn a latitude and longitude coordinate into a street address. - Asks the geocoder to reverse geocode the coordinate passed to the method. It then verifies there is an address in the response of type
GMSAddress. This is a model class for addresses returned by theGMSGeocoder. - Sets the text of the
addressLabelto the address returned by the geocoder. - Once the address is set, animate the changes in the label’s intrinsic content size.
You’ll want to call this method every time the user changes their position on the map. To do so you’ll use GMSMapViewDelegate.
Add another extension to the bottom of MapViewController.swift as follows:
// MARK: - GMSMapViewDelegate
extension MapViewController: GMSMapViewDelegate {

}
This will declare that MapViewController conforms to the GMSMapViewDelegate protocol.
Next, add the following line of code to viewDidLoad():
mapView.delegate = self
This makes MapViewController the map view’s delegate.
Finally, add the following method to the newly added extension:
func mapView(_ mapView: GMSMapView, idleAt position: GMSCameraPosition) {
  reverseGeocodeCoordinate(position.target)
}
This method is called each time the map stops moving and settles in a new position, where you then make a call to reverse geocode the new position and update the addressLabel‘s text.
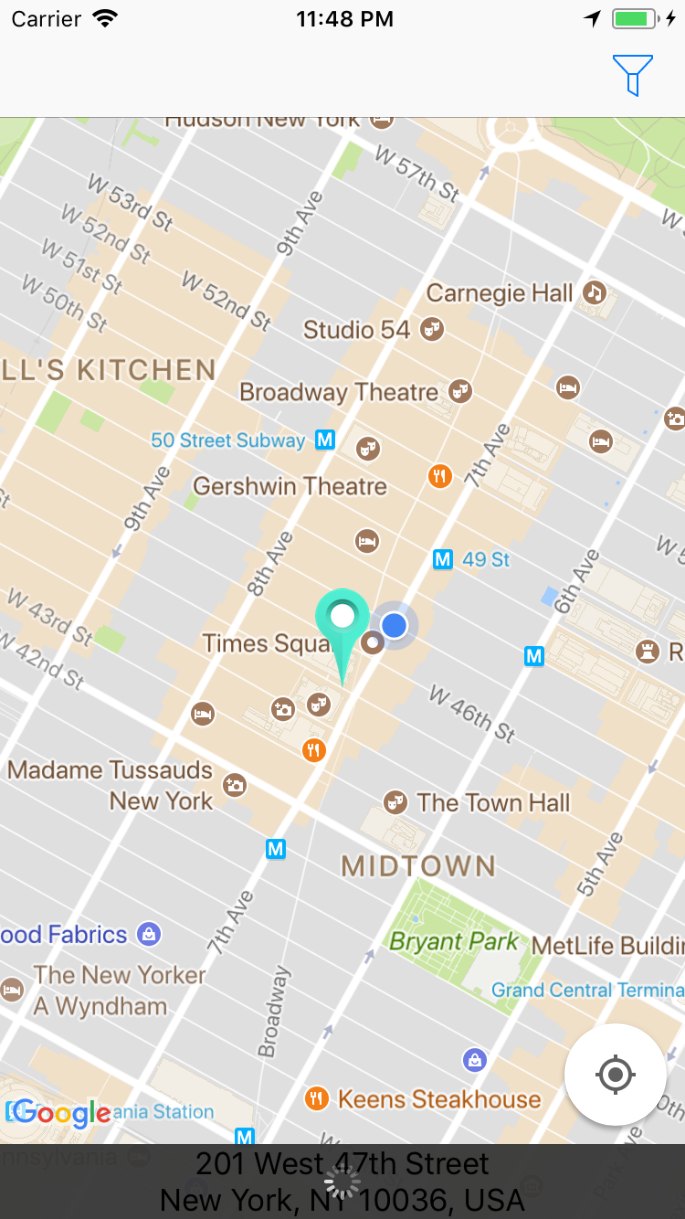
Build and run your app; you’ll see the address of your current location — real or simulated — pop up at the bottom of the screen:

Notice anything wrong with this picture?
[spoiler]The Google logo and Locate button are hiding behind the label![/spoiler]
Fortunately, GMSMapView provides a very simple solution for this: padding. When padding is applied to the map, all of the visual elements will be placed according to that padding.
Head back to reverseGeocodeCoordinate(_:), and add these lines just before the animation block:
// 1
let labelHeight = self.addressLabel.intrinsicContentSize.height
self.mapView.padding = UIEdgeInsets(top: self.view.safeAreaInsets.top, left: 0,
                                    bottom: labelHeight, right: 0)
Now, replace the animation block with:
UIView.animate(withDuration: 0.25) {
  //2
  self.pinImageVerticalConstraint.constant = ((labelHeight - self.view.safeAreaInsets.top) * 0.5)
  self.view.layoutIfNeeded()
}
These do two things:
- Prior to the animation block, this adds padding to the top and bottom of the map. The top padding equals the view’s top safe area inset, while the bottom padding equals the label’s height.
- Updates the location pin’s position to match the map’s padding by adjusting its vertical layout constraint.
Build and run your app again; this time the Google logo and locate button will move to their new position once the label becomes visible:

Move the map around; you’ll notice that the address changes every time the map settles to a new position. Let’s add a visual effect to dampen the address changing.
Add the following method to the GMSMapViewDelegate extension:
func mapView(_ mapView: GMSMapView, willMove gesture: Bool) {
  addressLabel.lock()
}
This method is called every time the map starts to move. It receives a Bool that tells you if the movement originated from a user gesture, such as scrolling the map, or if the movement originated from code. You call the lock() on the addressLabel to give it a loading animation.
When there’s a lock(), there must also be an unlock(). Add the following to the top of reverseGeocodeCoordinate(coordinate:)‘s closure:
self.addressLabel.unlock()
lock() and unlock(), check out UIViewExtensions.swift.Build and run your app; as you scroll the map you should see a loading animation on the address label like so: