How To Make A Simple Drawing App with UIKit and Swift
Learn how to make your own drawing app, including different colors and brushes, using UIKit and Core Graphics in this tutorial! By Jean-Pierre Distler.
The App of Many Colors
It’s time to add a splash of color to the scene – line art alone is kind of drab.

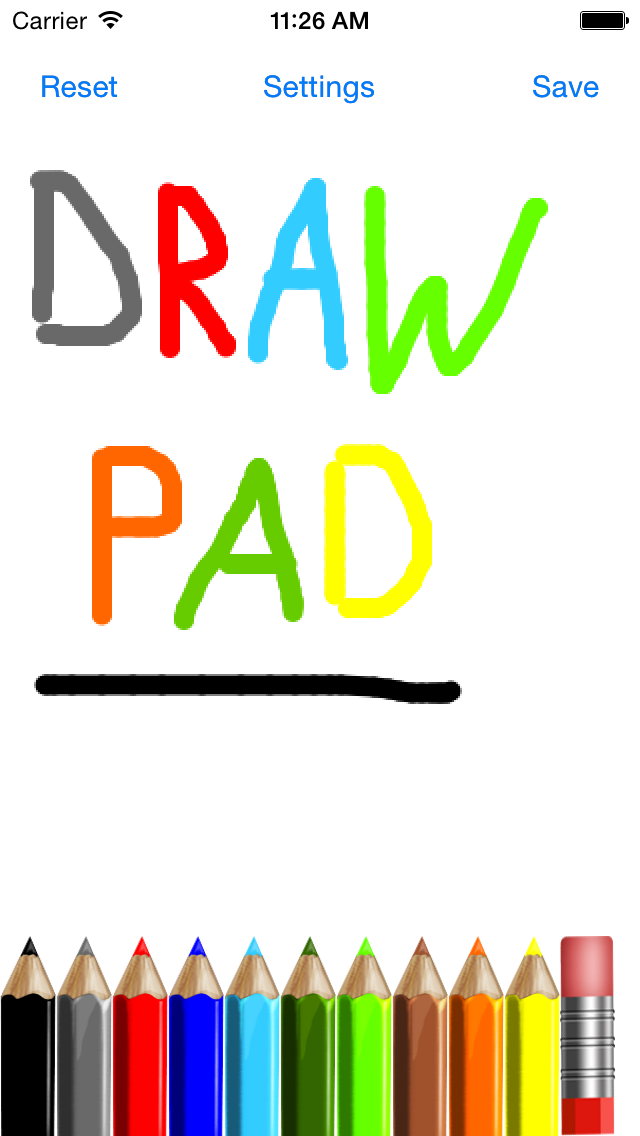
There are 10 color buttons on the screen at the moment, but if you tap any button right now, nothing will happen. First, you’ll need to define all the colors. Add the following array property to the class:
let colors: [(CGFloat, CGFloat, CGFloat)] = [
  (0, 0, 0),
  (105.0 / 255.0, 105.0 / 255.0, 105.0 / 255.0),
  (1.0, 0, 0),
  (0, 0, 1.0),
  (51.0 / 255.0, 204.0 / 255.0, 1.0),
  (102.0 / 255.0, 204.0 / 255.0, 0),
  (102.0 / 255.0, 1.0, 0),
  (160.0 / 255.0, 82.0 / 255.0, 45.0 / 255.0),
  (1.0, 102.0 / 255.0, 0),
  (1.0, 1.0, 0),
  (1.0, 1.0, 1.0),
]
This builds up an array of RGB values, where each array element is a tuple of three CGFloats. The colors here match the order of the colors in the interface as well as each button’s tag.
Next, find pencilPressed and add the following implementation:
// 1
var index = sender.tag ?? 0
if index < 0 || index >= colors.count {
  index = 0
}

// 2
(red, green, blue) = colors[index]

// 3
if index == colors.count - 1 {
  opacity = 1.0
}
This is a short method, but let’s look at it step by step:
- First, you need to know which color index the user selected. There are many places this could go wrong – incorrect tag, tag not set, not enough colors in the array – so there are a few checks here. The default if the value is out of range is just black, the first color.
- Next, you set the
red,green, andblueproperties. You didn’t know you could set multiple variables with a tuple like that? There’s your Swift tip of the day! :] - The last color is the eraser, so it’s a bit special. The eraser button sets the color to white and opacity to 1.0. As your background color is also white, this will give you a very handy eraser effect!
What? Time for more drawing already? Yup — build and run, and get ready to let the colors fly! Now, tapping a color button changes the brush stroke to use that button’s color. No more drab line art!
Tabula Rasa
All great artists have those moments where they step back and shake their head muttering “No! No! This will never do!” You’ll want to provide a way to clear the drawing canvas and start over again. You already have a ‘Reset’ button set up in your app for this.
Find reset() and fill in the implementation as follows:
mainImageView.image = nil
That’s it, believe it or not! All the code above does is set the mainImageView‘s image nil, and — voila — your canvas is cleared! Remember, you drew lines into the image view’s image context, so clearing that out to nil here will reset everything.
Build and run your code again. Draw something, and then tap the Reset button to clear your drawing. There! No need to go tearing up canvases in frustration.
Finishing Touches — Settings
Okay! You now have a functional drawing app, but there’s still that second screen of settings to deal with!
First, open SettingsViewController.swift and add the following two properties to the class:
var brush: CGFloat = 10.0
var opacity: CGFloat = 1.0
This will let you keep track of the brush size and opacity the user selects.
Now add the following implementation to sliderChanged():
if sender == sliderBrush {
  brush = CGFloat(sender.value)
  labelBrush.text = NSString(format: "%.2f", brush.native) as String
} else {
  opacity = CGFloat(sender.value)
  labelOpacity.text = NSString(format: "%.2f", opacity.native) as String
}

drawPreview()
In the code above, as the slider control changes, the slider values will change appropriately to match. Then you’ll need to update those preview images in drawPreview, which you’ll add next!
Add the implementation for drawPreview:
func drawPreview() {
  UIGraphicsBeginImageContext(imageViewBrush.frame.size)
  var context = UIGraphicsGetCurrentContext()

  CGContextSetLineCap(context, kCGLineCapRound)
  CGContextSetLineWidth(context, brush)

  CGContextSetRGBStrokeColor(context, 0.0, 0.0, 0.0, 1.0)
  CGContextMoveToPoint(context, 45.0, 45.0)
  CGContextAddLineToPoint(context, 45.0, 45.0)
  CGContextStrokePath(context)
  imageViewBrush.image = UIGraphicsGetImageFromCurrentImageContext()
  UIGraphicsEndImageContext()

  UIGraphicsBeginImageContext(imageViewBrush.frame.size)
  context = UIGraphicsGetCurrentContext()

  CGContextSetLineCap(context, kCGLineCapRound)
  CGContextSetLineWidth(context, 20)
  CGContextMoveToPoint(context, 45.0, 45.0)
  CGContextAddLineToPoint(context, 45.0, 45.0)

  CGContextSetRGBStrokeColor(context, 0.0, 0.0, 0.0, opacity)
  CGContextStrokePath(context)
  imageViewOpacity.image = UIGraphicsGetImageFromCurrentImageContext()

  UIGraphicsEndImageContext()
}
This method uses the same techniques to draw a preview of the settings like ViewController uses in the touch handling methods. In both cases, the method draws a single point rather than a line with the appropriate line width and opacity from the slider values.
Build and run your code, open the Settings screen, and play around with the sliders. You will see that the preview images and value labels change as you move it now!

Settings Integration
There’s still one important piece missing here. Did you notice what it was?
The updated opacity and width values are still not being applied to the ViewController drawing canvas! That’s because you have not yet communicated the values specified in the Settings screen to the ViewController yet. This is a perfect job for a delegate protocol.
Open SettingsViewController.swift file and add the following code just below the imports:
protocol SettingsViewControllerDelegate: class {
  func settingsViewControllerFinished(settingsViewController: SettingsViewController)
}
This will define a class protocol with one required method. This will be the way for the settings screen to communicate back with any interested party on what the settings are.
Also add a property to the SettingsViewController class:
weak var delegate: SettingsViewControllerDelegate?
This will hold the reference to the delegate. If there is a delegate, you’ll need to notify it when the user taps the Close button. Find close() and add the following line to the end of the method:
self.delegate?.settingsViewControllerFinished(self)
This will call the delegate method so it can update itself with the new values.
Now, open ViewController.swift and add a new class extension for the protocol to the bottom of the file:
extension ViewController: SettingsViewControllerDelegate {
  func settingsViewControllerFinished(settingsViewController: SettingsViewController) {
    self.brushWidth = settingsViewController.brush
    self.opacity = settingsViewController.opacity
  }
}
This declares the class as conforming to SettingsViewControllerDelegate and implements its one method. In the implementation, all it needs to do is set the current brush width and opacity to the values from the settings view’s slider controls.
When the user moves from the drawing to the settings, you’ll want the sliders to show the currently-selected values for brush size and opacity. That means you’ll need to pass them along when you open the settings.
Add the following method override to the class:
override func prepareForSegue(segue: UIStoryboardSegue, sender: AnyObject?) {
  let settingsViewController = segue.destinationViewController as! SettingsViewController
  settingsViewController.delegate = self
  settingsViewController.brush = brushWidth
  settingsViewController.opacity = opacity
}
When the user triggers the segue by tapping the Settings button, this method will then configure the new SettingsViewController by setting itself as the delegate and passing the current brush and opacity settings through.
Build and run! At this stage, you will see the brush and opacity values are now updated after you change them in the settings screen. Now you can draw with many colors of different brush sizes and opacity levels!
