Geofencing with Core Location: Getting Started
In this geofencing tutorial, you’ll learn how to create and use geofences in iOS with Swift using the Core Location framework. By Michael Katz.
Notifying the User of Geofence Events
You've made a lot of progress with the app. Now you need to notify the user whenever the device crosses the geofence of a geotification.
To obtain the note associated with a triggering CLCircularRegion returned by the delegate calls, you need to retrieve the corresponding geotification that was persisted in UserDefaults. This turns out to be trivial, as you can use the unique identifier you assigned to CLCircularRegion during registration to find the right geotification.
In SceneDelegate.swift, add the following helper method at the bottom of SceneDelegate:
func note(from identifier: String) -> String? {
  let geotifications = Geotification.allGeotifications()
  let matched = geotifications.first { $0.identifier == identifier }
  return matched?.note
}
This helper method retrieves the geotification from the persistent store, based on its identifier, and returns the note for that geotification.
Now that you're able to retrieve the note associated with a geofence, you'll write code to trigger a notification whenever a geofence event fires and to use the note as the message.
First you'll need permission to send the user notifications, which you can do when the app launches. Open AppDelegate.swift and add the following method to AppDelegate:
func application(
  _ application: UIApplication,
  didFinishLaunchingWithOptions
    launchOptions: [UIApplication.LaunchOptionsKey: Any]? = nil
) -> Bool {
  let options: UNAuthorizationOptions = [.badge, .sound, .alert]
  UNUserNotificationCenter.current()
    .requestAuthorization(options: options) { _, error in
      if let error = error {
        print("Error: \(error)")
      }
    }
  return true
}
This method requests authorization to use user notifications and display a badge, sound and alert when a location event is triggered. For now, it logs if there's an error.
Next, add the following method:
func applicationDidBecomeActive(_ application: UIApplication) {
  application.applicationIconBadgeNumber = 0
  UNUserNotificationCenter.current().removeAllPendingNotificationRequests()
  UNUserNotificationCenter.current().removeAllDeliveredNotifications()
}
This does some housekeeping by clearing out all existing notifications whenever the app becomes active.
Building the Notification
Next, go back to SceneDelegate.swift and replace handleEvent(for:) with the following:
func handleEvent(for region: CLRegion) {
  // Show an alert if application is active
  // 1
  if UIApplication.shared.applicationState == .active {
    guard let message = note(from: region.identifier) else { return }
    window?.rootViewController?.showAlert(withTitle: nil, message: message)
  } else {
    // Otherwise present a local notification
    // 2
    guard let body = note(from: region.identifier) else { return }
    let notificationContent = UNMutableNotificationContent()
    notificationContent.body = body
    notificationContent.sound = .default
    notificationContent.badge = UIApplication.shared
      .applicationIconBadgeNumber + 1 as NSNumber
    // 3
    let trigger = UNTimeIntervalNotificationTrigger(
      timeInterval: 1,
      repeats: false)
    let request = UNNotificationRequest(
      identifier: "location_change",
      content: notificationContent,
      trigger: trigger)
    UNUserNotificationCenter.current().add(request) { error in
      if let error = error {
        print("Error: \(error)")
      }
    }
  }
}
Here's what's happening in the code above:
- If the application is active, show an alert view informing the user.
- If the application is not active, get the text from the geotification, and build a local notification.
- Send a request to show the local notification.
Build and run, accept the notification permission, and run through the test procedure covered in the previous section. Whenever your test triggers a geofence event, you'll see an alert controller displaying the reminder note:

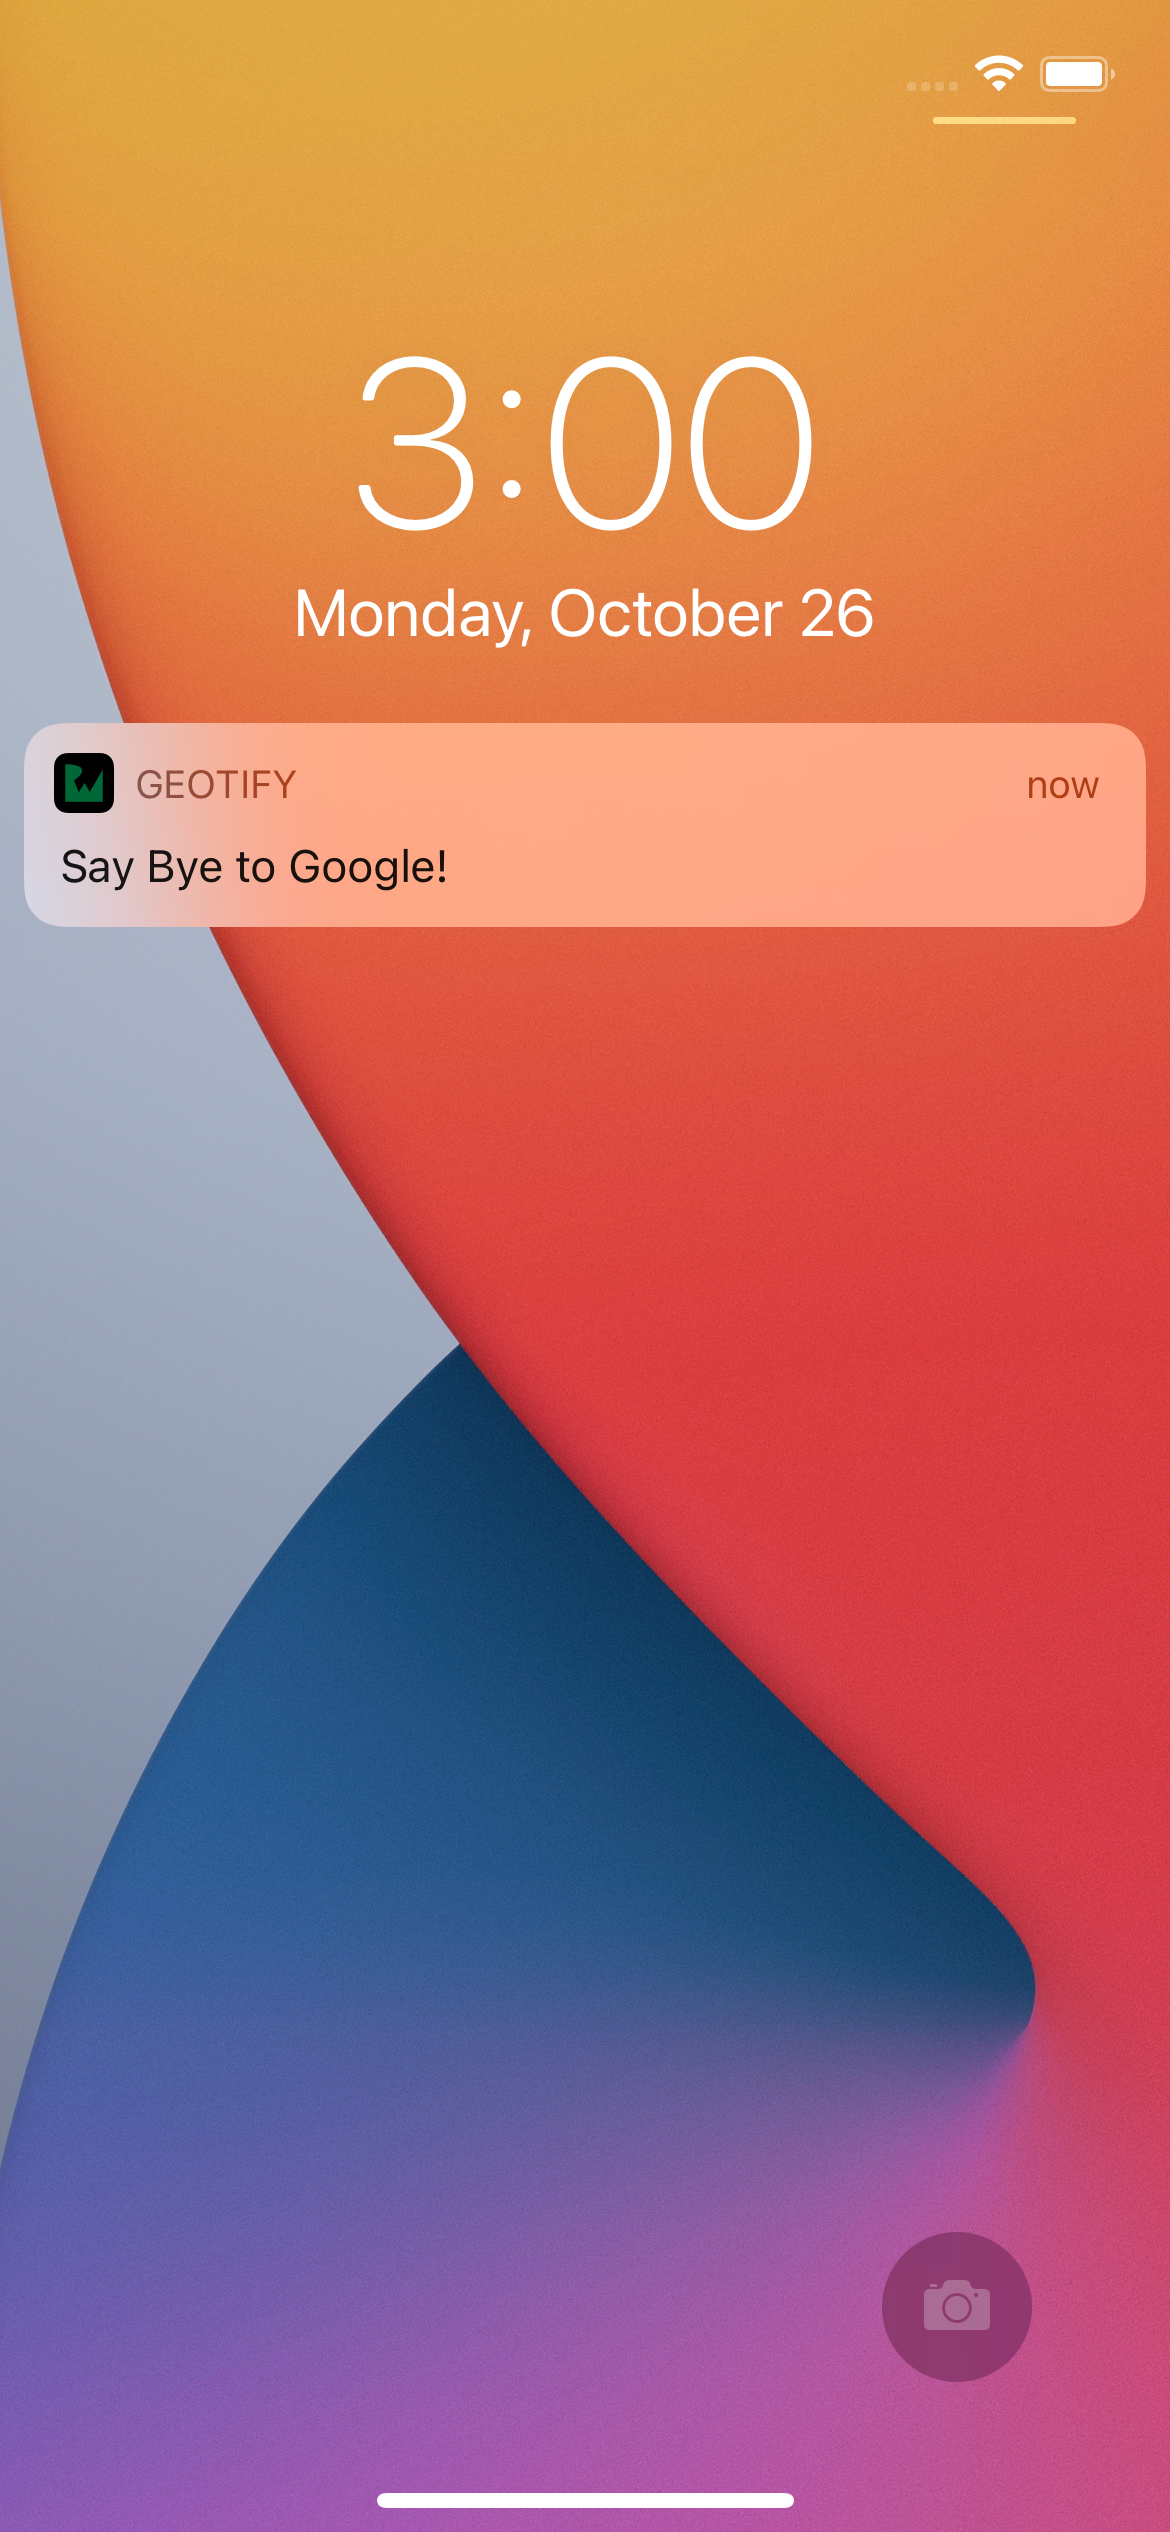
Send the app to the background by activating the home button or locking the device while the test is running. You'll continue to periodically receive notifications that signal geofence events:
And with that, you have a fully functional, location-based reminder app in your hands. And yes, get out there and take that app for a spin!
This is because before iOS considers a boundary crossed, there's an additional cushion distance that must be traversed and a minimum time period that the device must linger at the new location. iOS defines these thresholds internally, seemingly to mitigate the spurious firing of notifications in the event the user is traveling close to a geofence boundary.
In addition, these thresholds seem to be affected by the available location hardware capabilities. The geofencing behavior seems to be a lot more accurate when Wi-Fi is enabled on the device.
Where to Go From Here?
Download the completed project files by clicking the Download Materials button at the top or bottom of the tutorial.
Congratulations! You're now equipped with the basic knowledge you need to build your own geofencing-enabled apps!
Geofencing is a powerful technology with many practical and far-reaching applications in such realms as marketing, resource management, security, parental control and even gaming. What you can achieve is up to your imagination. You can read Apple's Region Monitoring to learn more.
Learn more with our MapKit pro course or our MapKit and Core Location video course!
We hope you enjoyed this tutorial. If you have any questions or comments, please join the forum discussion below!