Geofencing with Core Location: Getting Started
In this geofencing tutorial, you’ll learn how to create and use geofences in iOS with Swift using the Core Location framework.
Version
- Swift 5, iOS 14, Xcode 12

Geofencing notifies an app when its device enters or leaves configured geographical regions. For example, it lets you make cool apps that can trigger a notification when you leave home or greet users with deals whenever their favorite shops are nearby.
In this geofencing tutorial, you’ll learn how to use the Region Monitoring API from Core Location. More specifically, you’ll cover how to:
- Set up Core Location and permissions
- Register your geofences
- React to geofence events
- Notify users of geofence events
To do this, you’ll create a location-based reminder app called Geotify that will let users create reminders and associate them with real-world locations.
Getting Started
Download the starter project by clicking the Download Materials button at the top or bottom of the tutorial.
The starter project provides a simple user interface for adding and removing annotation items to a map view. Each annotation item represents a reminder with a location, called a geotification.
Build and run the project, and you’ll see an empty map view.
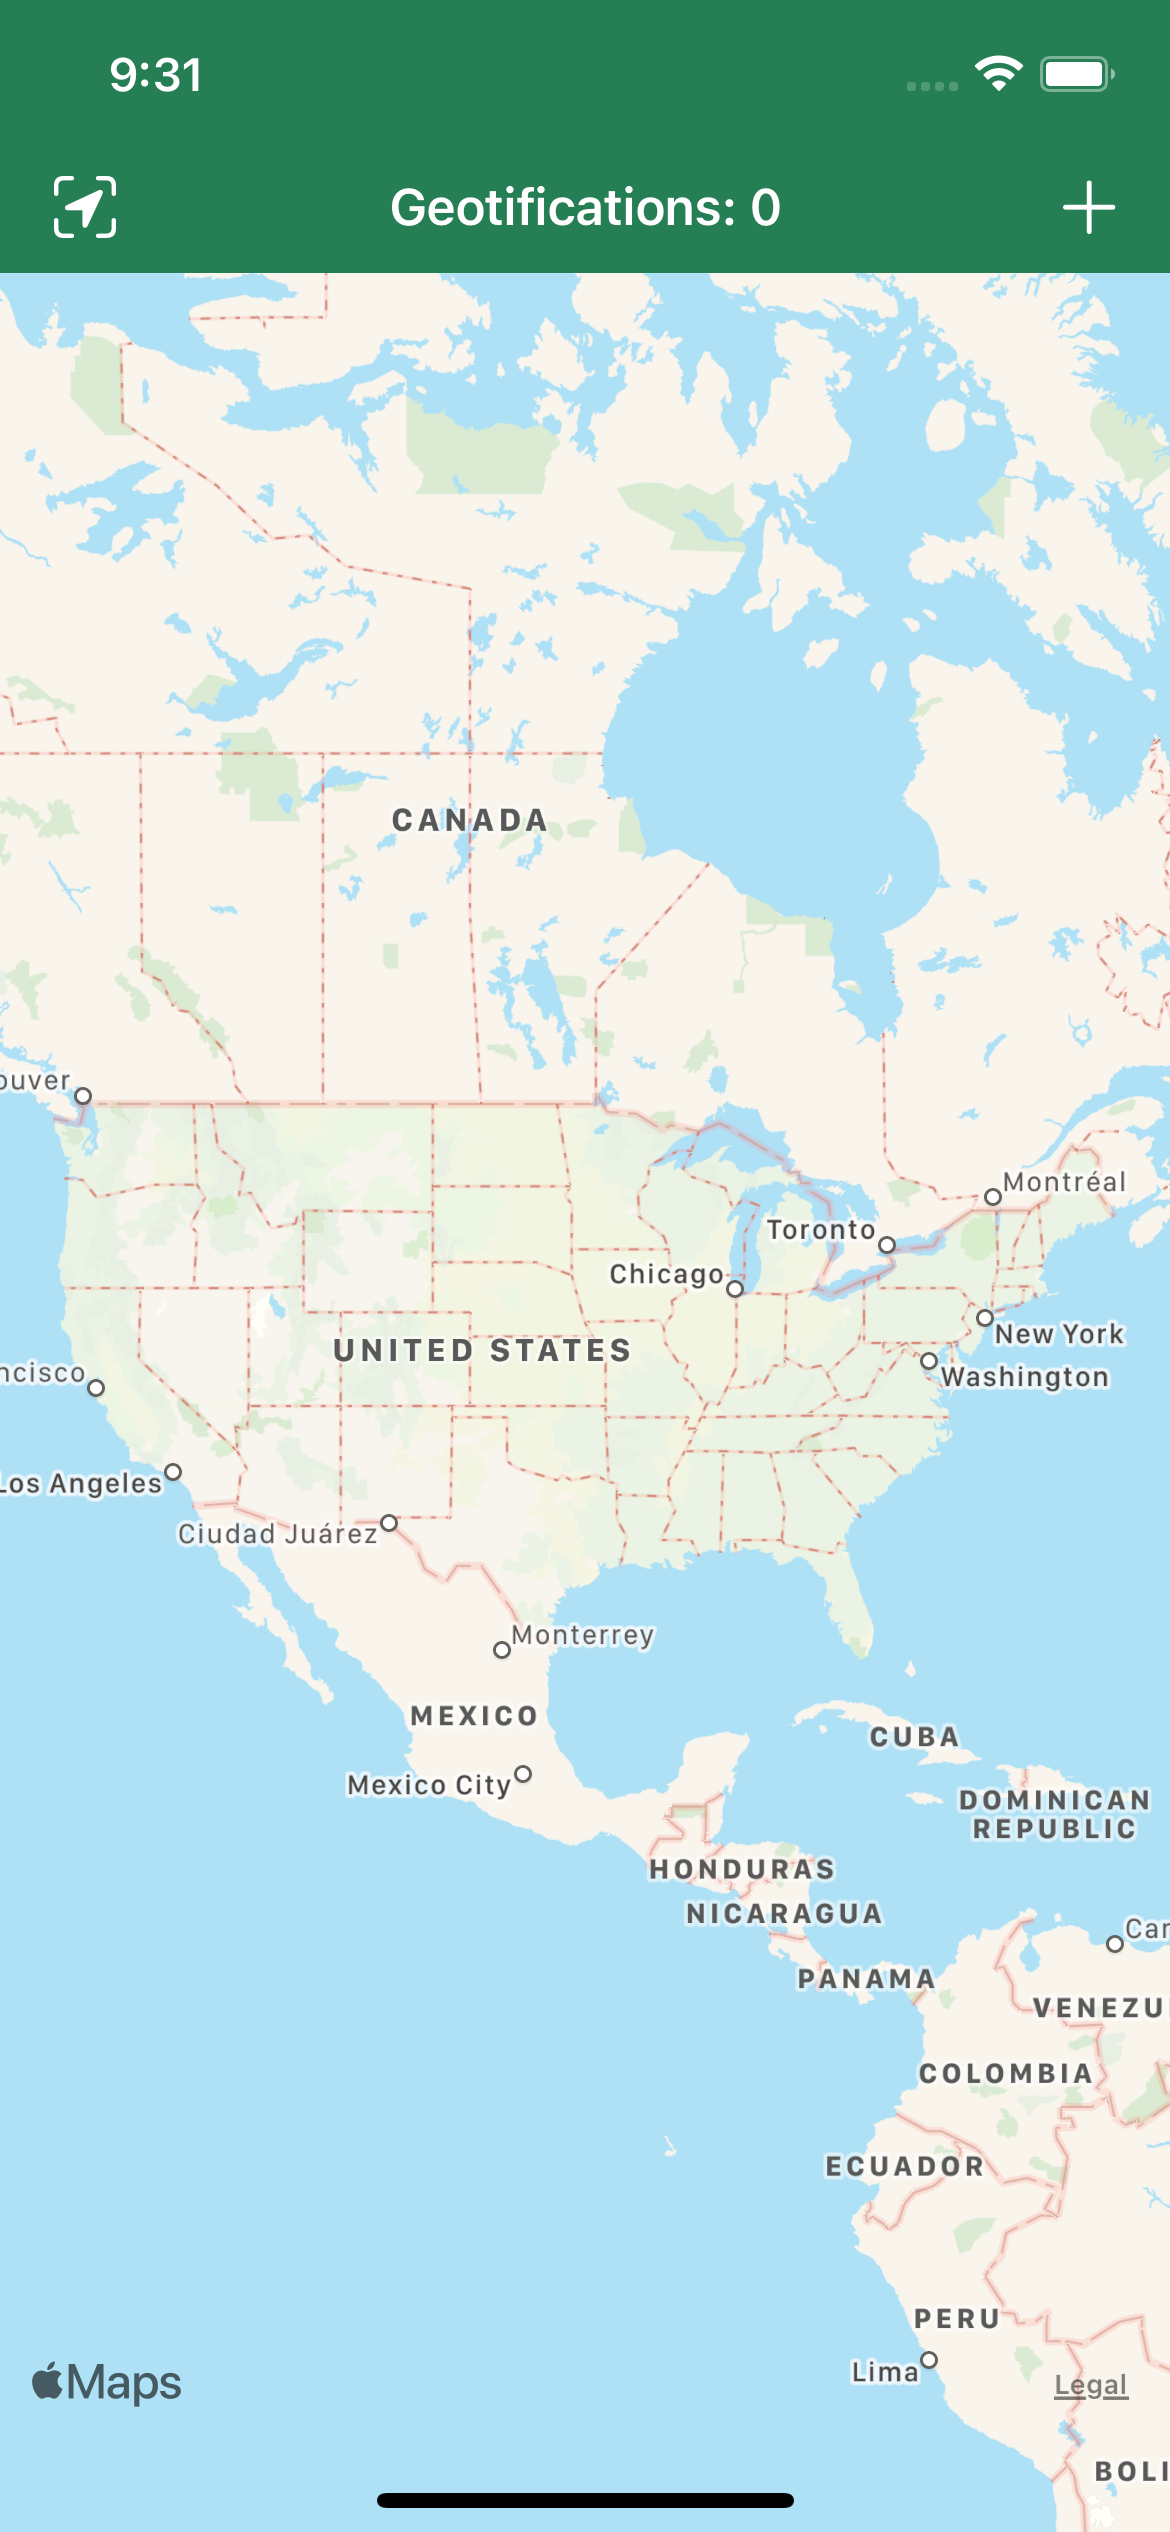
The app is set up for users to start adding their geotifications right away.
Do You Know the Way to San Jose?
Tap the + button in the navigation bar to add a new geotification. The app will present a separate view, allowing you to set up various properties for your geotification.
For this tutorial, you’ll add a pin to Apple Park in Cupertino. If you don’t know where it is, open this map and use it to find the correct spot. Be sure to zoom in to make it accurate!
This is what the map will look like once you zoom and drag to the correct spot in Cupertino.
Say Hi to Tim
The Radius represents the distance (in meters) from the specified location where iOS will trigger the notification. The Note can be any message the user wishes to display as part of the notification. The app also lets the user specify — via the segmented control at the top — whether the reminder should be triggered upon entry to or exit from the defined circular geofence.
Enter 1000
for the radius value and Say Hi to Tim! for the note, and leave the top switch at Upon Entry for your first geotification.
Click + once you’re satisfied with all the values. You’ll see your geotification appear as a new annotation pin on the map view, with a circle around it denoting the defined geofence:
Tap the pin and you’ll reveal the geotification details you set earlier. Don’t tap the trash button unless you want to delete the geotification!
Feel free to add or remove as many geotifications as you want. Since the app uses UserDefaults
as a persistent store, the list of geotifications will persist between launches.
Setting Up Core Location
At this point, any geotifications you’ve added to the map view are only visual; you won’t actually receive any notifications. You’ll fix this by taking each geotification and registering its associated geofence with Core Location for monitoring.
But before any geofence monitoring can happen, you need to set up a CLLocationManager
and request the appropriate permissions.
Open GeotificationsViewController.swift and add the following after the geotifications
declaration:
lazy var locationManager = CLLocationManager()
This sets up an instance variable to store the location manager. Using lazy
means the initial value isn’t calculated until the first time it’s used.
Next, replace viewDidLoad()
with the following code:
override func viewDidLoad() {
super.viewDidLoad()
// 1
locationManager.delegate = self
// 2
locationManager.requestAlwaysAuthorization()
// 3
loadAllGeotifications()
}
Here’s an overview of what you do in the code above:
- Set the view controller as the
delegate
of thelocationManager
so that the view controller receives the relevant delegate method calls. - Call
requestAlwaysAuthorization()
, which displays a prompt to the user requesting authorization to use location services Always. Apps with geofencing capabilities require Always authorization since they must monitor geofences even when the app isn’t running. - Call
loadAllGeotifications()
, which deserializes the list of geotifications saved toUserDefaults
and loads them into the localgeotifications
array. The method also adds the geotifications as annotations on the map view.
Location Permissions
There are four levels of location permissions the user can grant your app:
- Don’t Allow: The user has refused location access.
- Allow Once: The user will allow your app to determine location just once.
- Allow While Using App: Your app can determine location whenever the app is in the foreground.
- Always Allow: Your app will receive location updates when in the background and be able to determine location in the foreground.
To protect your users’ privacy, even if you request Always permission, the app will only prompt for Allow While Using App in the first instance. This will give you provisional access to background locations, and at some point later on, when a background location event happens, the user will be asked to confirm that they want to continue to allow background location access.
This confirmation will happen at a time outside of your control, and probably when your app is not in the foreground. For this reason, it’s important to clearly explain why you need location access at all times. You do this in Info.plist, under the NSLocationAlwaysAndWhenInUseUsageDescription and NSLocationWhenInUseUsageDescription keys. Without these values, your app won’t request location access. Without a good explanation, the user may reject location permissions. The starter project already contains values for both keys.
Build and run. You’ll see a user prompt with the description taken from Info.plist:
Tap Allow While Using App, as discussed above. Make sure Precise is still On.
Showing the User’s Location
Before implementing geofencing, there’s a small issue you have to resolve: The user’s current location isn’t showing up on the map view! By default, the map view disables this feature, and as a result, the zoom button on the top-left corner of the navigation bar doesn’t work.
Fortunately, the fix isn’t difficult — you’ll enable the current location after the user authorizes the app.
In GeotificationsViewController.swift, find the CLLocationManagerDelegate
extension and add the following code:
func locationManagerDidChangeAuthorization(_ manager: CLLocationManager) {
// 1
let status = manager.authorizationStatus
// 2
mapView.showsUserLocation = (status == .authorizedAlways)
// 3
if status != .authorizedAlways {
let message = """
Your geotification is saved but will only be activated once you grant
Geotify permission to access the device location.
"""
showAlert(withTitle: "Warning", message: message)
}
}
This method is called whenever the location authorization status changes and also when the location manager is first created. This implementation does the following:
- Retrieves the authorization status from the manager.
- Shows the user location when
authorizedAlways
, which is the only mode useful for this app. - If the user hasn’t authorized the app, it displays a message alert.
showAlert(withTitle:message:)
is a helper method in Utilities.swift that takes a title and message and displays an alert view.
Build and run. If you’re running the app on a device, you’ll see the location marker appear on the main map view. If you’re running on the simulator, click Features ▸ Location ▸ Apple in the menu to see the location marker:
The zoom button on the navigation bar now also works. :]
Registering the Geofences
With the location manager configured, you must now allow your app to register user geofences for monitoring.
How Geofencing Works
Geofencing, or region monitoring as it’s known in Apple parlance, requires setting up a circle to monitor. This is defined as a CLCircularRegion
, with a center coordinate and a radius (in meters).
The device can listen for the user entering and/or exiting a circular fence region. An entrance event will fire when the user moves from outside the circle to inside the circle.
An exit event fires when the user leaves the circle.
The location manager callback is called if the following conditions are satisfied:
- The device is capable of monitoring location.
- Monitoring conditions are good enough to resolve a region — a magical combination of GPS, Wi-Fi, sufficient battery and other hardware considerations.
- The user has enabled location services.
- The user has granted Always location permissions with precise monitoring.
- The app isn’t monitoring more than 20 regions.
The app stores the user geofence information within your custom Geotification
model. But to monitor geofences, Core Location requires you to represent each one as a CLCircularRegion
instance. To handle this, you’ll create a helper method that returns a CLCircularRegion
from a given Geotification
object.
Creating Regions
Open Geotification.swift and add the following method to the empty extension at the bottom of the file:
var region: CLCircularRegion {
// 1
let region = CLCircularRegion(
center: coordinate,
radius: radius,
identifier: identifier)
// 2
region.notifyOnEntry = (eventType == .onEntry)
region.notifyOnExit = !region.notifyOnEntry
return region
}
Here’s what the code above does:
- It initializes a
CLCircularRegion
with the location of the geofence, the radius of the geofence and an identifier that allows iOS to distinguish between the registered geofences of a given app. The initialization is straightforward, as the model already contains the required properties. -
CLCircularRegion
also has two Boolean properties:notifyOnEntry
andnotifyOnExit
. These flags specify whether to trigger geofence events when the device enters or leaves the defined geofence, respectively. Since you’re designing your app to allow only one notification type per geofence, set one of the flags totrue
and the other tofalse
based on theeventType
value stored in thegeotification
object.
Next, you need a method to start monitoring a given geotification
whenever the user adds one.
Monitoring Regions
Open GeotificationsViewController.swift and add the following method to the body of GeotificationsViewController
:
func startMonitoring(geotification: Geotification) {
// 1
if !CLLocationManager.isMonitoringAvailable(for: CLCircularRegion.self) {
showAlert(
withTitle: "Error",
message: "Geofencing is not supported on this device!")
return
}
// 2
let fenceRegion = geotification.region
// 3
locationManager.startMonitoring(for: fenceRegion)
}
Here’s an overview of this method:
-
isMonitoringAvailableForClass(_:)
determines if the device has the required hardware to support the monitoring of geofences. If monitoring is unavailable, bail out and alert the user. - Create a
CLCircularRegion
instance from the given geotification using the helper method you defined earlier. - Register the
CLCircularRegion
instance with Core Location for monitoring viaCLLocationManager
.
CLLocationManager
has a method called requestStateForRegion(_:)
.With your start method done, you also need a method to stop monitoring a given geotification when the user removes it from the app.
In GeotificationsViewController.swift, add the following method below startMonitoring(geotificiation:)
:
func stopMonitoring(geotification: Geotification) {
for region in locationManager.monitoredRegions {
guard
let circularRegion = region as? CLCircularRegion,
circularRegion.identifier == geotification.identifier
else { continue }
locationManager.stopMonitoring(for: circularRegion)
}
}
The method instructs locationManager
to stop monitoring the CLCircularRegion
associated with the given geotification.
Adding Geotifications
Now that both the start and stop methods are complete, you’ll use them whenever you add or remove a geotification. You’ll begin with the adding part.
First, take a look at addGeotificationViewController(_:didAddGeotification:)
in GeotificationsViewController.swift.
This is the delegate method invoked by AddGeotificationViewController
upon creating a geotification. It’s responsible for creating a new Geotification
object and updating both the map view and the geotifications
list accordingly. It calls saveAllGeotifications()
, which takes the updated geotifications
list and persists it via UserDefaults
.
Now, replace addGeotificationViewController(_:didAddGeotification:)
with the following:
func addGeotificationViewController(
_ controller: AddGeotificationViewController,
didAddGeotification geotification: Geotification
) {
controller.dismiss(animated: true, completion: nil)
// 1
geotification.clampRadius(maxRadius:
locationManager.maximumRegionMonitoringDistance)
add(geotification)
// 2
startMonitoring(geotification: geotification)
saveAllGeotifications()
}
You’ve made two key changes to the code:
- You ensure the value of the radius doesn’t exceed the
maximumRegionMonitoringDistance
property oflocationManager
, which defines the largest radius, in meters, for a geofence. This is important, as any value that exceeds this maximum will cause monitoring to fail. - You call
startMonitoring(geotification:)
to register the newly added geotification with Core Location for monitoring.
At this point, the app is capable of registering new geofences for monitoring. But there’s a limitation: As geofences are a shared system resource, Core Location restricts the number of registered geofences to a maximum of 20 per app.
While there are workarounds, for this tutorial, you’ll take the approach of limiting the number of geotifications the user can add.
Add the following to the end of updateGeotificationsCount()
:
navigationItem.rightBarButtonItem?.isEnabled = (geotifications.count < 20)
This line disables the Add button in the navigation bar whenever the app reaches the limit.
Removing Geotifications
Now you need to deal with the removal of geotifications. You'll handle this functionality in mapView(_:annotationView:calloutAccessoryControlTapped:)
, which is invoked whenever the user taps the "delete" accessory control on an annotation.
In mapView(_:annotationView:calloutAccessoryControlTapped:)
, before remove(geotification)
, add the following:
stopMonitoring(geotification: geotification)
This stops monitoring the geofence associated with the geotification before removing it and saving the changes to UserDefaults
.
At this point, your app is capable of monitoring and un-monitoring user geofences. Hurray!
Build and run. You won't see any changes, but the app will now be able to register geofence regions for monitoring. However, it won't yet be able to react to any geofence events. Not to worry — this is the next order of business!
Reacting to Geofence Events
When the user enters or leaves a geofence region, your app could be running in the foreground, running in the background, or not running at all! You have to deal with all of these possibilities.
Handling Location Errors
You'll start by implementing some of the delegate methods to facilitate error handling. These are important to add in case anything goes wrong.
In GeotificationsViewController.swift, add the following methods to CLLocationManagerDelegate
:
func locationManager(
_ manager: CLLocationManager,
monitoringDidFailFor region: CLRegion?,
withError error: Error
) {
guard let region = region else {
print("Monitoring failed for unknown region")
return
}
print("Monitoring failed for region with identifier: \(region.identifier)")
}
func locationManager(
_ manager: CLLocationManager,
didFailWithError error: Error
) {
print("Location Manager failed with the following error: \(error)")
}
These delegate methods log any errors the location manager encounters to facilitate your debugging.
Handling Location Events
Next, you'll add the code to listen for and react to geofence entry and exit events.
Open SceneDelegate.swift and add the following line at the top of the file to import the CoreLocation
framework:
import CoreLocation
Add a new property below var window: UIWindow?
:
let locationManager = CLLocationManager()
Then add the following method. It's called when the scene is activated:
func scene(
_ scene: UIScene,
willConnectTo session: UISceneSession,
options connectionOptions: UIScene.ConnectionOptions
) {
locationManager.delegate = self
locationManager.requestAlwaysAuthorization()
}
You've set up your SceneDelegate
to receive geofence-related events. Ignore the error Xcode will show here; you'll fix it shortly. But you might wonder, "Why did I designate SceneDelegate
to do this instead of the view controller?"
iOS monitors the geofences registered by an app at all times, including when the app isn't running. If the device triggers a geofence event while the app isn't running, iOS relaunches the app in the background. This makes SceneDelegate
an ideal entry point for handling the event, as the view controller may not be loaded or ready.
Now you might also wonder, "How will a newly created CLLocationManager
instance know about the monitored geofences?"
It turns out that all geofences registered for monitoring by your app are conveniently accessible by all location managers in your app, so it doesn't matter where you initialize the location managers. Pretty nifty, right? :]
Comings and Goings
Now all that's left is to implement the relevant delegate methods to react to the geofence events. To receive those events, add the following extension to SceneDelegate.swift:
// MARK: - Location Manager Delegate
extension SceneDelegate: CLLocationManagerDelegate {
func locationManager(
_ manager: CLLocationManager,
didEnterRegion region: CLRegion
) {
if region is CLCircularRegion {
handleEvent(for: region)
}
}
func locationManager(
_ manager: CLLocationManager,
didExitRegion region: CLRegion
) {
if region is CLCircularRegion {
handleEvent(for: region)
}
}
func handleEvent(for region: CLRegion) {
print("Geofence triggered!")
}
}
As the method names aptly suggest, you receive locationManager(_:didEnterRegion:)
when the device enters a CLRegion
and locationManager(_:didExitRegion:)
when the device exits a CLRegion
.
Both methods receive the CLRegion
in question. You must ensure it's a CLCircularRegion
, since it could be a CLBeaconRegion
if your app happens to be monitoring iBeacons too. If the region is indeed a CLCircularRegion
, call handleEvent(for:)
.
At this point, handleEvent(_:)
takes in a CLRegion
and logs a statement. Not to worry — you'll implement the event handling later.
Simulating Location Events
Now that your app is able to receive geofence events, you're ready to give it a (maybe literal) test run. If that doesn't excite you, it ought to, because for the first time in this tutorial, you're going to see some results. :]
The most accurate way to test your app is to deploy it on your device, add some geotifications and take the app for a walk or a drive. However, it wouldn't be wise to do so right now, as you wouldn't be able to verify the print logs emitted by the geofence events with the device unplugged. Besides, it'd be nice to get assurance that the app works before you commit to taking it for a spin.
Fortunately, there's an easy way do this without leaving the comfort of your home. Xcode lets you include a hard-coded waypoint GPX file in your project that you can use to simulate test locations. The starter project includes one for your convenience. :]
Open SimulatedLocations.gpx, which you can find in the Supporting Files group, and inspect its contents.
You'll see the following:
<?xml version="1.0"?>
<gpx version="1.1" creator="Xcode">
<wpt lat="37.3349285" lon="-122.011033">
<name>Apple</name>
<time>2014-09-24T14:00:00Z</time>
</wpt>
<wpt lat="37.422" lon="-122.084058">
<name>Google</name>
<time>2014-09-24T14:00:05Z</time>
</wpt>
</gpx>
The GPX file is essentially an XML file that contains two waypoints: Google's Googleplex in Mountain View, and Apple Park in Cupertino. You'll notice there are time nodes on each waypoint. They're spaced at five seconds apart, so when you simulate locations with this file, it'll take five seconds to go between Apple and Google. There are also two more GPX files: Google.gpx and Apple.gpx. These are fixed locations, and you may use them for convenience when creating geofences.
Going on an Imaginary Drive
To begin simulating the locations in the GPX file, build and run the project. When the app launches the main view controller, go back to Xcode, select the Location icon in the Debug bar, and choose SimulatedLocations:
Back in the app, use the zoom button in the top-left of the navigation bar to zoom to the current location. Once you get close to the area, you'll see the location marker moving from the Googleplex to Apple Park and back.
Test the app by adding a few geotifications along the path defined by the two waypoints. If you added any geotifications earlier in the tutorial before you enabled geofence registration, those geotifications won't work, so you might want to clear them out and start anew.
For the test locations, it's a good idea to place a geotification roughly at each waypoint. Here's a possible test scenario:
- Google: Radius: 1000m, Message: "Say Bye to Google!", Notify on Exit
- Apple: Radius: 1000m, Message: "Say Hi to Apple!", Notify on Entry
Once you've added your geotifications, you'll see a log in the console each time the location marker enters or leaves a geofence. If you activate the home button or lock the screen to send the app to the background, you'll also see the logs each time the device crosses a geofence, though you won't be able to verify that behavior.
Notifying the User of Geofence Events
You've made a lot of progress with the app. Now you need to notify the user whenever the device crosses the geofence of a geotification.
To obtain the note associated with a triggering CLCircularRegion
returned by the delegate calls, you need to retrieve the corresponding geotification that was persisted in UserDefaults
. This turns out to be trivial, as you can use the unique identifier you assigned to CLCircularRegion
during registration to find the right geotification.
In SceneDelegate.swift, add the following helper method at the bottom of SceneDelegate
:
func note(from identifier: String) -> String? {
let geotifications = Geotification.allGeotifications()
let matched = geotifications.first { $0.identifier == identifier }
return matched?.note
}
This helper method retrieves the geotification from the persistent store, based on its identifier, and returns the note for that geotification.
Now that you're able to retrieve the note associated with a geofence, you'll write code to trigger a notification whenever a geofence event fires and to use the note as the message.
First you'll need permission to send the user notifications, which you can do when the app launches. Open AppDelegate.swift and add the following method to AppDelegate
:
func application(
_ application: UIApplication,
didFinishLaunchingWithOptions
launchOptions: [UIApplication.LaunchOptionsKey: Any]? = nil
) -> Bool {
let options: UNAuthorizationOptions = [.badge, .sound, .alert]
UNUserNotificationCenter.current()
.requestAuthorization(options: options) { _, error in
if let error = error {
print("Error: \(error)")
}
}
return true
}
This method requests authorization to use user notifications and display a badge, sound and alert when a location event is triggered. For now, it logs if there's an error.
Next, add the following method:
func applicationDidBecomeActive(_ application: UIApplication) {
application.applicationIconBadgeNumber = 0
UNUserNotificationCenter.current().removeAllPendingNotificationRequests()
UNUserNotificationCenter.current().removeAllDeliveredNotifications()
}
This does some housekeeping by clearing out all existing notifications whenever the app becomes active.
Building the Notification
Next, go back to SceneDelegate.swift and replace handleEvent(for:)
with the following:
func handleEvent(for region: CLRegion) {
// Show an alert if application is active
// 1
if UIApplication.shared.applicationState == .active {
guard let message = note(from: region.identifier) else { return }
window?.rootViewController?.showAlert(withTitle: nil, message: message)
} else {
// Otherwise present a local notification
// 2
guard let body = note(from: region.identifier) else { return }
let notificationContent = UNMutableNotificationContent()
notificationContent.body = body
notificationContent.sound = .default
notificationContent.badge = UIApplication.shared
.applicationIconBadgeNumber + 1 as NSNumber
// 3
let trigger = UNTimeIntervalNotificationTrigger(
timeInterval: 1,
repeats: false)
let request = UNNotificationRequest(
identifier: "location_change",
content: notificationContent,
trigger: trigger)
UNUserNotificationCenter.current().add(request) { error in
if let error = error {
print("Error: \(error)")
}
}
}
}
Here's what's happening in the code above:
- If the application is active, show an alert view informing the user.
- If the application is not active, get the text from the geotification, and build a local notification.
- Send a request to show the local notification.
Build and run, accept the notification permission, and run through the test procedure covered in the previous section. Whenever your test triggers a geofence event, you'll see an alert controller displaying the reminder note:
Send the app to the background by activating the home button or locking the device while the test is running. You'll continue to periodically receive notifications that signal geofence events:
And with that, you have a fully functional, location-based reminder app in your hands. And yes, get out there and take that app for a spin!
This is because before iOS considers a boundary crossed, there's an additional cushion distance that must be traversed and a minimum time period that the device must linger at the new location. iOS defines these thresholds internally, seemingly to mitigate the spurious firing of notifications in the event the user is traveling close to a geofence boundary.
In addition, these thresholds seem to be affected by the available location hardware capabilities. The geofencing behavior seems to be a lot more accurate when Wi-Fi is enabled on the device.
Where to Go From Here?
Download the completed project files by clicking the Download Materials button at the top or bottom of the tutorial.
Congratulations! You're now equipped with the basic knowledge you need to build your own geofencing-enabled apps!
Geofencing is a powerful technology with many practical and far-reaching applications in such realms as marketing, resource management, security, parental control and even gaming. What you can achieve is up to your imagination. You can read Apple's Region Monitoring to learn more.
Learn more with our MapKit pro course or our MapKit and Core Location video course!
We hope you enjoyed this tutorial. If you have any questions or comments, please join the forum discussion below!
Comments