Beginning Machine Learning with scikit-learn
In this Beginning Machine Learning with scikit-learn tutorial, you’ll learn how to create your own CoreML model and integrate it into your iOS app. By Mikael Konutgan.
Training and Validating a Support Vector Machine Model
Add another import to your first cell and re-run it:
import sklearn.svm as svm
Then, add each of the following blocks of code into a cell and run them both:
svr = svm.LinearSVR(random_state=42)
svr.fit(X_train, y_train)
svr.score(X_test, y_test)
svr.predict(X_new)
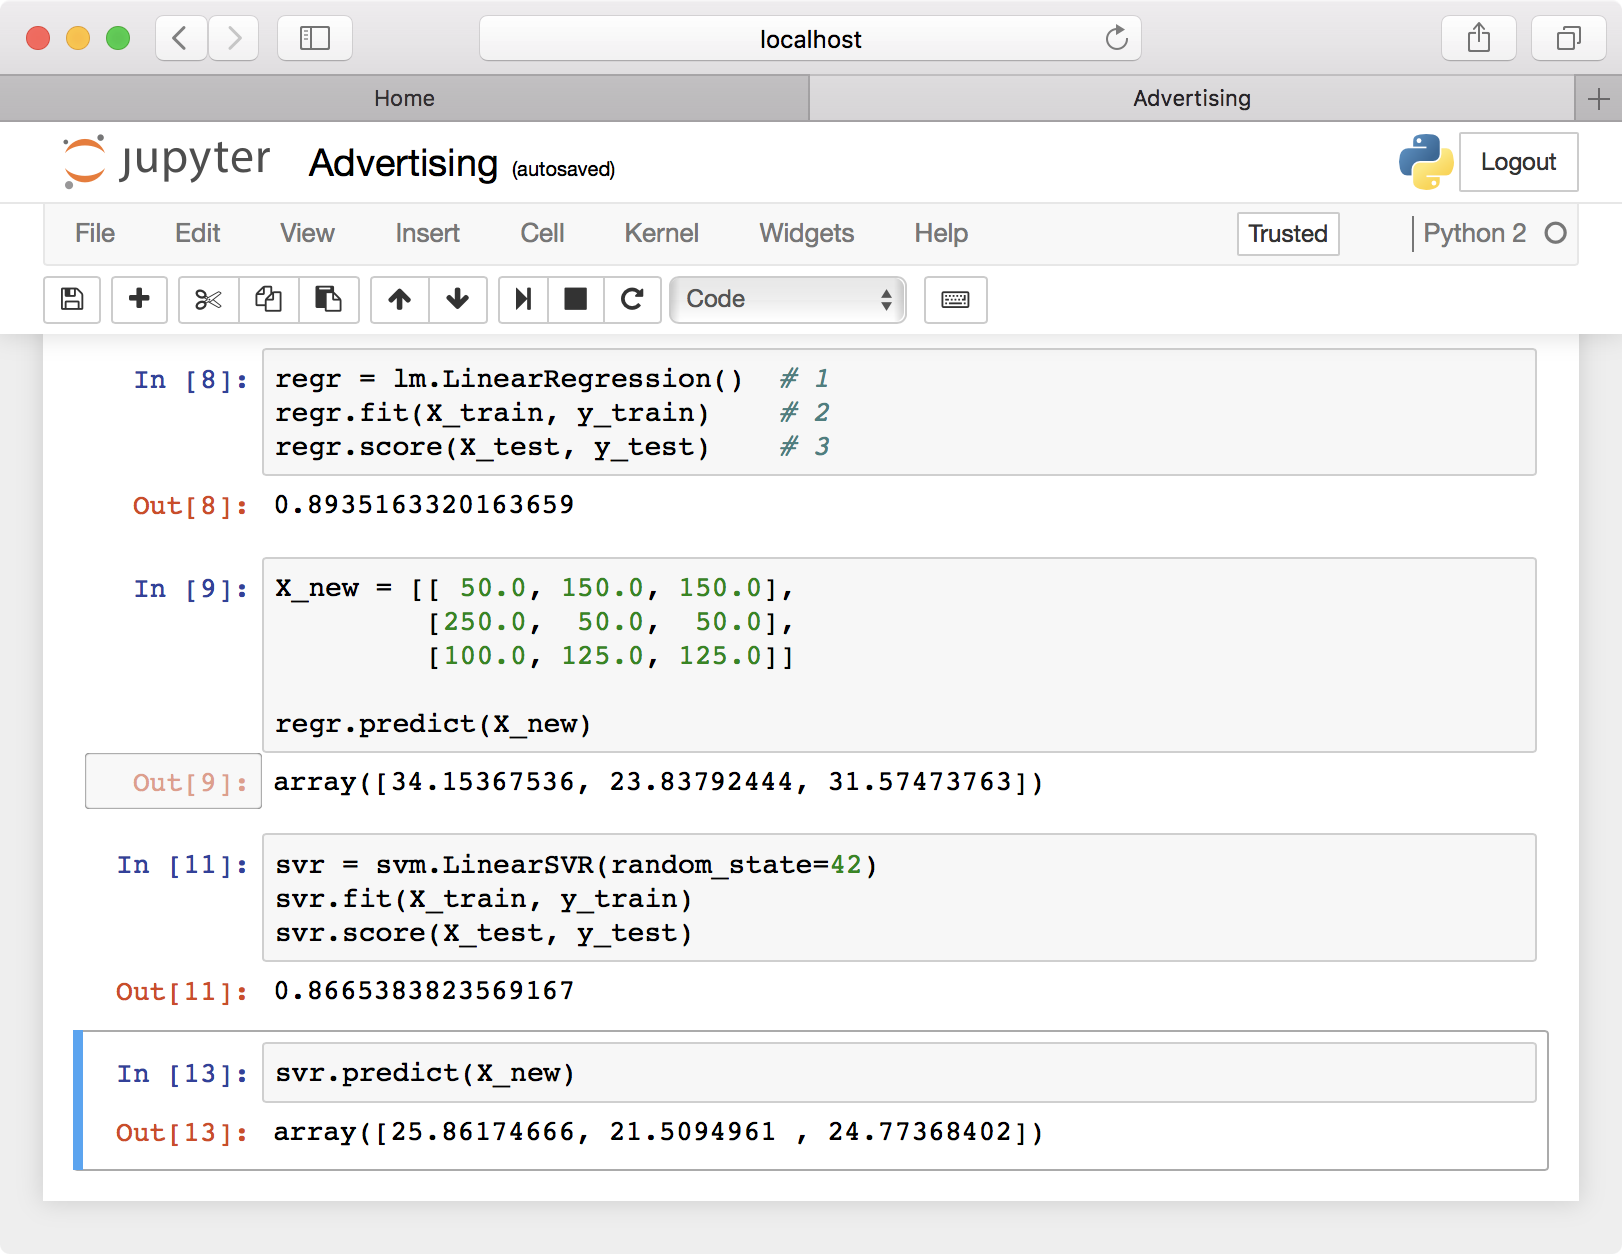
You should see a score of 0.867 and a new set of predictions. You”ll see that the SVM predictions are similar, but quite different. Support vector machines work in different ways and may or may not be appropriate for your data. One of the hardest parts of machine learning is finding the right model and the right parameters for that model to get the best results.
If you want to learn more about SVMs, take a look at the documentation on scikit-learn.org.
Converting the Model to Apple’s Core ML Format
With the model built, it’s time to export it to Core ML. You installed coremltools at the beginning of this tutorial, so go ahead and add the import into the first cell, and run it one last time:
import coremltools
Now, in the last cell of the notebook, enter the following code and run it:
input_features = ["tv", "radio", "newspaper"]
output_feature = "sales"

model = coremltools.converters.sklearn.convert(regr, input_features, output_feature)
model.save("Advertising.mlmodel")
The coremltools.converters.sklearn.convert function takes the following parameters:
- The scikit-learn model to be converted.
- Input and output feature names that Xcode will use to generate a Swift class interface.
Finally, save() takes in the filename of the export. You should be sure to use the .mlmodel extension when saving your model.
The completed notebook will look something like this:
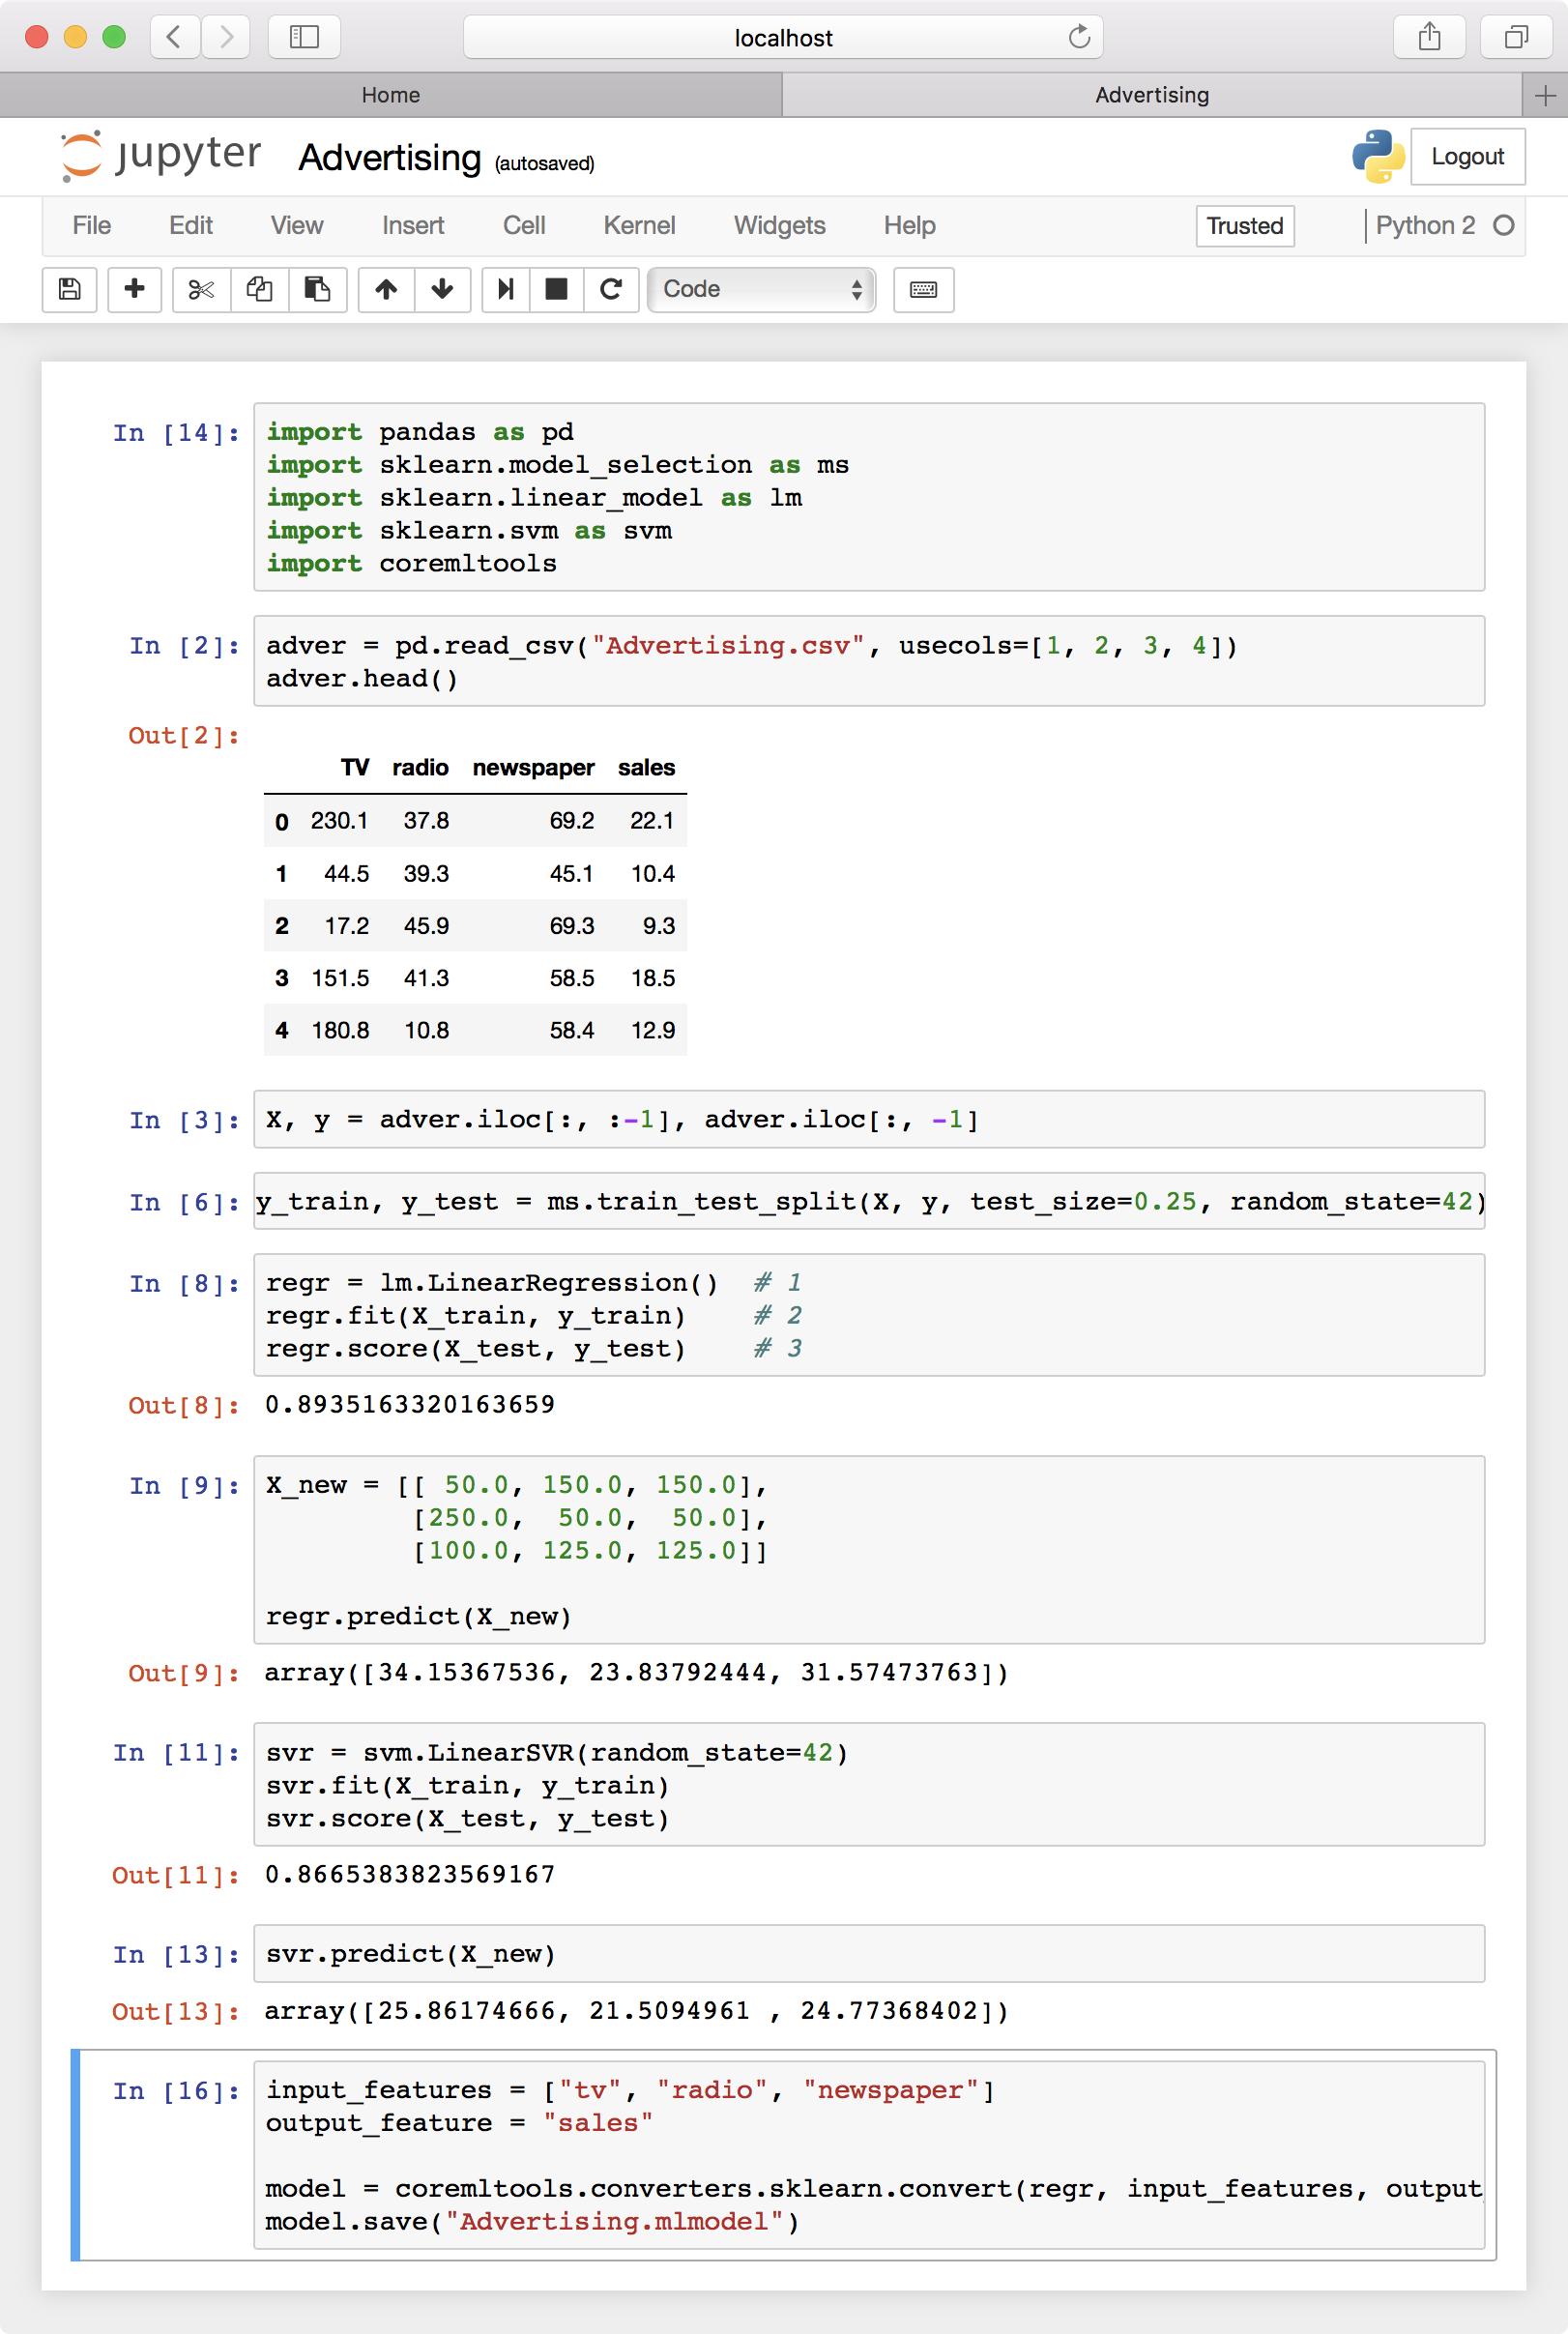
If you look in the folder where the notebook is stored, you’ll see a new file named Advertising.mlmodel. This is the Core ML model file that you can drop into Xcode! You’ll do that next.
Integrating the Core ML Model into Your App
Head back to the starter project that you built and ran earlier, and drag Advertising.mlmodel, from the notebooks directory, into the Project navigator in Xcode.

When prompted, check the Copy items if needed, Create groups and Advertising boxes, and then click Finish. Once your model has been imported into your Xcode project, click on it in the Project navigator and you’ll see some information about it:

.mlmodel. If you want do this, take a look at the Model Interface documentation to see what metadata you can provide.After a few moments, you should see Automatically generated Swift model class. Tapping on the little arrow above will take you to an interface that Xcode has generated from the .mlmodel.
Open ViewController.swift and add a new property right under numberFormatter:
private let advertising = Advertising()
Then, scroll down to sliderValueChanged(_:), and replace the following line:
let sales = 0.0
With the following code:
let input = AdvertisingInput(tv: tv, radio: radio, newspaper: newspaper)

guard let output = try? advertising.prediction(input: input) else {
    return
}

let sales = output.sales
Analogous to scikit-learn’s predict() method, the Core ML model has a prediction method that takes an input struct and returns an output struct, both of which Xcode had generated earlier.
Build and run the app. Notice how the sales prediction updates whenever you change one of the input parameters!

Where to Go From Here?
You can download the completed iOS app and Jupyter notebook from here.
Be sure to check out the scikit-learn documentation, especially the flowchart to choose the right estimator. All the estimators in scikit-learn follow the same API, so you can try many different machine learning algorithms to find one that fits your use case best.
If you’d like to learn more about other ML libraries, check out our Beginning Machine Learning with Keras & Core ML tutorial.
Also check out this Python Data Science Handbook, which has a section on machine learning with many more algorithms.
We hope you enjoyed this tutorial, and if you have any questions or comments, please join the forum discussion below!