Drawing with PencilKit: Getting Started
In this PencilKit tutorial, you’ll learn to use PencilKit and an application where users can draw on a canvas using provided tools. By Christine Abernathy.
Sign up/Sign in
With a free Kodeco account you can download source code, track your progress, bookmark, personalise your learner profile and more!
Create accountAlready a member of Kodeco? Sign in
Sign up/Sign in
With a free Kodeco account you can download source code, track your progress, bookmark, personalise your learner profile and more!
Create accountAlready a member of Kodeco? Sign in
Contents
Drawing with PencilKit: Getting Started
20 mins
Clear the Canvas View
PKCanvasView drawing input is captured in a PKDrawing object. You can save this object for later reuse or even generate an image representation of the object.
Let’s see how to use PKDrawing to clear the canvas.
Still in DrawingView.swift, fill out the deleteDrawing() implementation with the following:
canvasView.drawing = PKDrawing()
Here, you set the drawing property of your canvas view to an empty PKDrawing. This effectively clears the canvas.
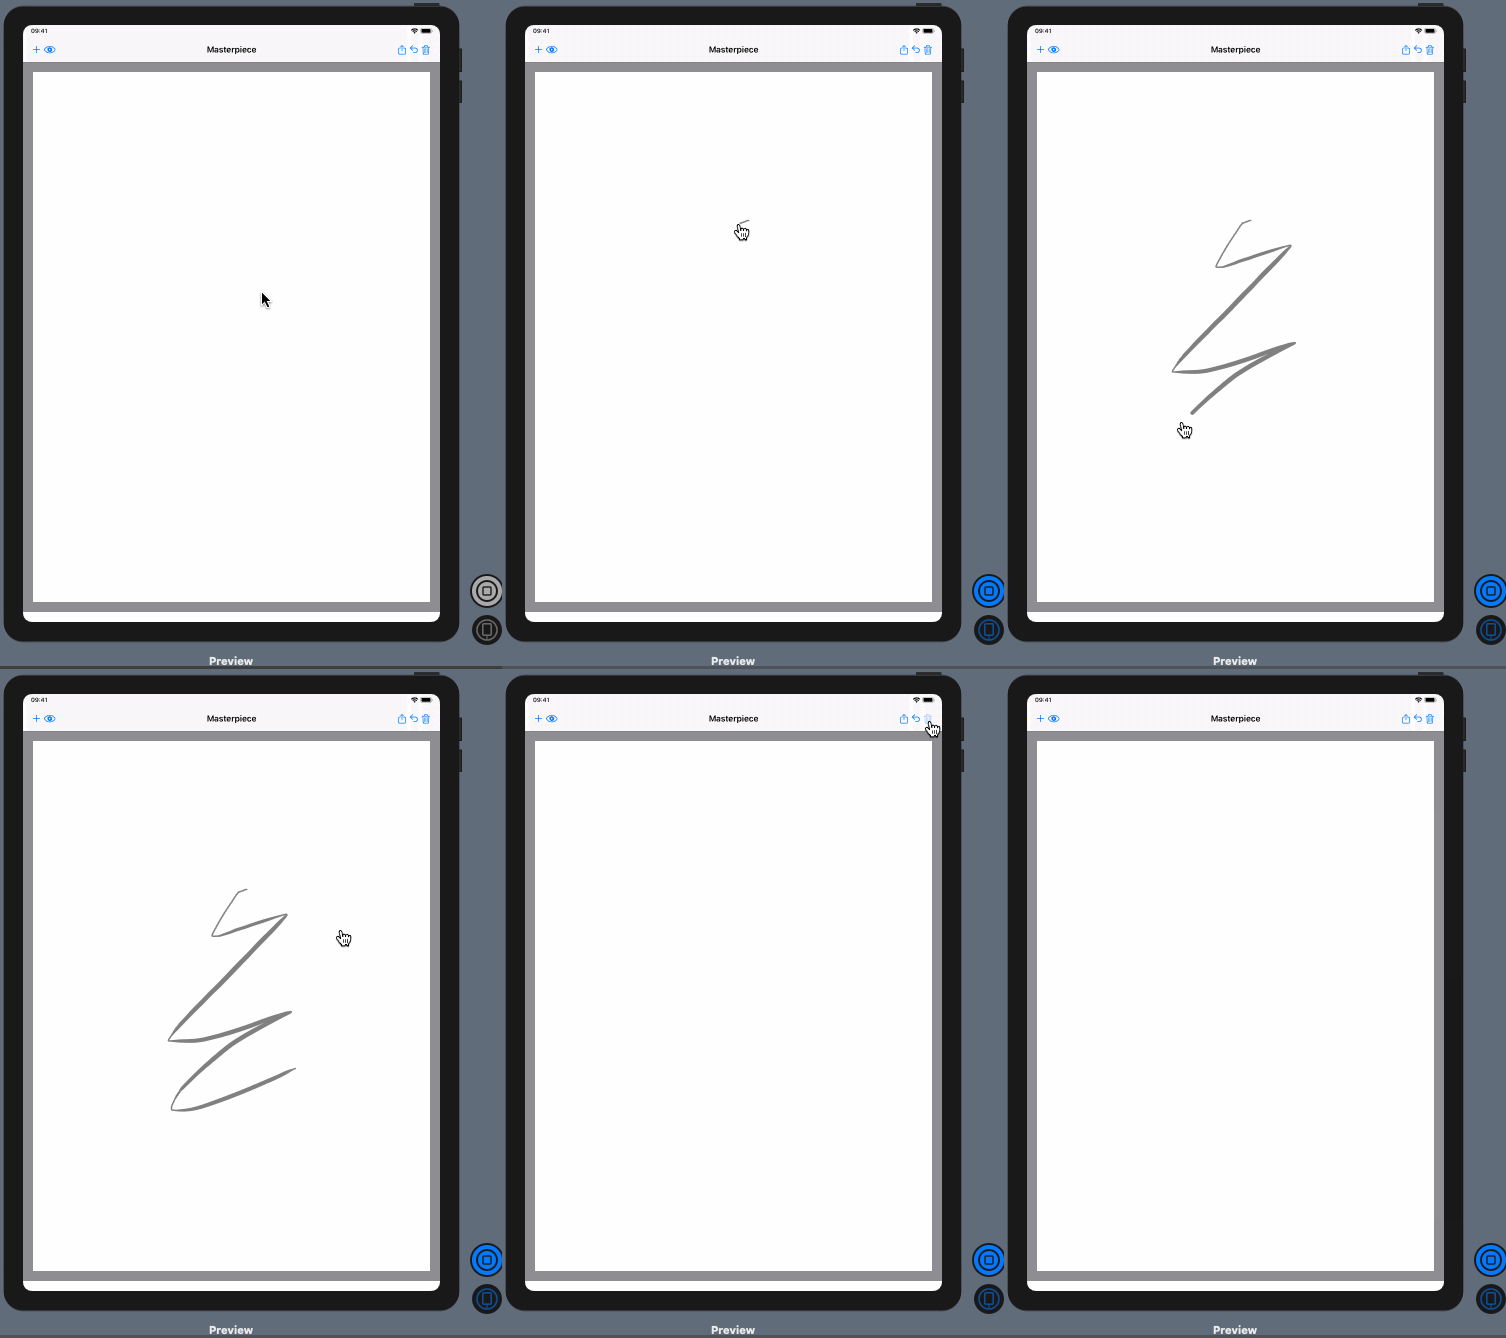
Now, make sure you’re in Live Preview mode. In the preview pane, draw on the canvas and click the trash icon to clear the drawing:
Just like that, you’re well on your way to making the fickle, perfectionist artist happier.
Saving the Drawing
The next logical step is saving a masterpiece rendition. To do this, you build on your knowledge of PKDrawing. If you have iOS experience, you probably suspect that delegates are about to get involved. You’re right!
By adopting PKCanvasViewDelegate, you can track drawing changes in PKCanvasView. Then, you use a Coordinator to communicate back from the delegate to the SwiftUI view.
Go to CanvasView.swift and add the following property to the struct:
let onSaved: () -> Void
This defines a closure that the SwiftUI view can pass to the UIKit view to receive notifications about drawing changes.
Next, add the following to the end of the file:
class Coordinator: NSObject {
  var canvasView: Binding<PKCanvasView>
  let onSaved: () -> Void

  init(canvasView: Binding<PKCanvasView>, onSaved: @escaping () -> Void) {
    self.canvasView = canvasView
    self.onSaved = onSaved
  }
}
This creates a coordinator to communicate between the SwiftUI view and the canvas view. The custom initializer sets up a binding to the canvas view and the closure to call on drawing updates.
Then, add the following method at the end of the UIViewRepresentable extension:
func makeCoordinator() -> Coordinator {
  Coordinator(canvasView: $canvasView, onSaved: onSaved)
}
This code creates the coordinator and returns it to the SwiftUI view. SwiftUI calls this method before makeUIView(context:) sets up your canvas view to ensure that the coordinator is available when you create and configure CanvasView.
Setting up the Delegate
You can now set up your delegate to respond to drawing updates. Add the PKCanvasViewDelegate extension to the end of the file:
extension Coordinator: PKCanvasViewDelegate {
  func canvasViewDrawingDidChange(_ canvasView: PKCanvasView) {
    if !canvasView.drawing.bounds.isEmpty {
      onSaved()
    }
  }
}
canvasViewDrawingDidChange(_:) is called whenever the contents of the canvas view change. Your implementation checks if there is content available before calling the save closure.
Finally, add the following before the return statement in makeUIView(context:):
canvasView.delegate = context.coordinator
Here, you assign the coordinator you defined as the canvas view delegate.
Go ahead and save the file to make sure Xcode takes note of the updates to CanvasView.
Back in DrawingView.swift, replace CanvasView(canvasView: $canvasView) with the following:
CanvasView(canvasView: $canvasView, onSaved: saveDrawing)
This updates the initializer and passes in the method to call for drawing updates.
Next, implement saveDrawing() by adding the following:
print("Drawing saved...")
Here, you log an entry to check if the save method is called.
Build and run the app. Draw on the canvas and verify that the following is logged in the console whenever you finish drawing a stroke:
Drawing saved...
Now that your coordinator is working, it’s time to save the drawing. The data model representing your masterpiece rendition is where you make the changes.
Changing the Data Model
Open Rendition.swift and replace the import UIKit with the following:
import PencilKit
This imports the PencilKit framework so your data model knows about drawings.
Next, add the following right after the title property definition:
let drawing: PKDrawing
With those changes, Rendition is ready to store PKDrawing objects.
Save the file.
Go to DrawingView.swift and replace the print statement in saveDrawing() with:
// 1
let image = canvasView.drawing.image(
  from: canvasView.bounds, scale: UIScreen.main.scale)
// 2
let rendition = Rendition(
  title: "Best Drawing",
  drawing: canvasView.drawing,
  image: image)
// 3
self.rendition = rendition
Here’s what the code is doing:
- You create an image representation of the canvas view’s drawing. The image is based on the visible bounds of the canvas and the scale factor defined for the device. This means that the saved image will look sharper for Retina display screens.
- You create a rendition instance with
PKDrawingandUIImageversions of the drawing. Use these representations to restore and share your drawings. - You update your rendition state variable so SwiftUI updates the view.
Then, replace the restoreDrawing() implementation with the following:
if let rendition = rendition {
  canvasView.drawing = rendition.drawing
}
This checks whether there’s a saved drawing. If one is found, it sets the canvas view drawing to the value. This shows how to update the canvas view with a pre-existing PKDrawing.
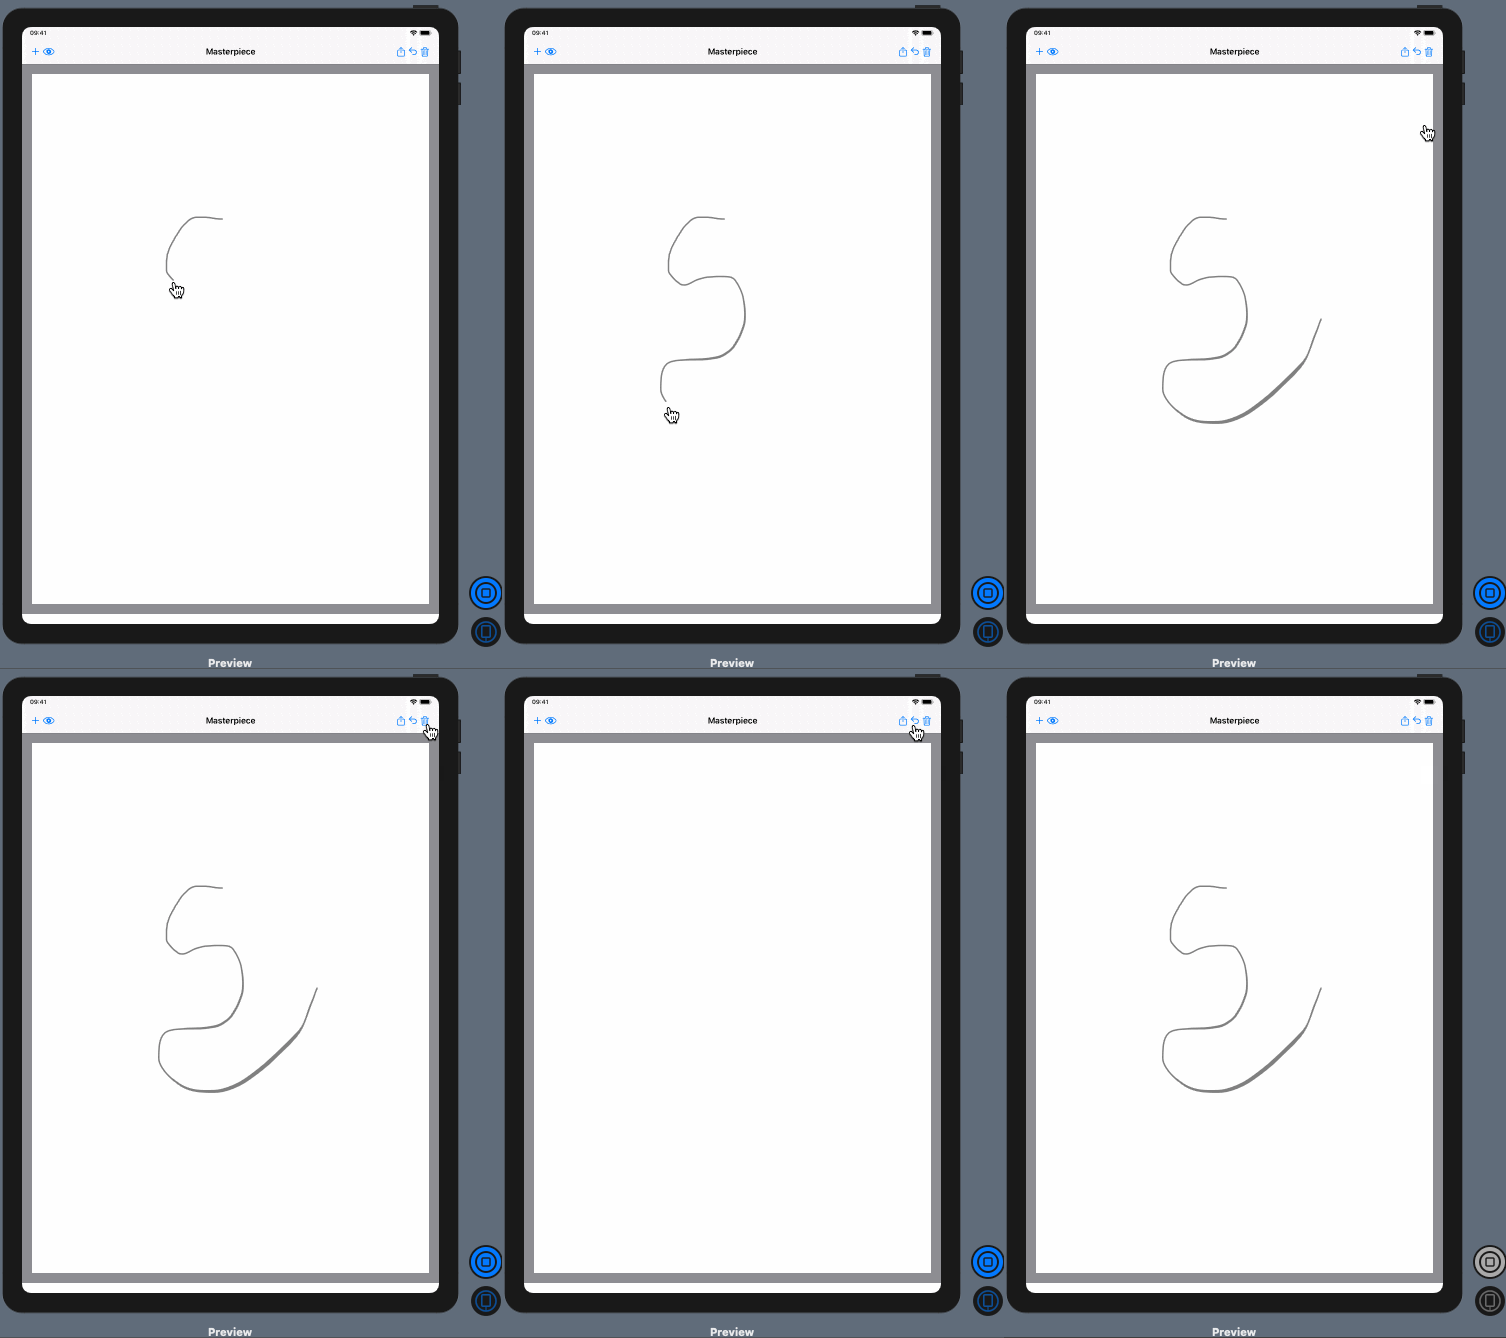
Click Resume in the preview pane, then click Live Preview to run the app. Draw on the canvas, then click on the trash icon to delete the drawing. Next, click the undo icon found next to the trash icon. Verify that your previous drawing is restored:
Adding the Tool Picker
You’ve endured the gray palette thus far, but I know you’re ready for more. Wouldn’t it be great if you could give users the ability to pick their own colors? What about the ability to select different brushes or change the widths? PencilKit has you covered.
You can easily add a tool palette to your app and instantly give users a selection of tools and colors. PKToolPicker manages this tool palette. You simply add it to your view hierarchy and control when it’s displayed.
PKToolPicker offers the following drawing tools:
-
PKInkingTool: Tools for drawing lines. You’ve already seen this in action -
PKEraserTool: Brush for deleting portions of your drawing -
PKLassoTool: Tool for selecting portions of your drawing so you can reposition it - Ruler: Helps you draw straight lines
- Color picker: Use it to select a color for your inking tool
- Undo/Redo: Controls you use to undo and redo drawing changes
Setting up the Tool Picker
To set up a tool picker, you first associate it with a window in your app’s interface. Then, you set a view as the first responder for that window. When the view is visible, the tool picker is shown. When the view is not visible, the tool picker is hidden.
Once a tool picker is visible, the user can move the palette around. This is convenient if the palette is hiding a space where the user wants to draw.
Recall that you hard-coded the type of inking tool, color, and baseline width to apply to your canvas view. PKCanvasView implements an observer protocol for detecting tool picker changes. It gets notified and updates the current drawing tools.
Go to CanvasView.swift and add the following property after the declaration of onSaved:
@State var toolPicker = PKToolPicker()
You need to keep a reference to your PKToolPicker instance so that it displays. As a result, you declare it as a @State property.
Next, add the following extension after the struct declaration:
private extension CanvasView {
  func showToolPicker() {
    // 1
    toolPicker.setVisible(true, forFirstResponder: canvasView)
    // 2
    toolPicker.addObserver(canvasView)
    // 3
    canvasView.becomeFirstResponder()
  }
}
Here’s a step-by-step breakdown of what’s going on in the defined method:
- Tie the tool picker’s visibility to whether the canvas view is active.
- Ensure the canvas view is notified of any changes to the tool picked.
- Ask the canvas view to become the first responder. This makes the tool picker visible.
Add the following to makeUIView(context:) right after the canvasView delegate is assigned:
showToolPicker()
This calls your new private method to activate the tool picker.
Build and run the app. You should see the tool picker presented:
Try moving the tool picker around the window. Also, try out the various picker tools at your disposal.
The tool picker opens up what you can do, but it can’t do everything. If you are looking for more customizations, consider building your own tool picker.
Alright, junior Picasso, you have everything you need to practice your masterpiece skills. Go!
Courtesy of 10-year-old budding artist and developer
Once you’re happy with your work, go ahead and share it. The sample app contains code to trigger Apple’s share sheet. Click the share icon to see this in action:


